'%3e%3ccircle%20id='Ellipse_59'%20data-name='Ellipse%2059'%20cx='3'%20cy='3'%20r='3'%20transform='translate(11%208.786)'%20fill='none'%20stroke='%23f7941d'%20stroke-linecap='round'%20stroke-linejoin='round'%20stroke-width='2'/%3e%3cpath%20id='Path_82'%20data-name='Path%2082'%20d='M14,2A10,10,0,0,0,4,12a8.048,8.048,0,0,0,1.875,5.625L14,27l8.125-9.375A8.048,8.048,0,0,0,24,12,10,10,0,0,0,14,2'%20transform='translate(0%200)'%20fill='none'%20stroke='%23f7941d'%20stroke-linecap='round'%20stroke-linejoin='round'%20stroke-width='2'/%3e%3c/g%3e%3c/svg%3e)


How to Install Double Curtains
The right installation for a perfect finish
Getting Started
Installing your double curtains is simple and straight forward with our step-by-step instructions. You’ll find everything you need right here, including easy-to-follow videos. Mike has added his expert tips throughout to help you install with confidence.
What You Will Need to Install Your Curtains

1–2 people
10–30 minutes
Grey lead pencil
Small cordless drill (recommended for pre-drilling)
Cordless screwdriver with a 150mm drill bit (recommended)
Installation screws
Step ladder (if necessary)
Spirit level (optional)
What’s Included in the Box

Your Custom-sized curtain track.
Brackets (based on your installation type)
Your Custom curtain
Curtain hooks (spare hooks)
Wand(s) if ordered
Screws and Anchors
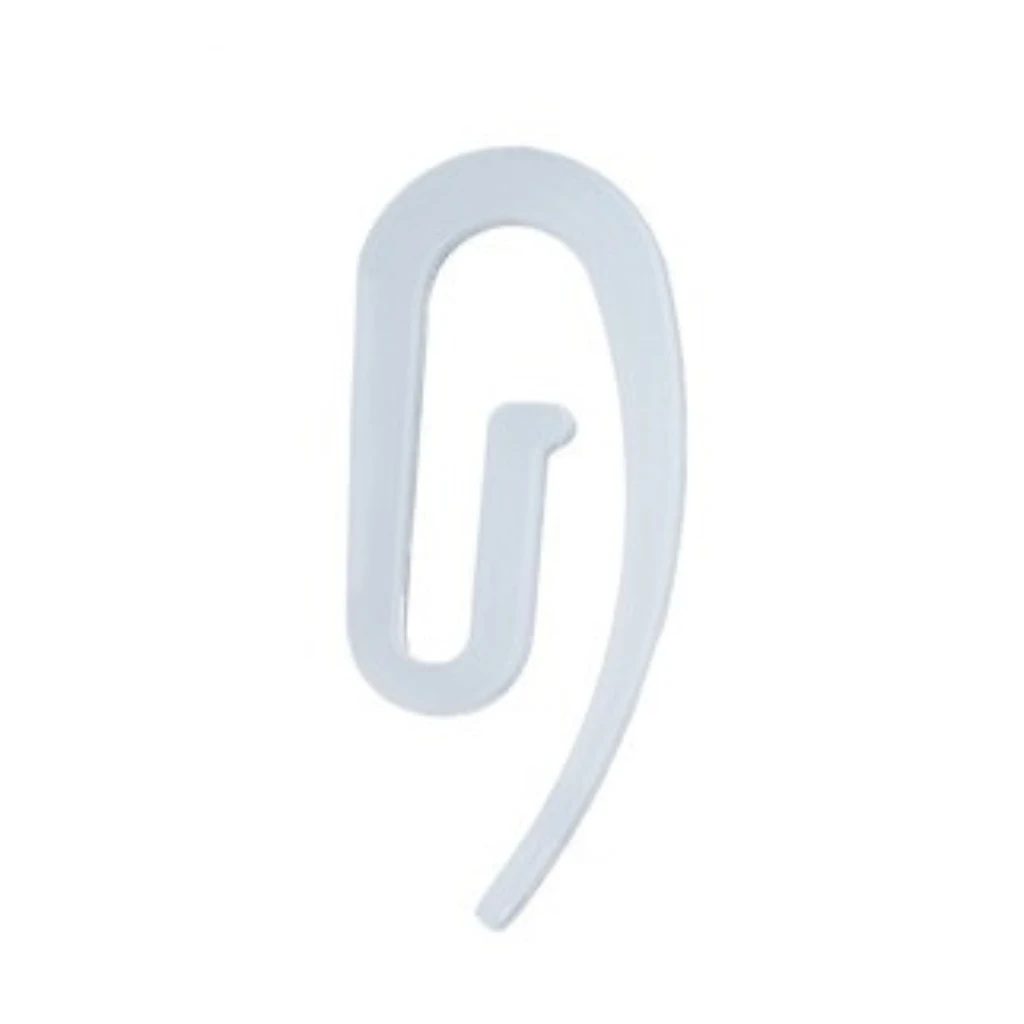
Curtain Hooks
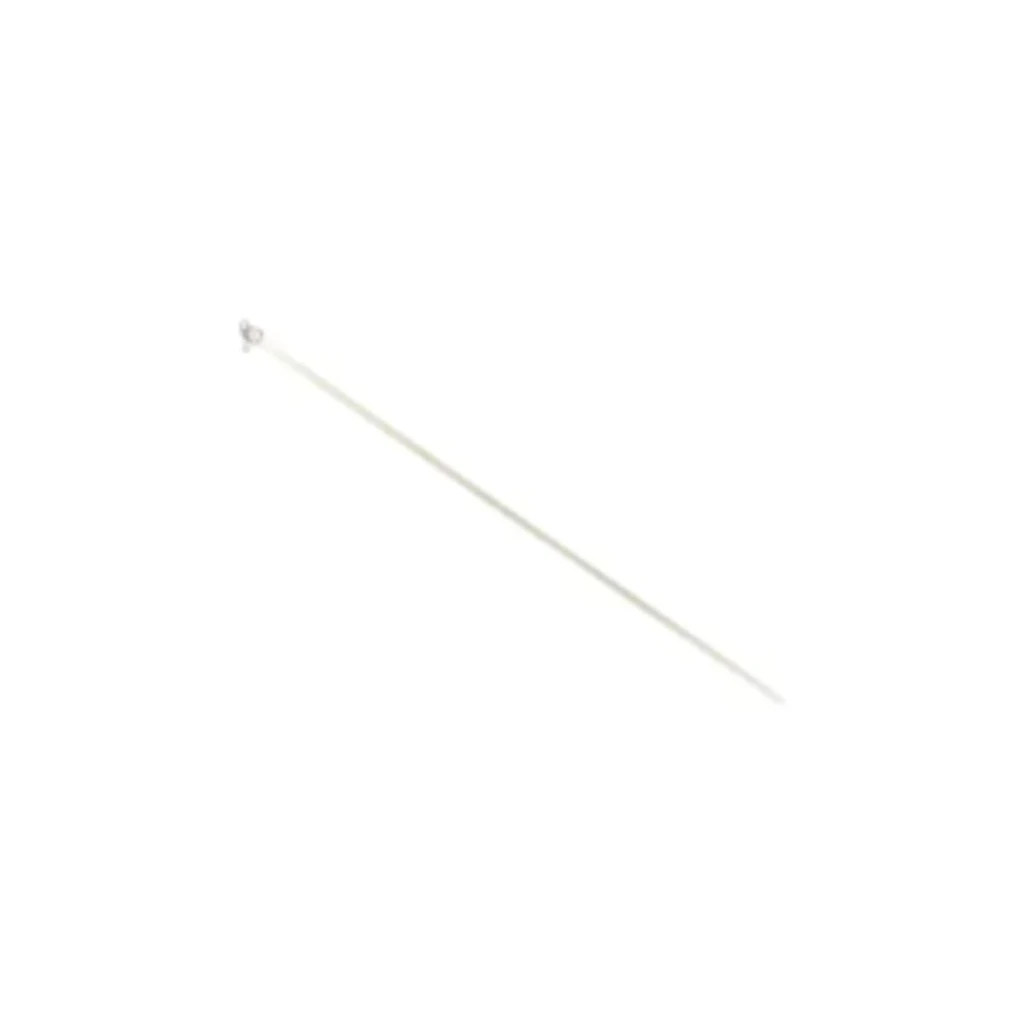
Curtain Wand
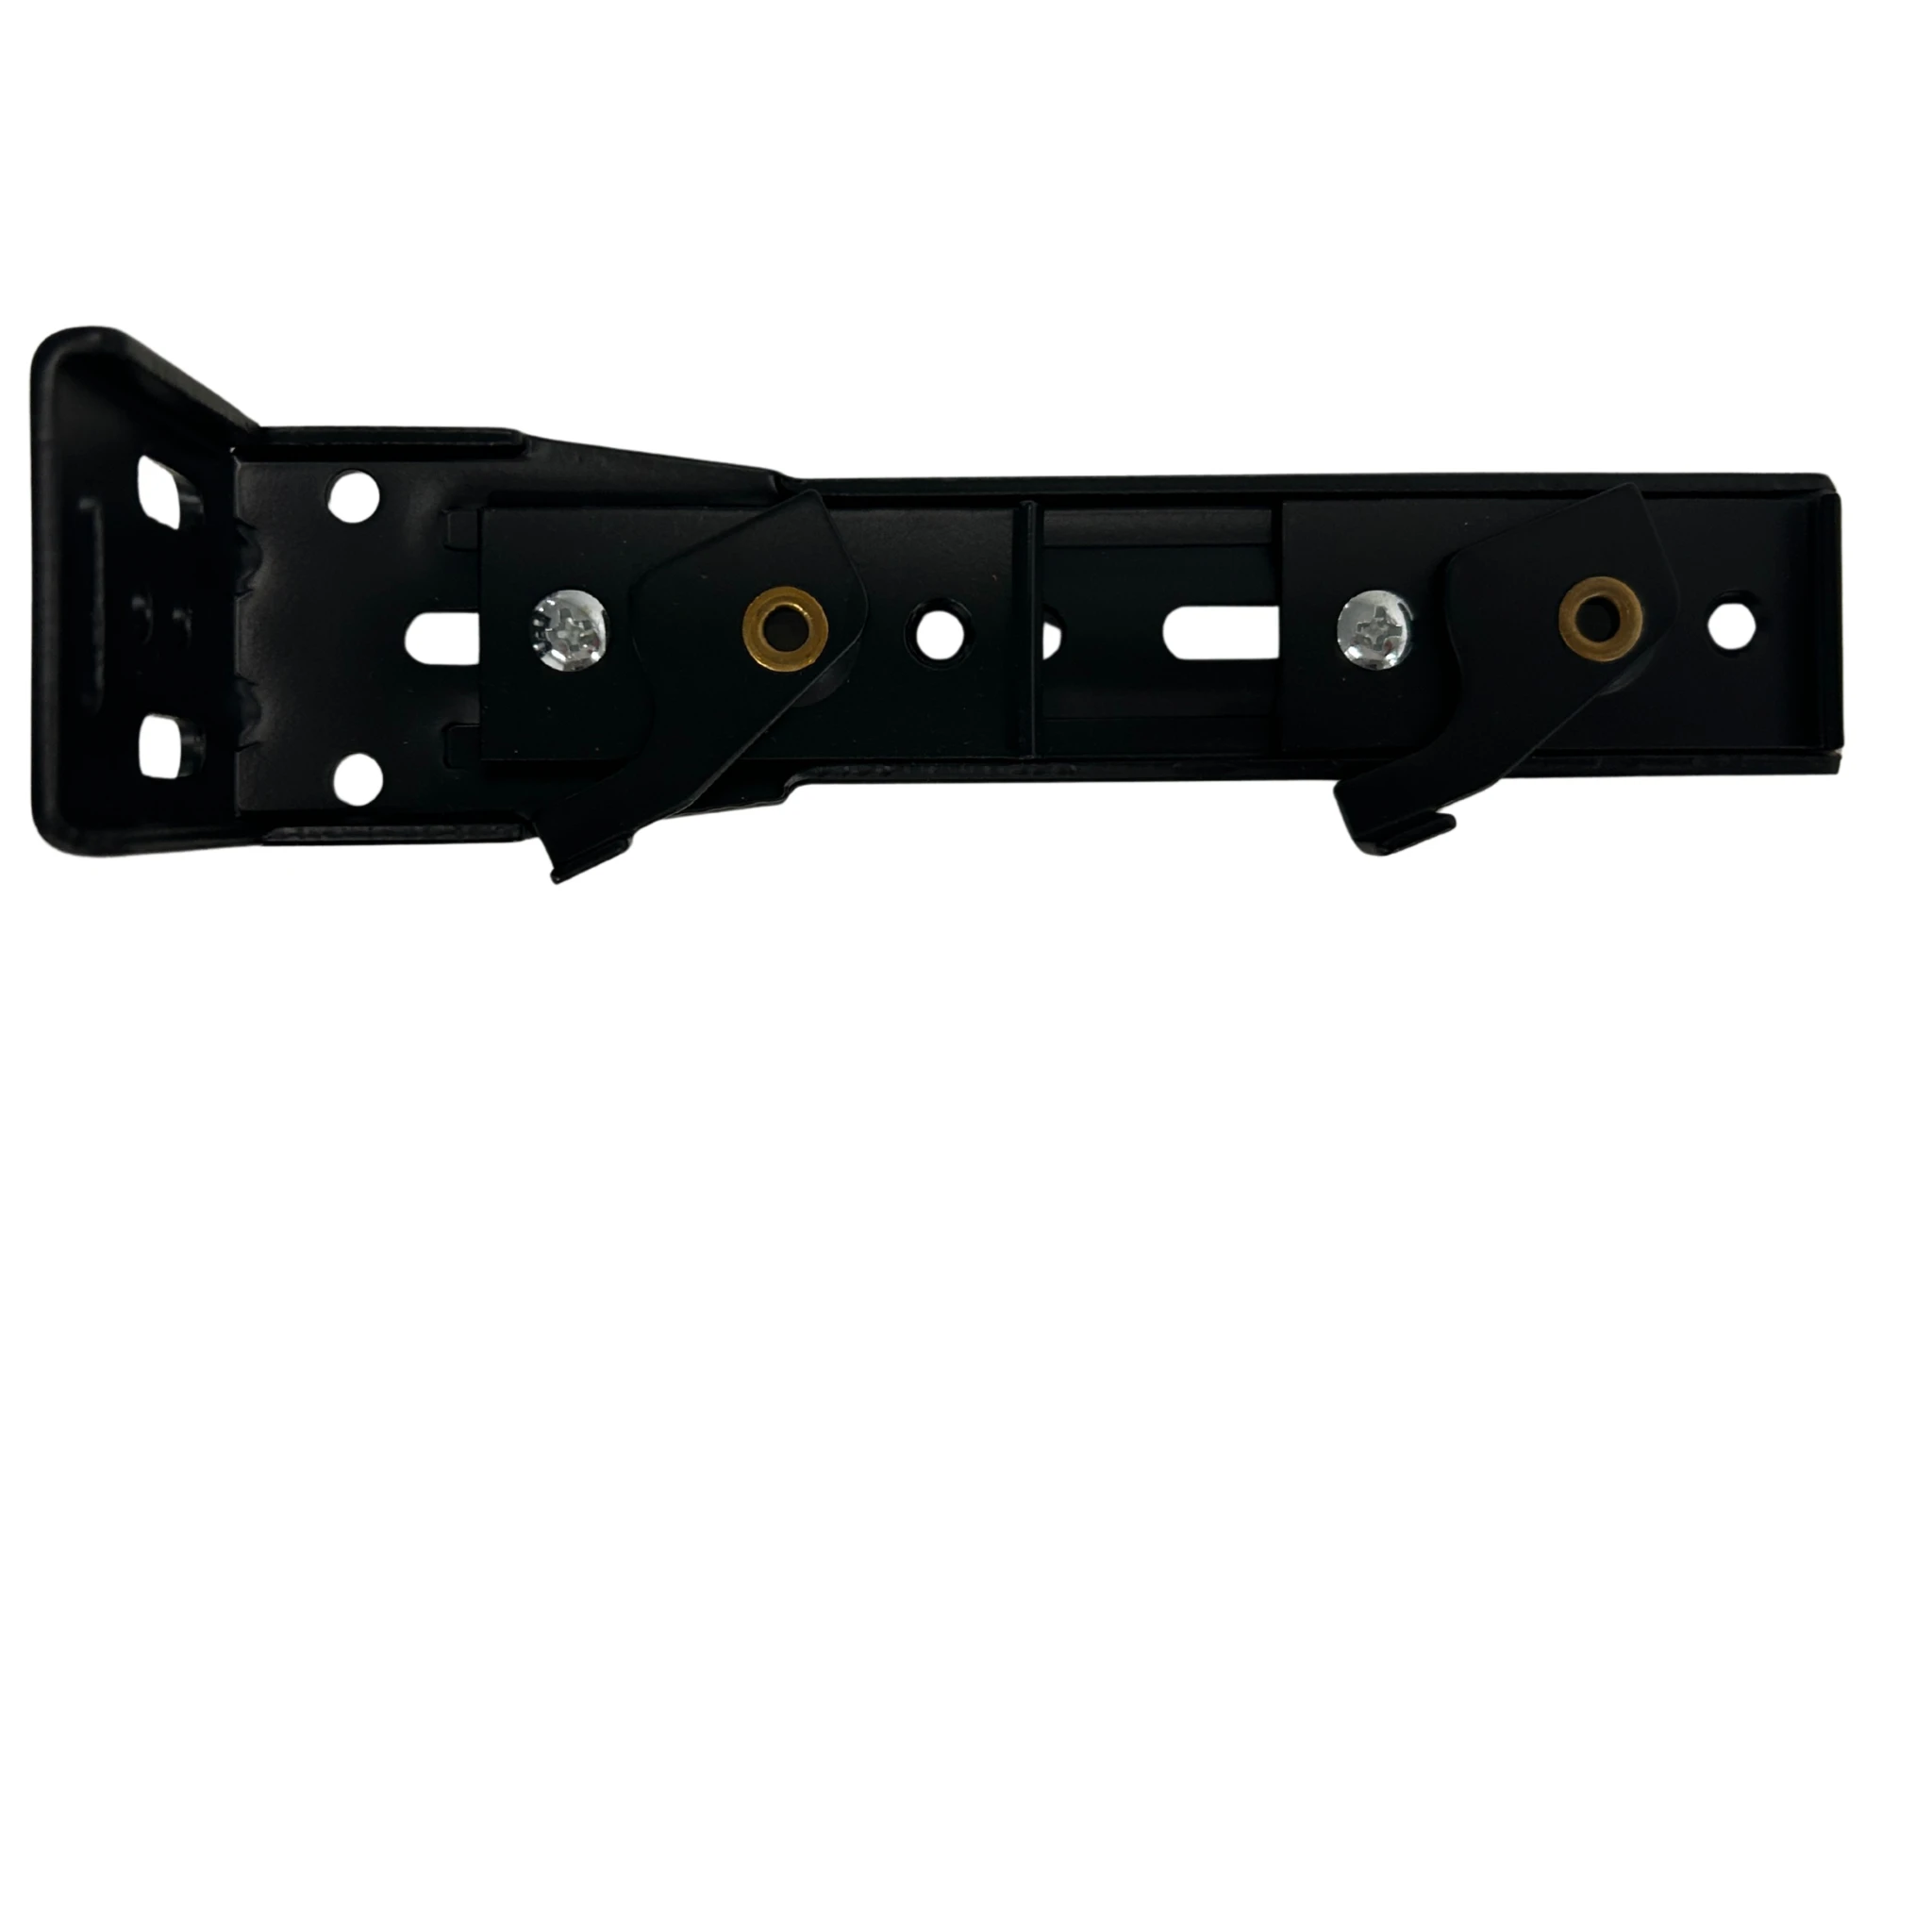
Wall Mount Curtain Bracket
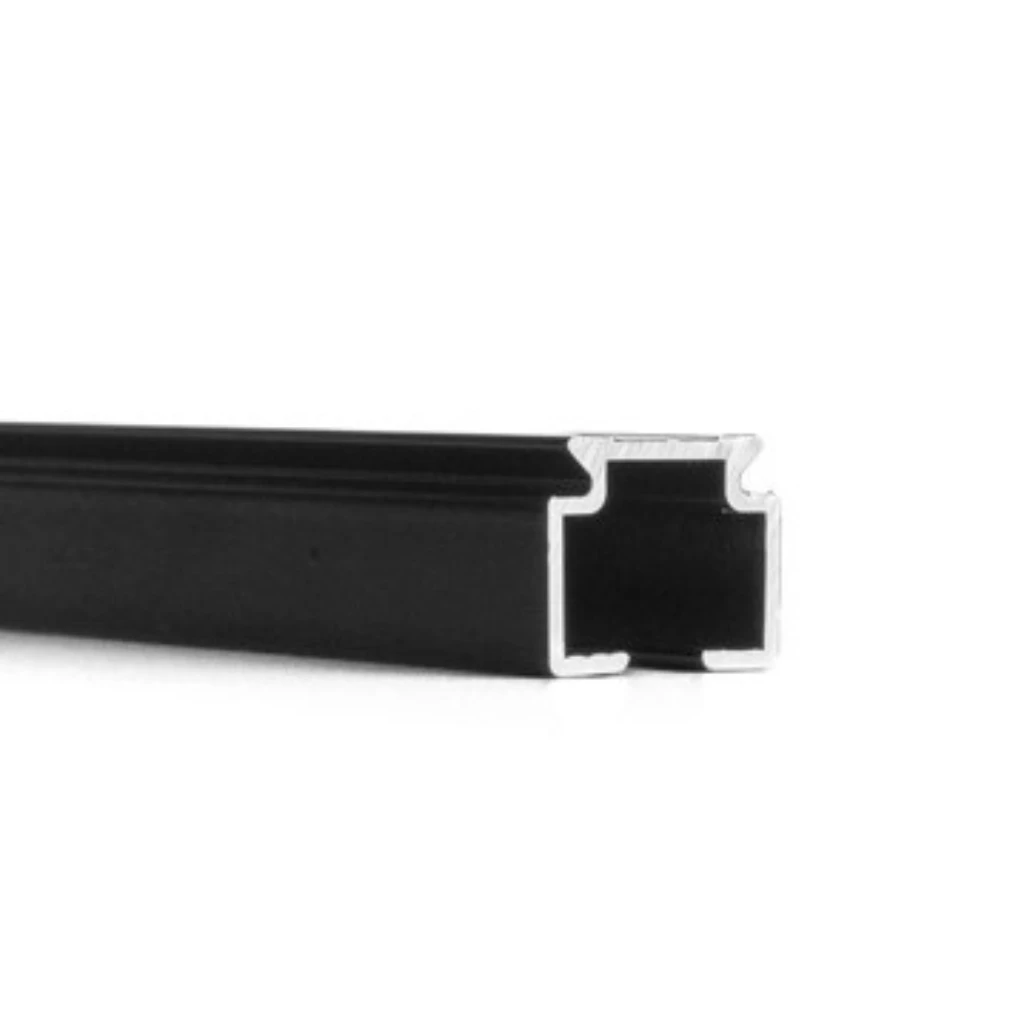
Curtain Track
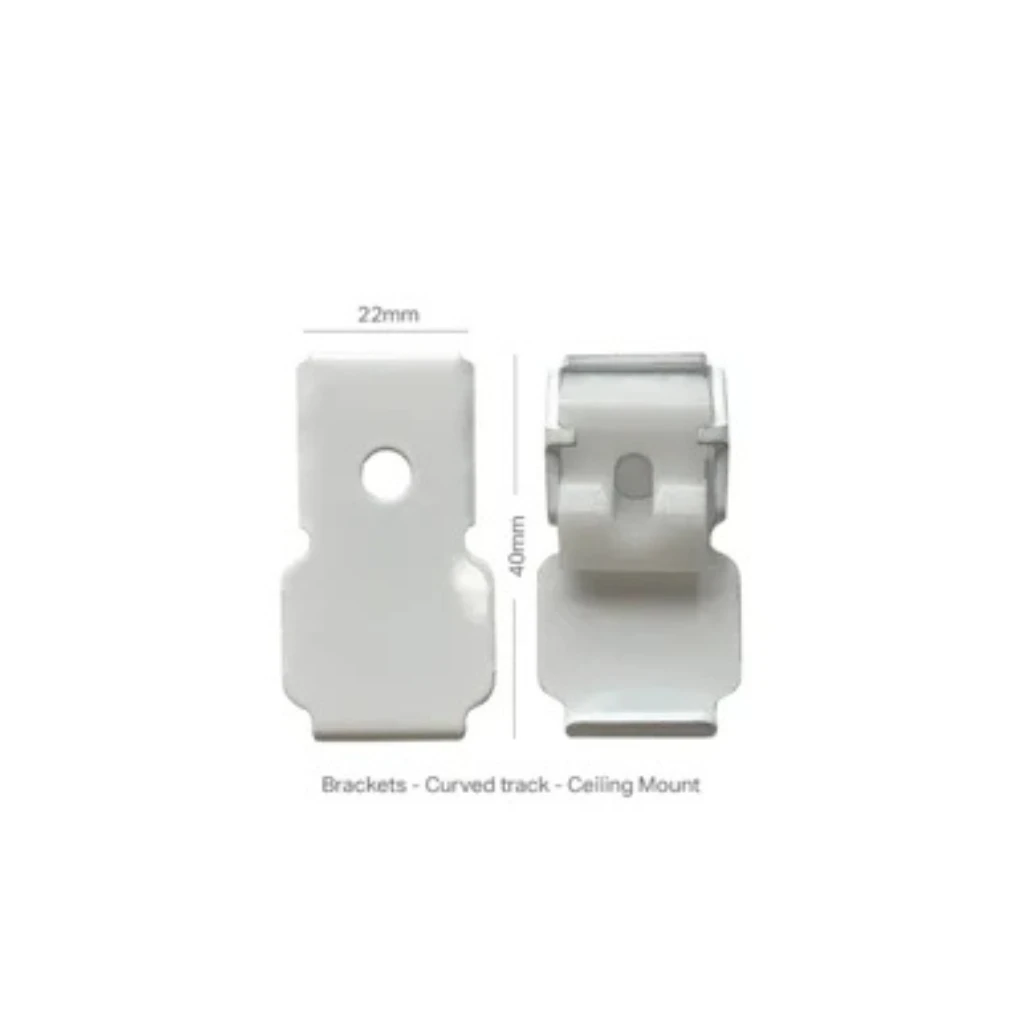
Ceiling Mount Curtain Bracket
Video Installation Guides
Mike’s Tip:
“Take a few minutes to watch the single curtains installation videos for your installation type before you begin. It’s a great way to feel prepared and save time on installation.”
We’ve created easy-to-follow video guides for both Single Wall Mount and Ceiling Mount curtains to help you install with confidence. If you’re installing Double Curtains, you can use these videos alongside the written instructions provided here for extra clarity and support.
Our step-by-step videos are designed to empower your DIY success and make the process simple from start to finish.
How to Install Your Double Curtains
Organising Your Curtains
Each set of curtains and tracks will have a sticker with the room name.
Lay out both curtains and tracks in front of the correct window.
Carefully remove packaging and place the curtains on a clean surface.
Mike’s Tip:
“If your curtains are white, pop on a pair of cotton gloves. It keeps the fabric clean during installation.”
Video Instructions
We offer installation videos for all curtain types. Choose the video that matches your setup and follow along for stress-free installation.
Mike’s Tip :
“Watch the video for your curtain type before you begin. A quick preview can save you loads of time.”
WALL MOUNT INSTALLATION
1
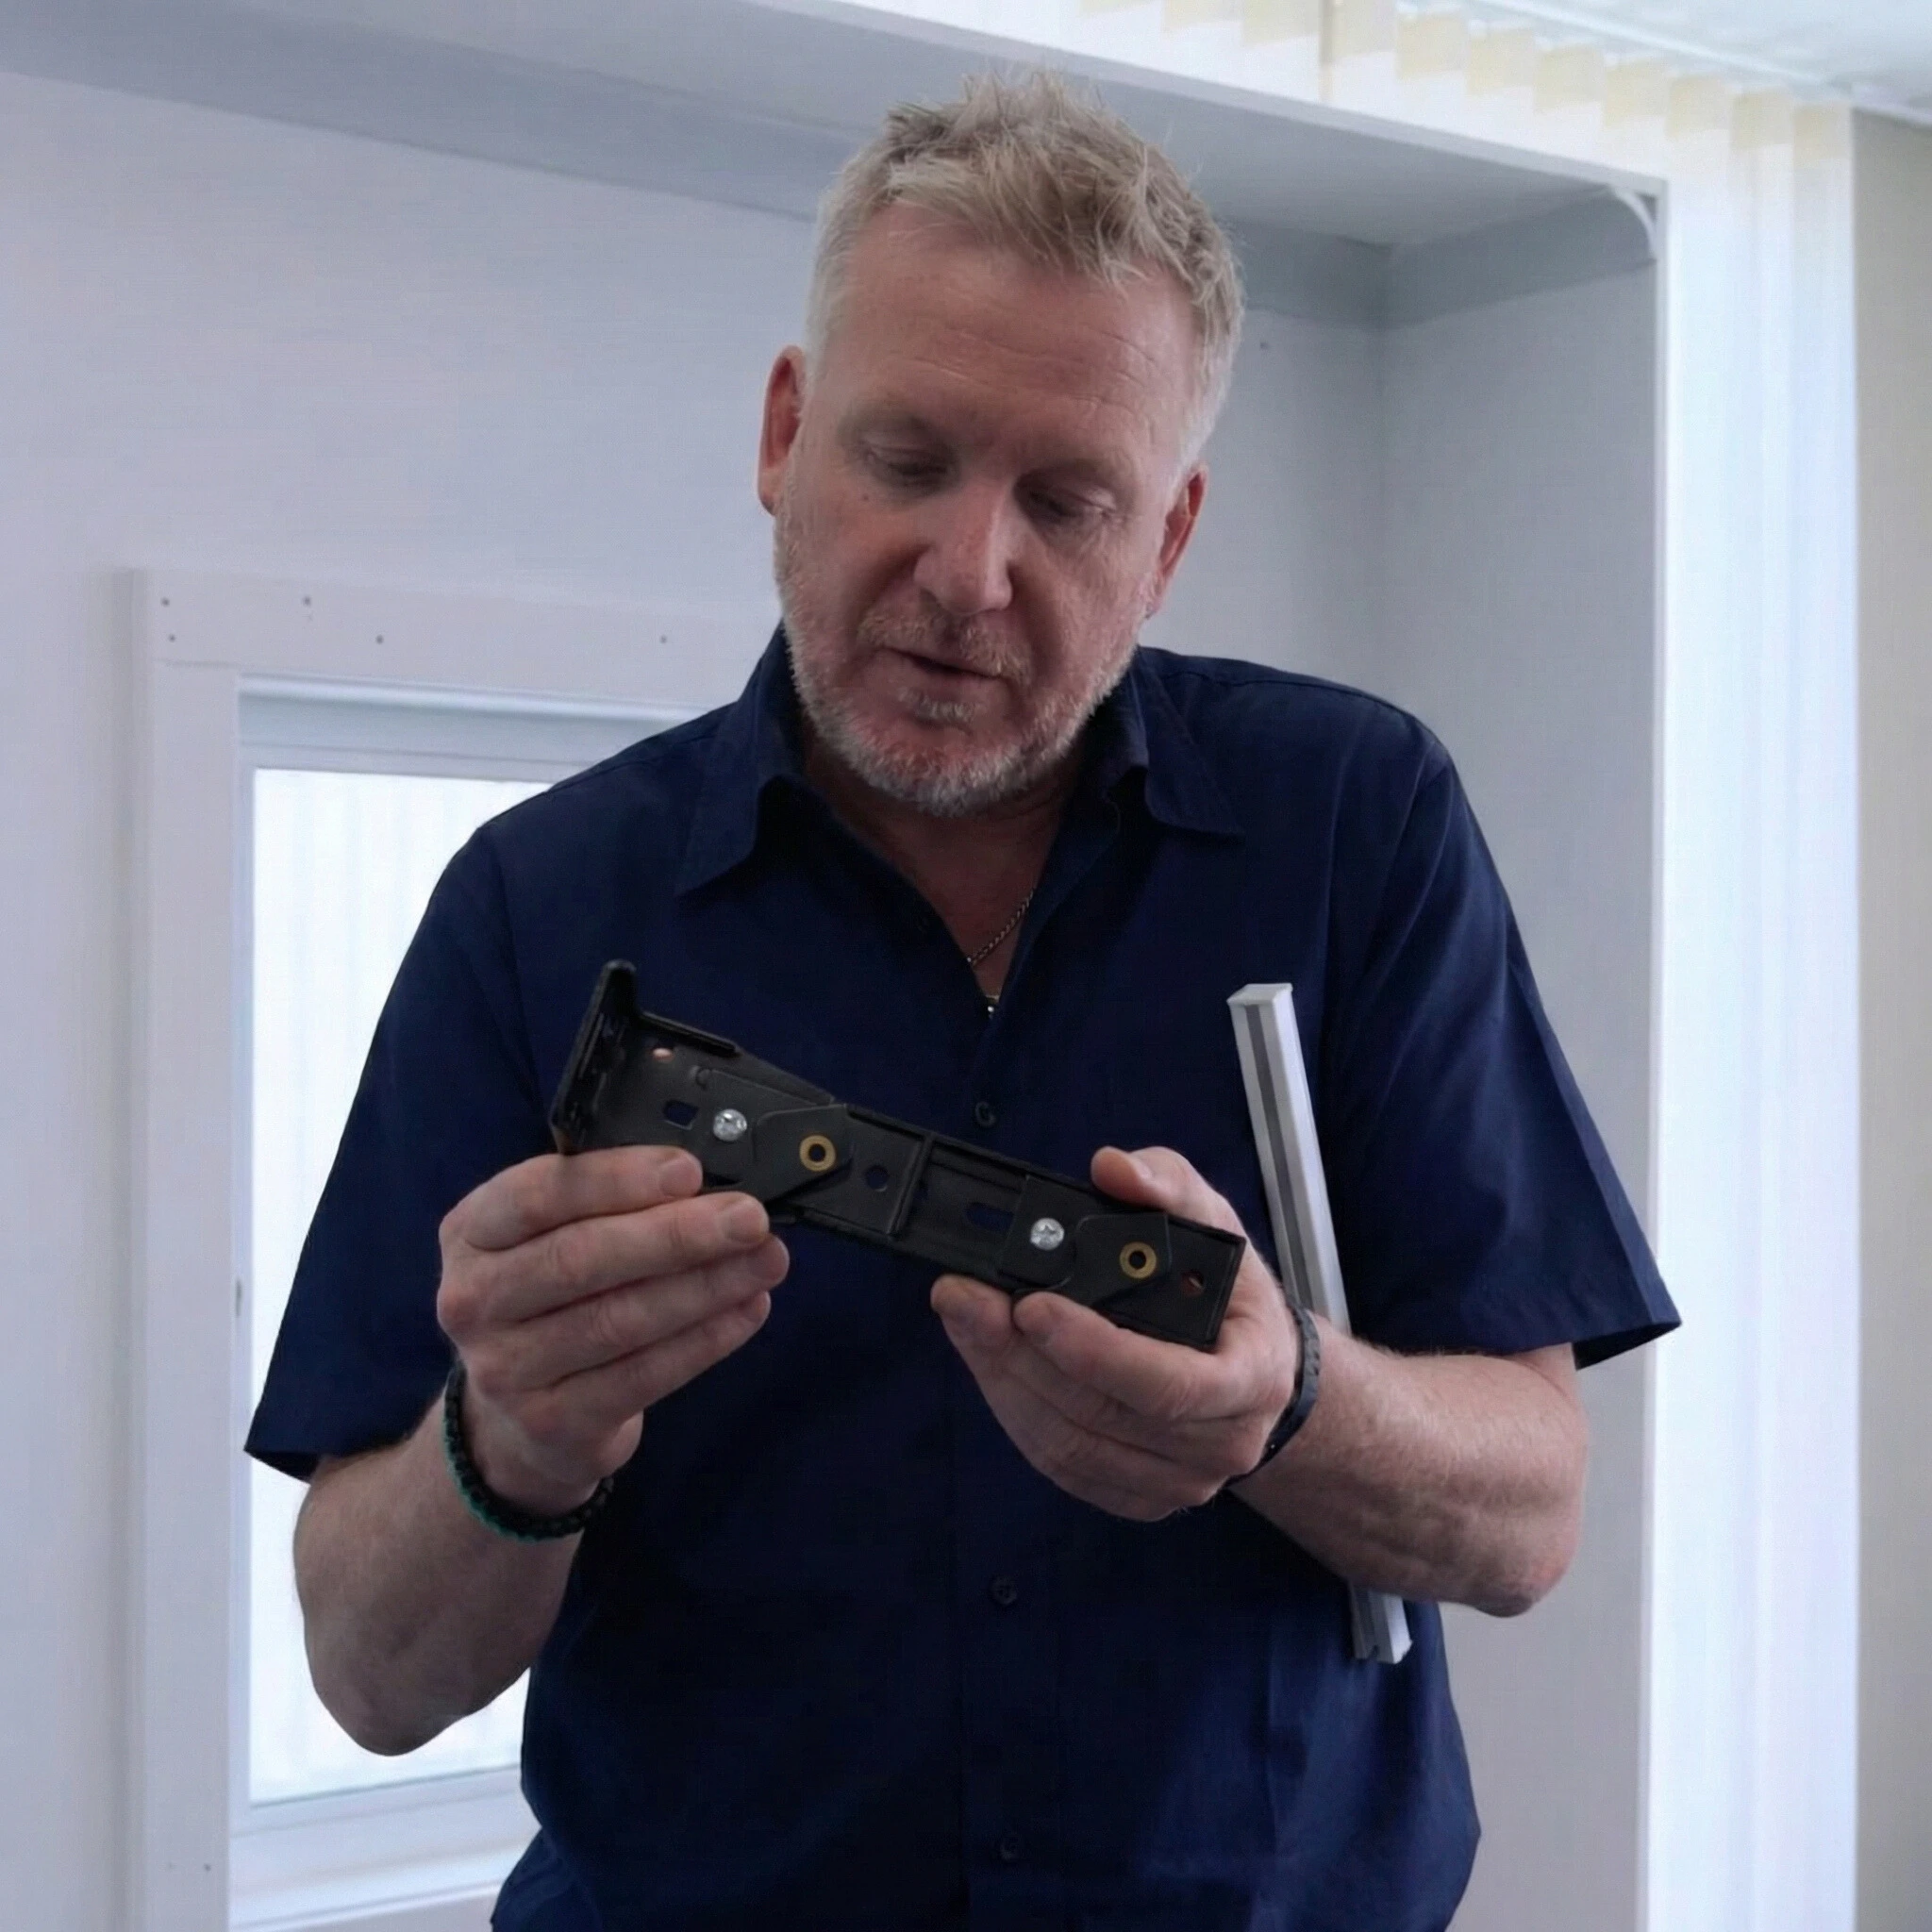
Adjust Your Brackets
The wall mount brackets will come set with the brackets clips to the position for the double tracks – but these can be adjusted if needed – but be sure to allow enough room for the curtain to move freely on the track.
If adjusting the bracket clips - make sure all brackets are adjusted to the same position.
The distance between each bracket clip should be 100mm
Mike’s Tip:
“A consistent bracket depth keeps your track perfectly straight and gives your curtains a smooth, even fall.”
2
Find the Timber Studs
Use a stud finder to locate as many studs as possible for fixing your brackets.
Mounting Into Plaster:
Use provided anchors for secure fixing.
Our Ceiling Mount video shows exactly how to use them.
Mike’s Tip:
“Fixing into studs wherever possible gives you the strongest installation - especially important for heavy blockout curtains.”
3
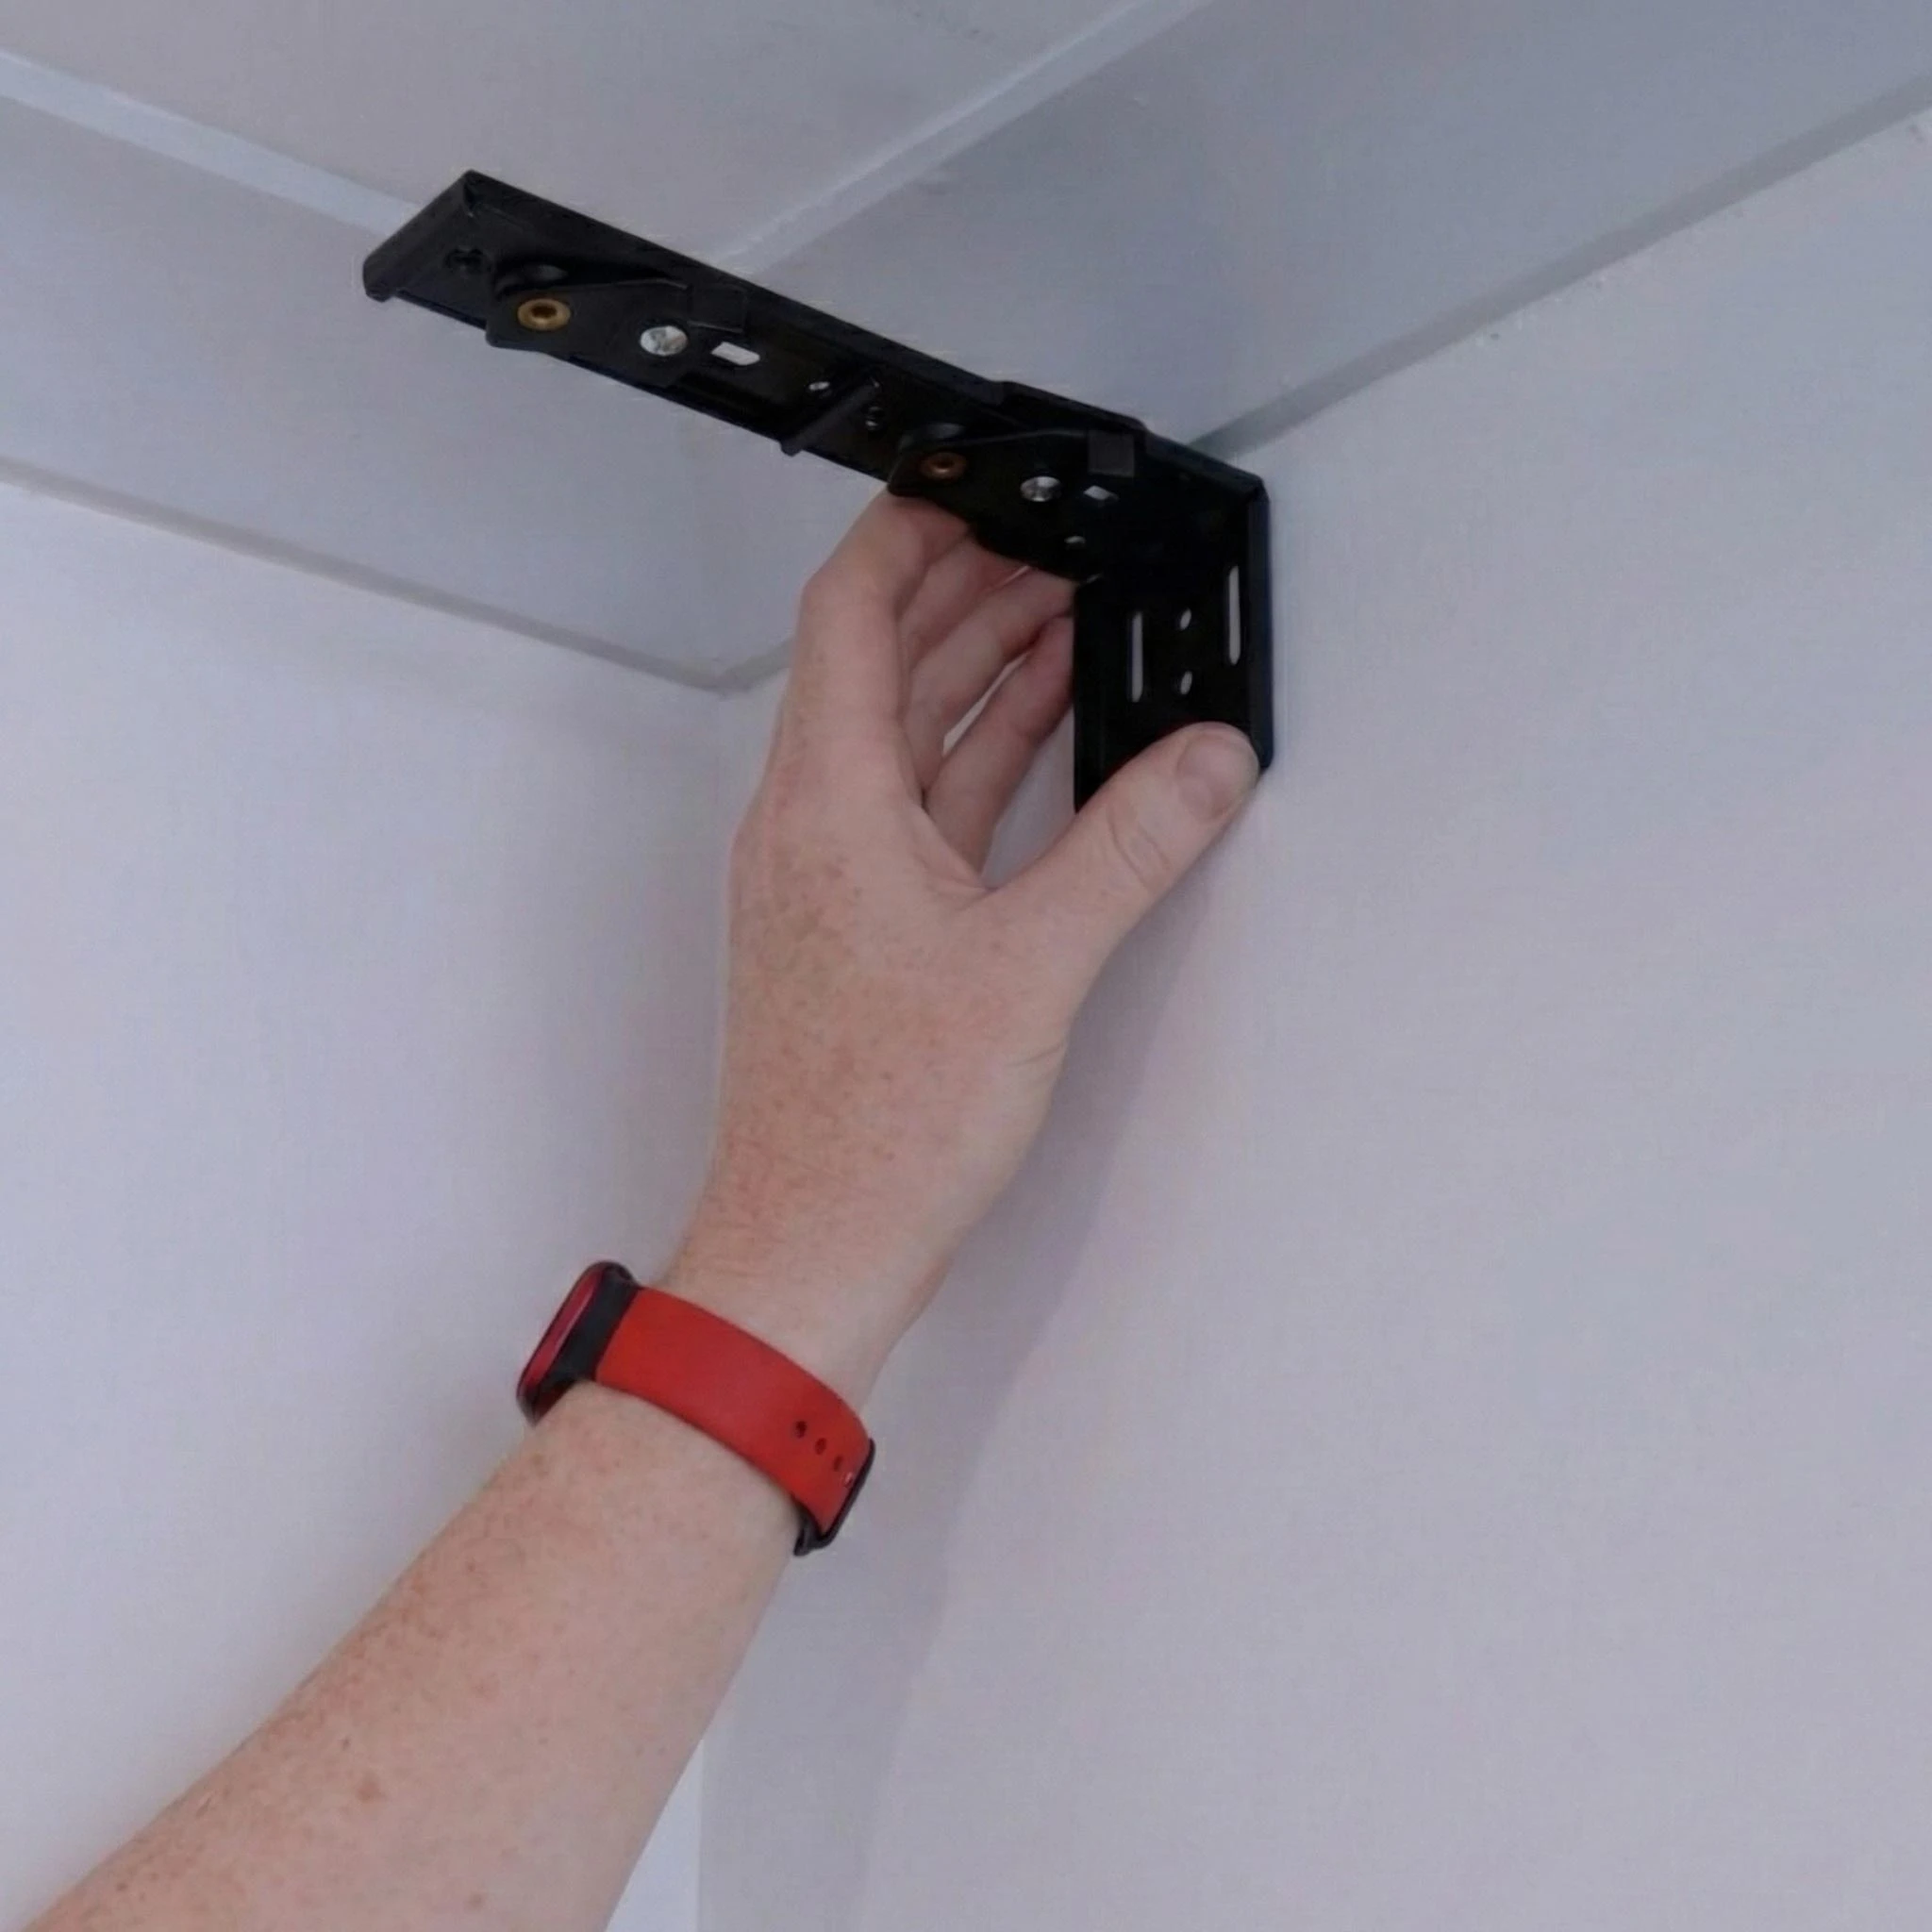
Fix the Brackets to the Wall
Space brackets evenly across the width of the track.
Use a string line or level to keep the brackets straight.
Add an extra bracket at the stack end - this is where the curtain weight sits when open.
4
Attach the Track
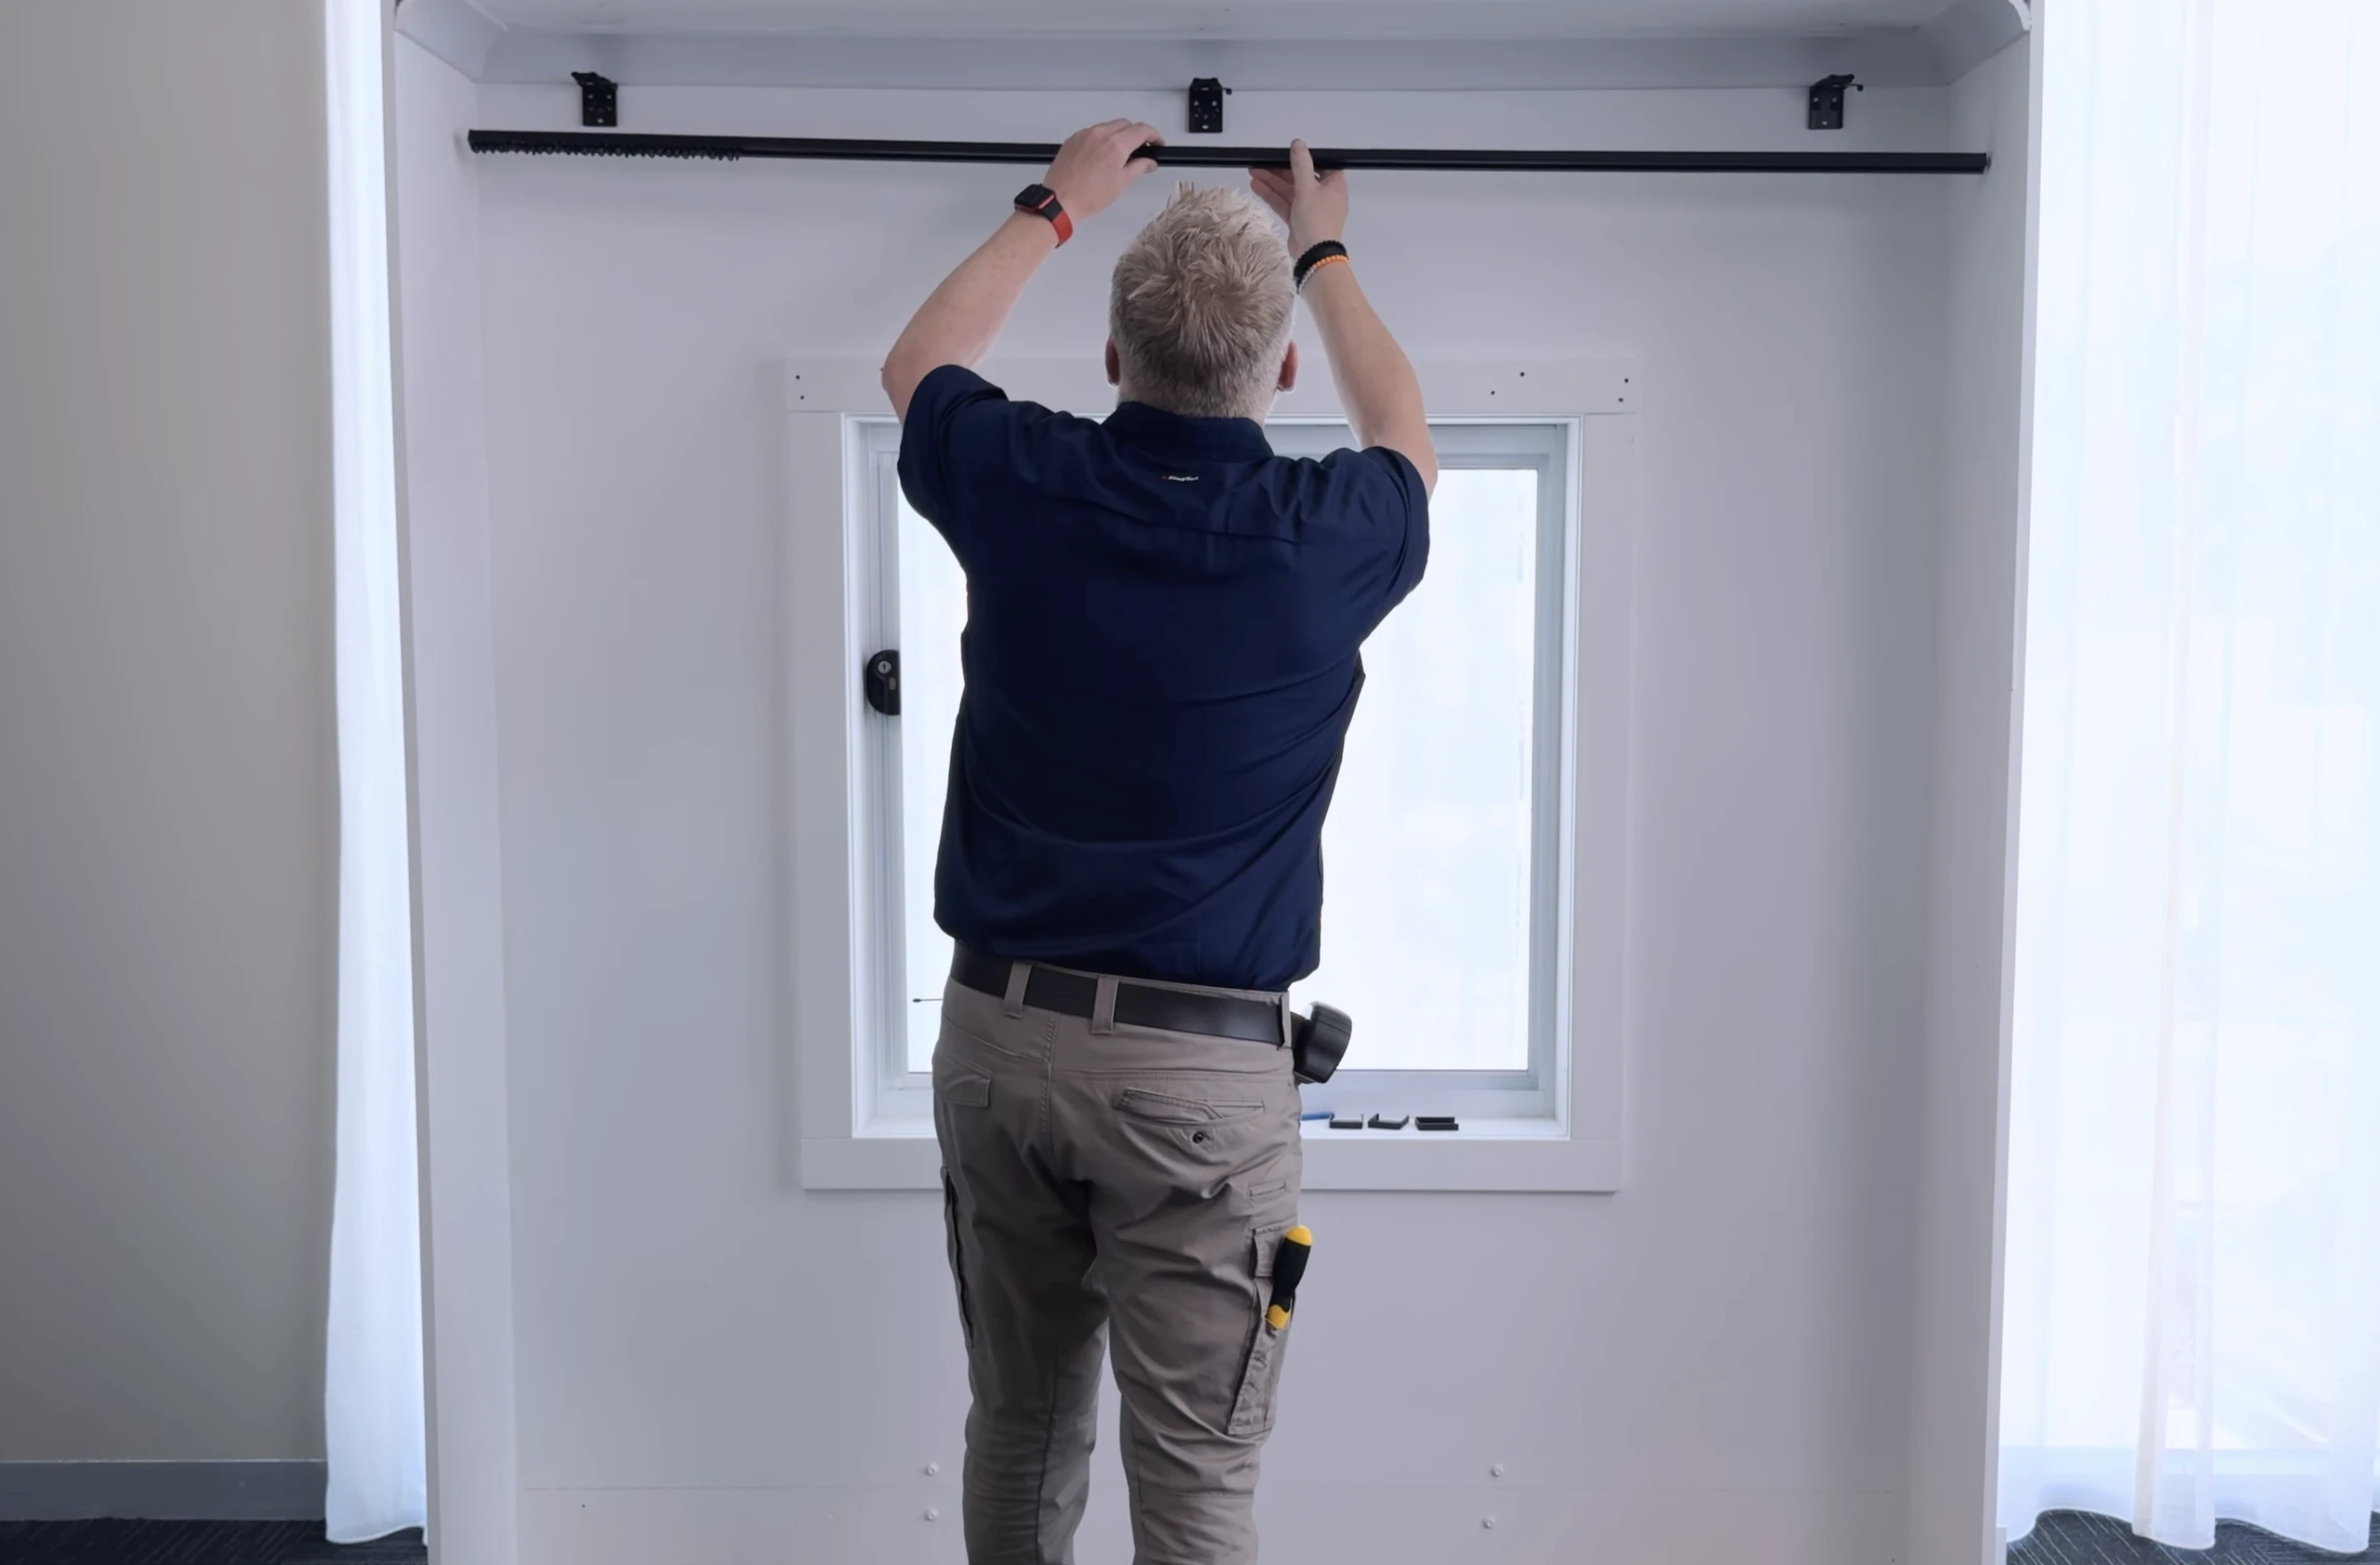
Ensure all bracket cams are in the open position.
Present your tracks one at a time to the brackets and lock each cam.
Your track is now installed and ready for your curtain.
Once you have completed the back track and installed your rear curtain – you can install the front track and curtain.
CEILING MOUNT INSTALLATION
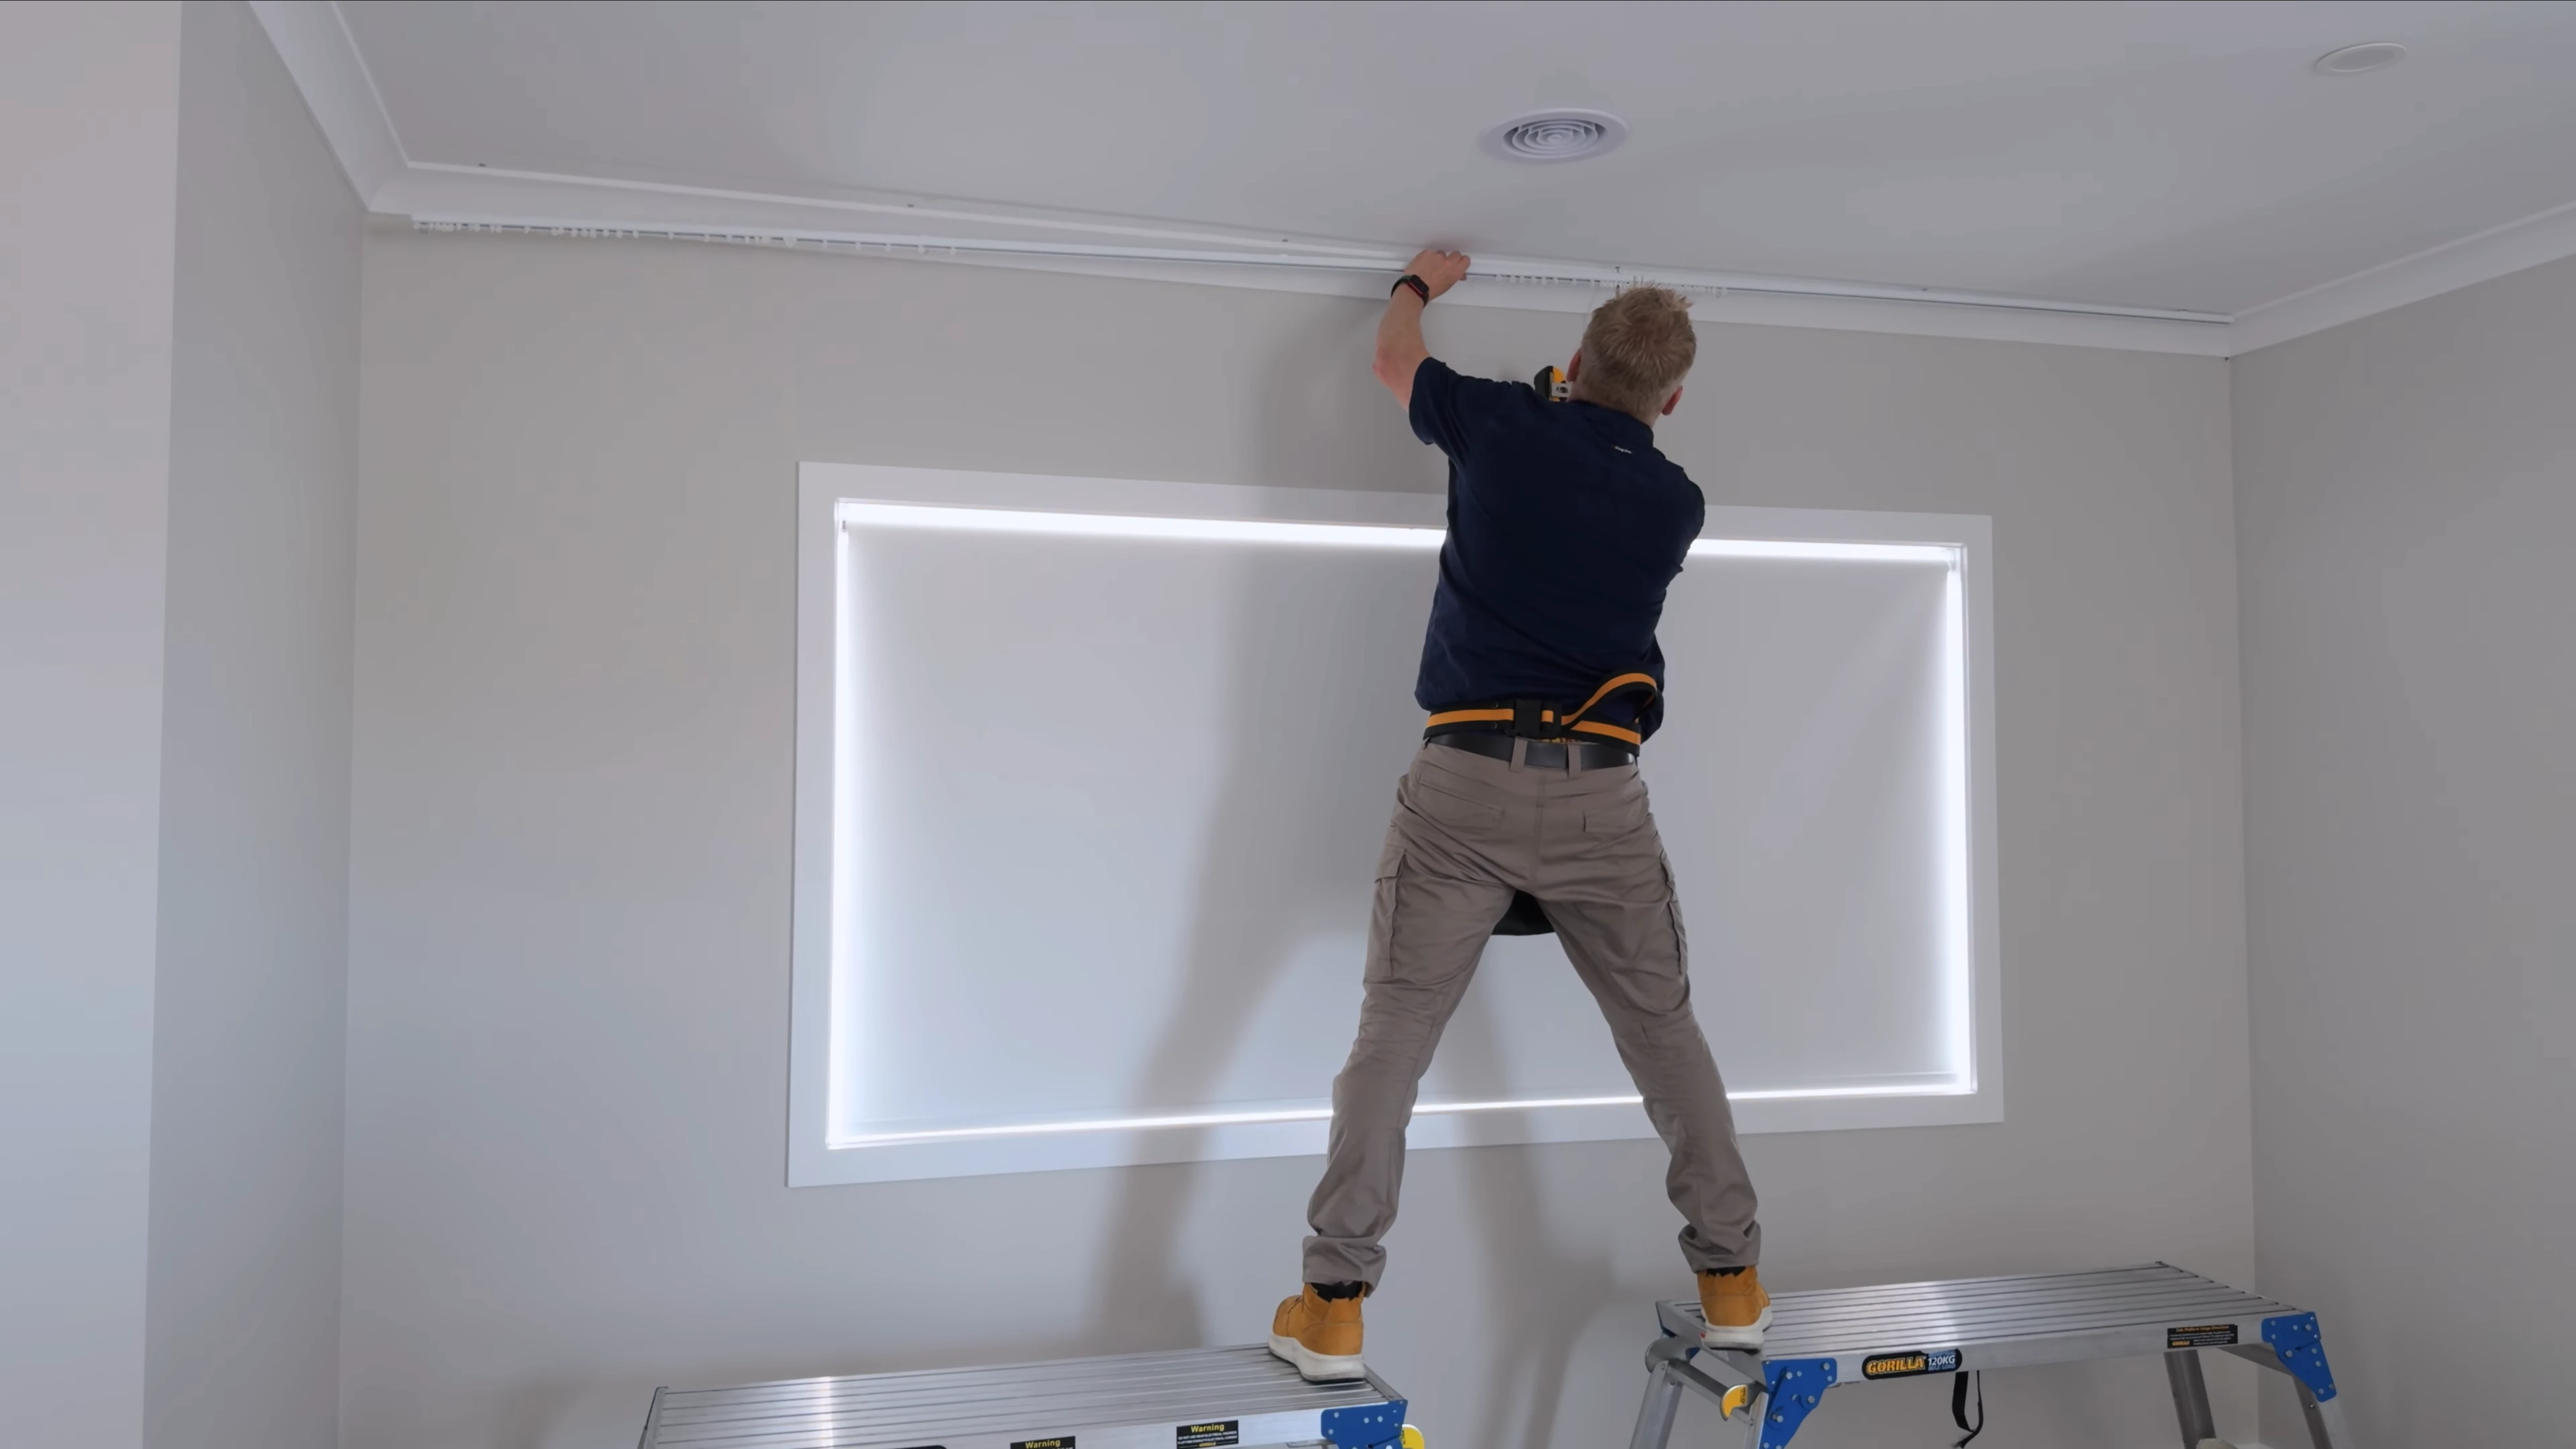
Installing your ceiling-mounted curtains is easier than you think. Follow these simple steps and you’ll have a secure, professional finish in no time. And remember – our team is always here to support you if you need a hand.
1
Attach the Brackets to the Track
Evenly space the brackets along each track.
Add one extra bracket at the curtain stack end for extra strength and support.
Mike’s Tip:
“Pre-fitting the brackets onto the track saves time and helps you achieve perfect spacing before lifting it into position.”
2
Fix the Track to the Ceiling
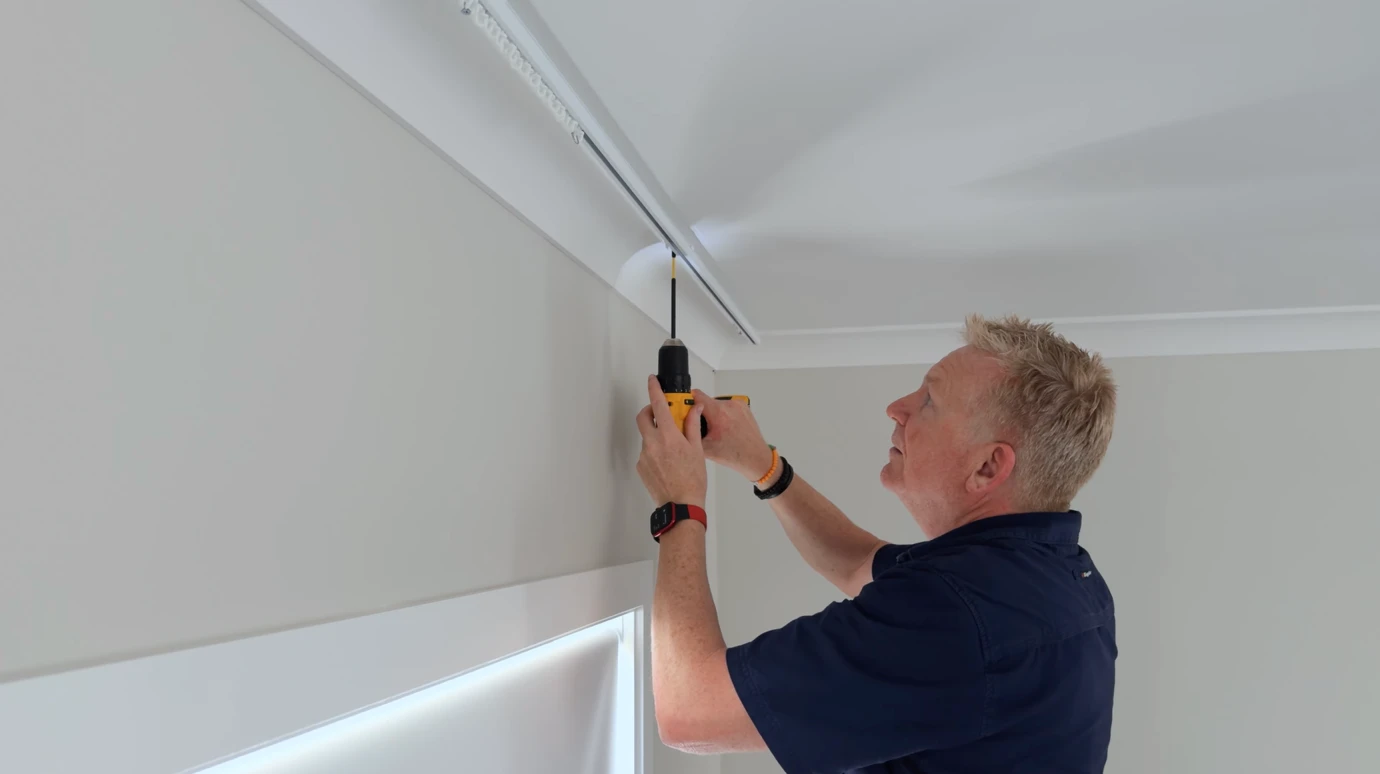
1. Installing the Rear Track
Before securing your track, always check clearances.
Position the mounting hole of each bracket 40mm in front of any obstruction such as walls, architraves, or existing roller blinds.
A. Mounting Into Timber
Hold the track in position.
Screw directly into the ceiling using suitable timber screws.
Simple, strong and secure.
B. Mounting Into Plaster
Hold the track in place and mark your screw hole positions with a pencil.
Ensure bracket mounting holes sit 40mm in front of any obstruction.
Next, check what’s behind the plaster:
Use a small screwdriver to gently punch a test hole.
If you hit timber, simply use the provided screw to secure the bracket.
If there’s no timber, insert the supplied anchor into the hole.
Reposition the track and screw securely into the anchors.
This ensures a strong, reliable fixing that will support your curtains with confidence.
Mike’s Tip:
“Take your time marking out. Accurate marks make the rest of the installation effortless.”
2. Installing the Front Track
Position the front track a minimum of 100mm in front of the rear track.
Hold the track in place and mark your screw hole positions.
Follow the same installation steps as above, depending on whether you're mounting into timber or plaster.
You’ve got this. Measure carefully, take your time, and enjoy transforming your space with your custom-made curtains. Proudly Australian Made and designed to make DIY simple.
HANGING YOUR CURTAINS
You’re almost there! Now it’s time to hang your curtains and bring your space to life. Take your time, follow these steps, and enjoy watching your room transform.
1
Fit the Wand(s) - if applicable
Using long-nose pliers, gently open the hook at the top of the wand.
Locate the wand runner (this is the second runner from the control side).
Insert the wand hook securely into the metal loop of the runner.
Simple and secure — you’re ready to hang your curtain.
2
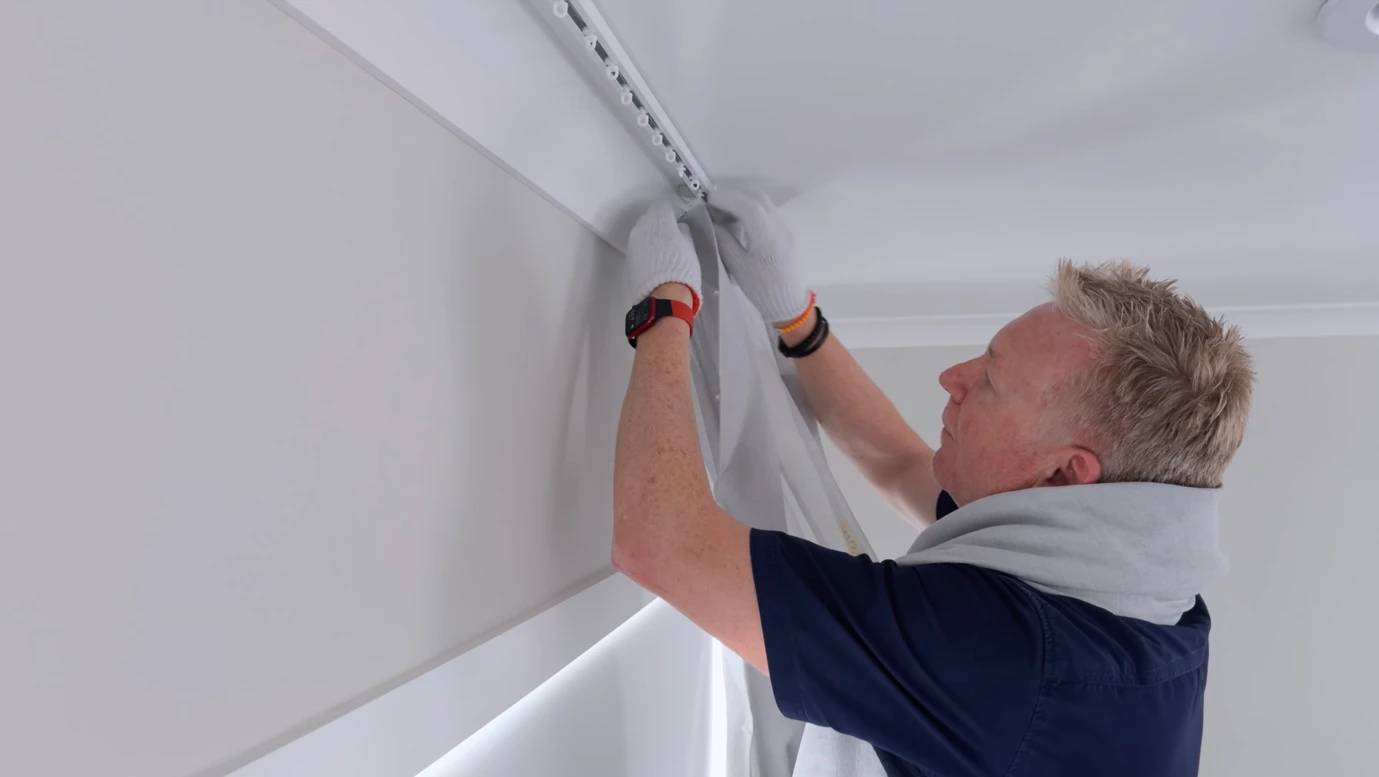
Hang the Rear Curtain
Drape the curtain over your shoulder with the hooks facing forward. This makes installation easier and keeps everything in order.
Evenly space all runners across the track.
Starting at one end, clip the first curtain hook into the first runner.
Continue clipping each hook into a runner across the track.
The number of curtain hooks will match the number of runners exactly — make sure every hook is attached.
Adjust the heading tape to create the signature back–front–back–front S-fold shape.
The curtain ends should naturally return back towards the wall for a neat, professional finish.
Mike’s Tip:
Once your curtain is up, gently run your hand down each fold. This helps set the S-fold and allows the fabric to ‘learn’ its shape.”
Your first curtain is now installed — well done!
3
Hang the Front Curtain
Simply repeat the same steps to hang the front curtain.
You’ve just taken another step toward transforming your home with custom-made curtains. And remember, our team is always here to support you on your DIY journey. You’ve got this.
How to Install Ceiling Mount Curtains
How to install the CurtainIQ Battery Motors
How to Install Wall Mount Curtains
'%3e%3cline%20id='Line_28'%20data-name='Line%2028'%20y2='200'%20transform='translate(1580.5%205493.46)'%20fill='none'%20stroke='%23f7941d'%20stroke-width='5'/%3e%3cg%20id='Ellipse_50'%20data-name='Ellipse%2050'%20transform='translate(1559%205665.46)'%20fill='%23171717'%20stroke='%23f7941d'%20stroke-width='5'%3e%3ccircle%20cx='21.5'%20cy='21.5'%20r='21.5'%20stroke='none'/%3e%3ccircle%20cx='21.5'%20cy='21.5'%20r='19'%20fill='none'/%3e%3c/g%3e%3c/g%3e%3c/svg%3e)