'%3e%3ccircle%20id='Ellipse_59'%20data-name='Ellipse%2059'%20cx='3'%20cy='3'%20r='3'%20transform='translate(11%208.786)'%20fill='none'%20stroke='%23f7941d'%20stroke-linecap='round'%20stroke-linejoin='round'%20stroke-width='2'/%3e%3cpath%20id='Path_82'%20data-name='Path%2082'%20d='M14,2A10,10,0,0,0,4,12a8.048,8.048,0,0,0,1.875,5.625L14,27l8.125-9.375A8.048,8.048,0,0,0,24,12,10,10,0,0,0,14,2'%20transform='translate(0%200)'%20fill='none'%20stroke='%23f7941d'%20stroke-linecap='round'%20stroke-linejoin='round'%20stroke-width='2'/%3e%3c/g%3e%3c/svg%3e)


How to Install your Plantation Shutters
The right installation for a perfect finish
Getting Started
Know what you’re drilling into
If you’re drilling into wood, follow the steps below:
Confirm installation items
Check you have all components and tools listed in the installation guide before you begin.
Follow the instructions carefully
Work through the steps in order and don’t skip measurements or pre-drilling.
Inspect the area
Visually check the installation area to identify and avoid any risks to nearby surfaces, fixtures, or structures.
Our shutters can be installed on most surfaces, but it’s always best to confirm what you’re fixing into first. Timber window frames are typically the easiest and most secure mounting points.
What is included in the box

Your shutter panels (pre-assembled)
Hinge packers (just in case for adjusting the shutter panel height)
Screw hole caps
White-head hinge screws
T-post screws
L-striker plate (3-sided frame)
Your shutter frame (in sections)
Spare shutter blade
Screw hole stickers
Shutter pins
Touch-up paint
T-post bottom bracket (3-sided frame)
What is included in your plantation shutter box
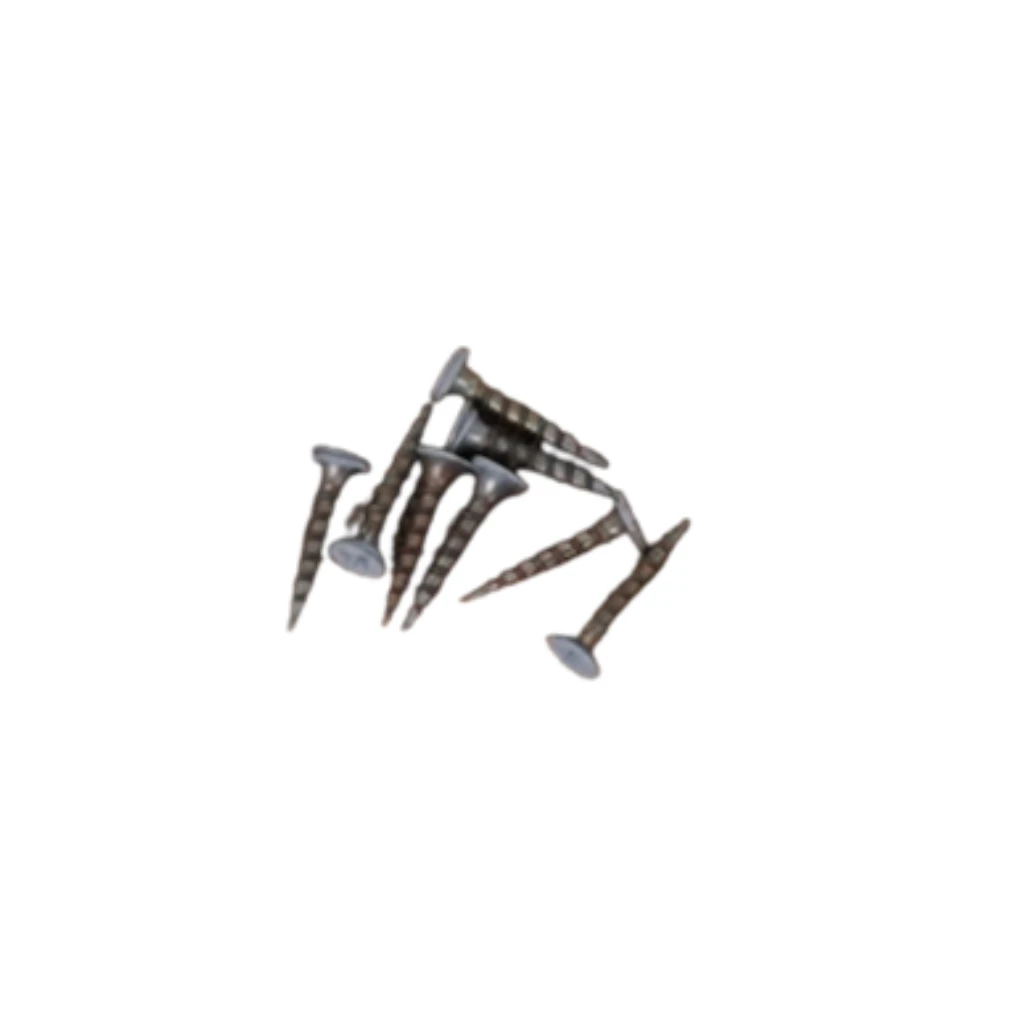
White-head hinge screws
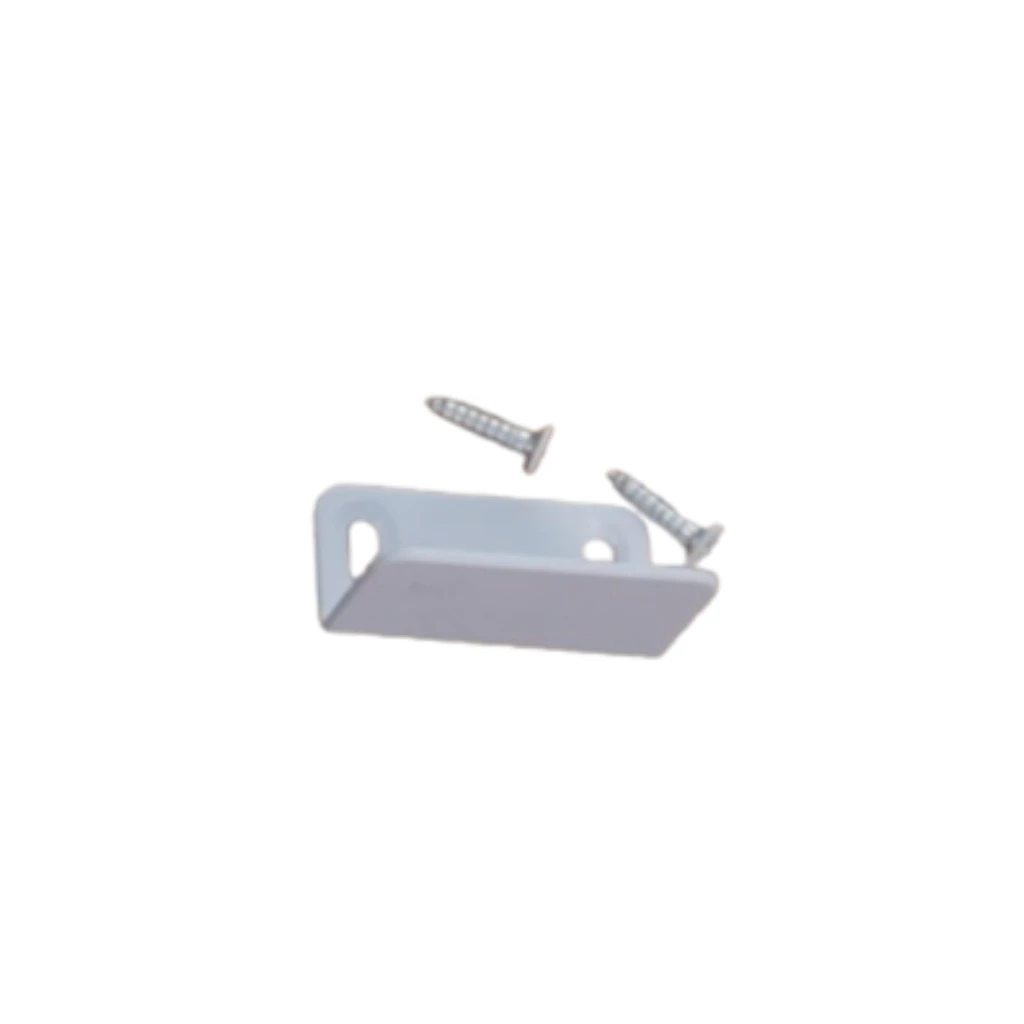
L-striker plate (3-sided frame)
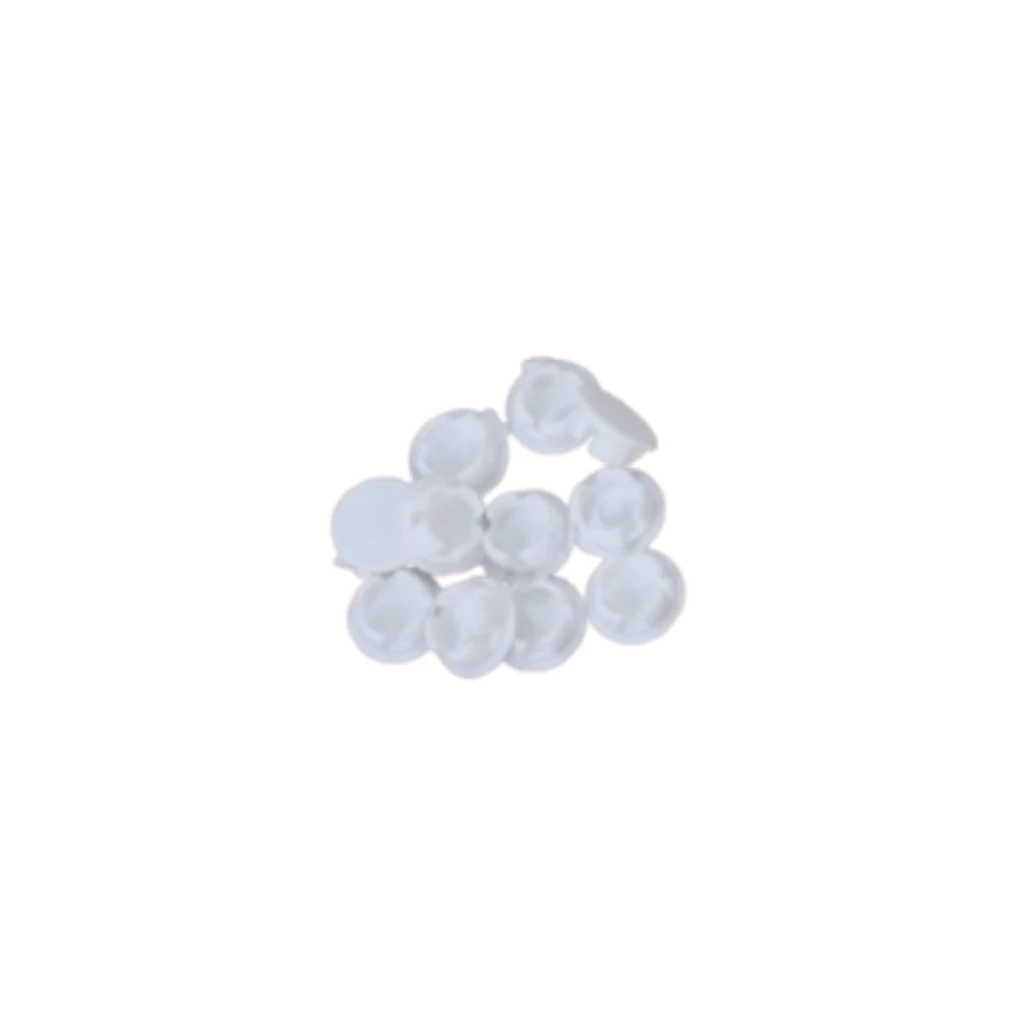
Screw hole caps
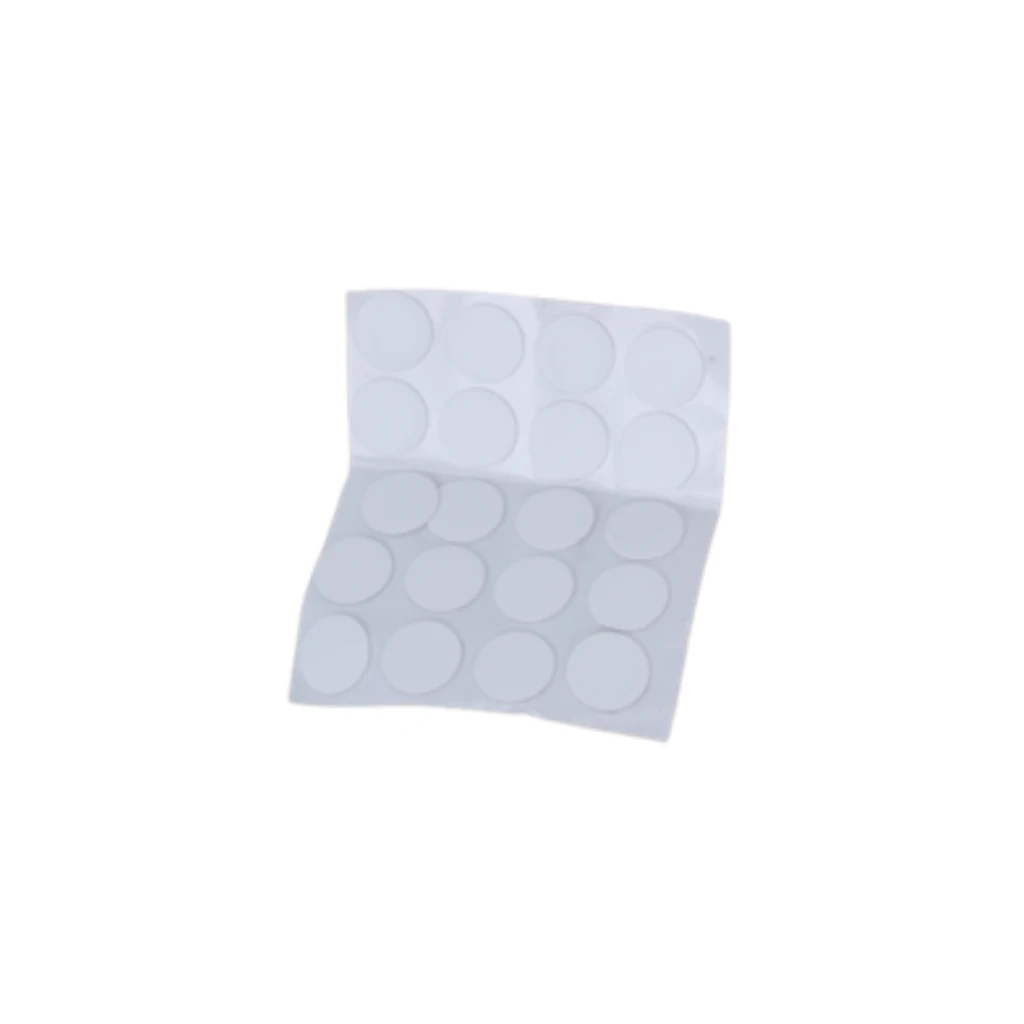
Screw hole stickers
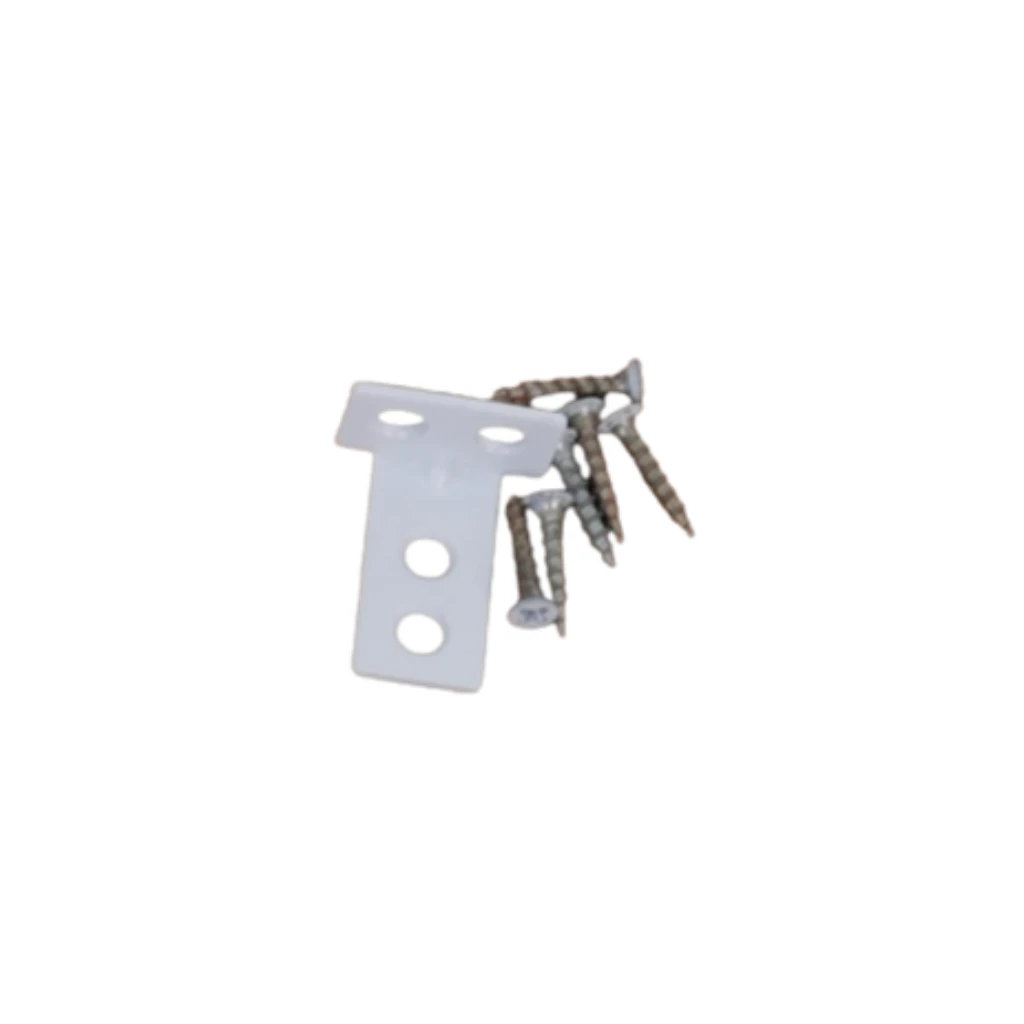
T-post bottom bracket (3-sided frame)
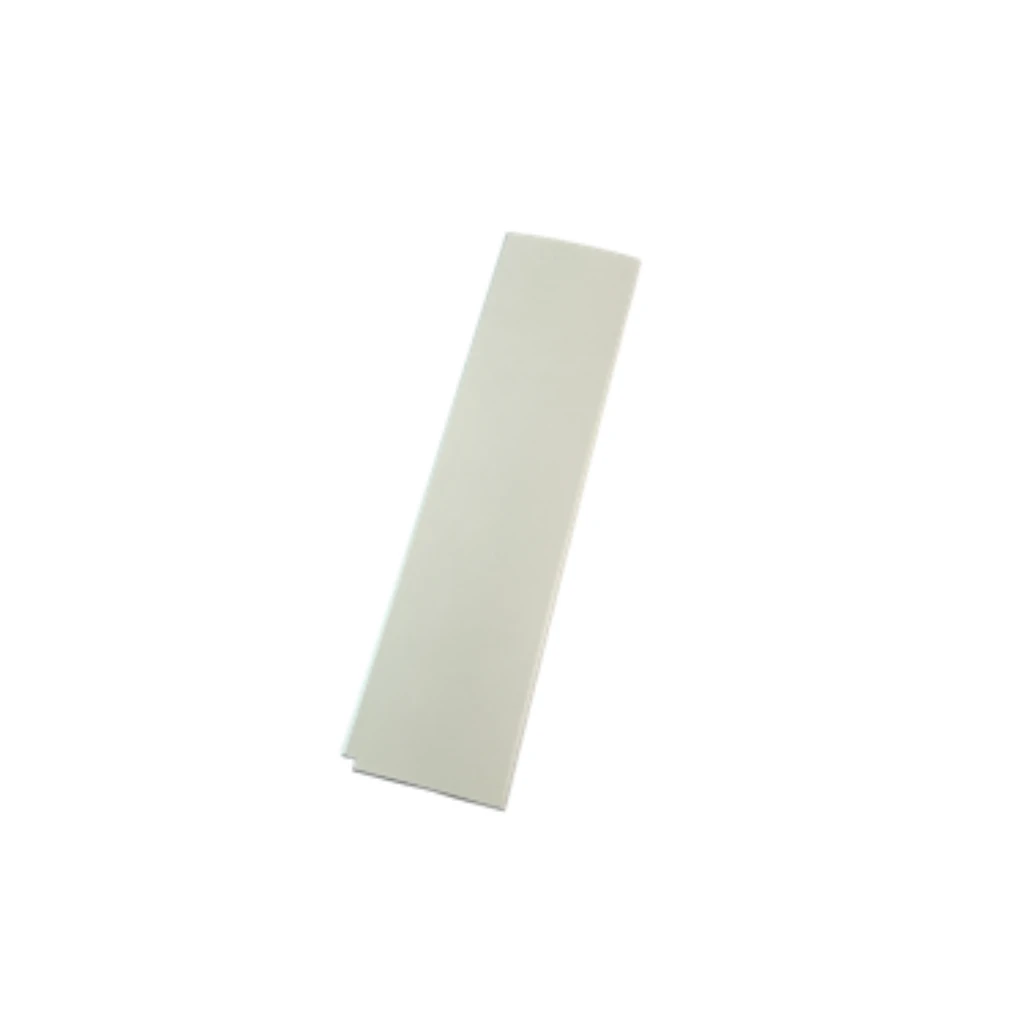
Spare shutter blade
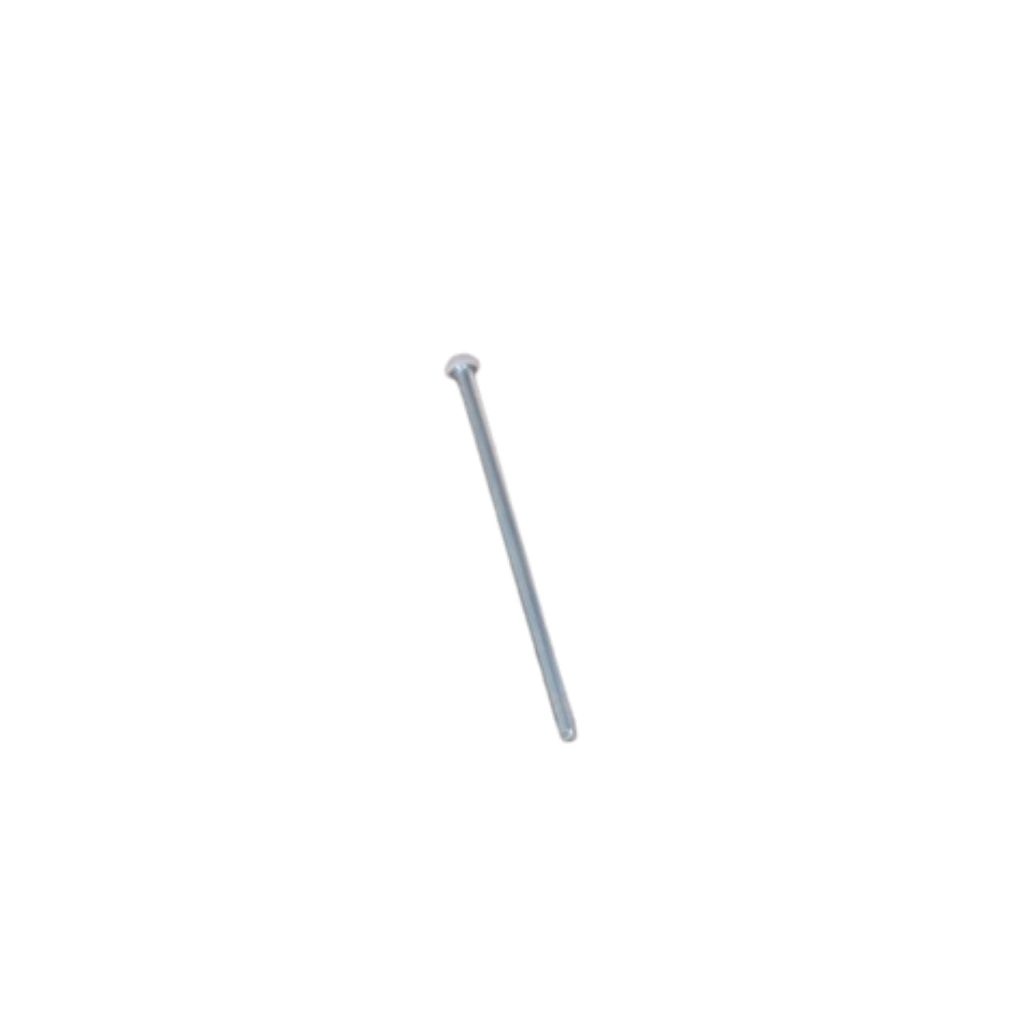
Shutter pins
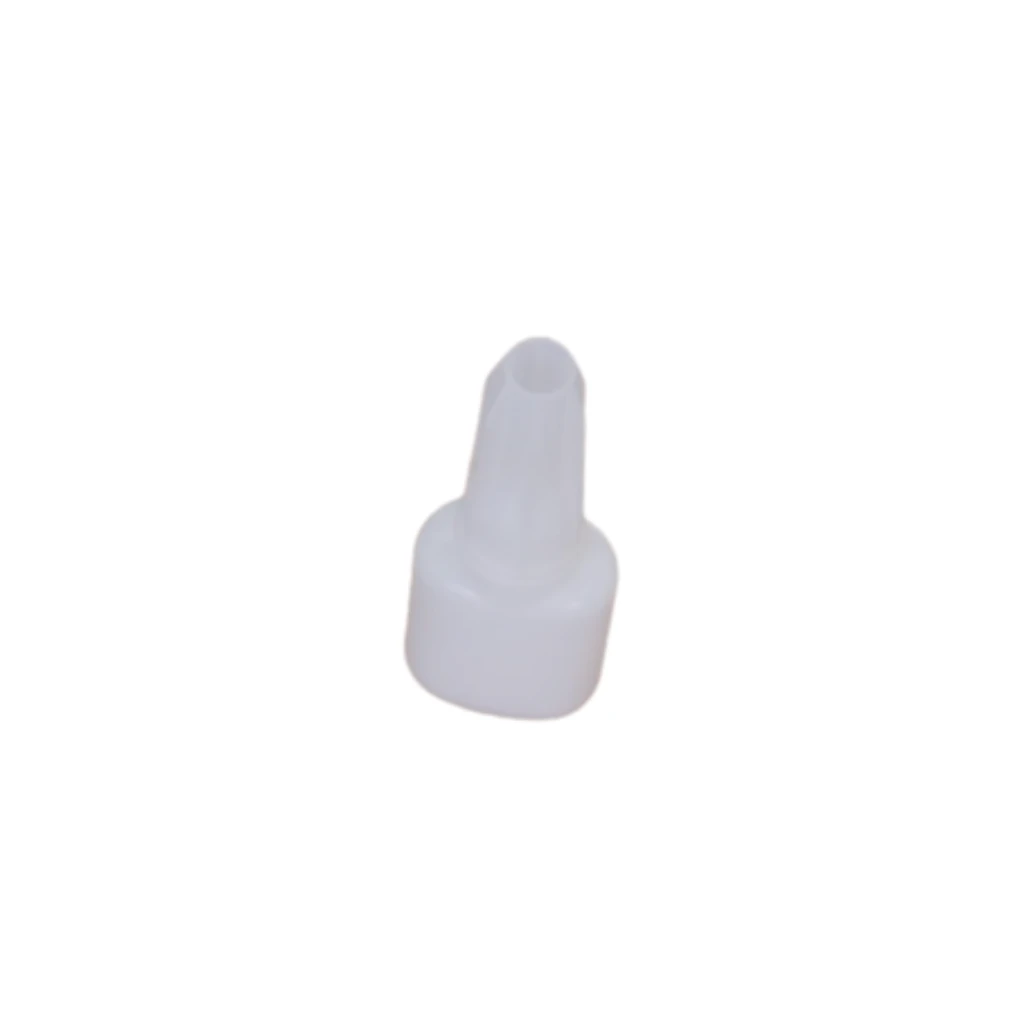
Touch-up paint
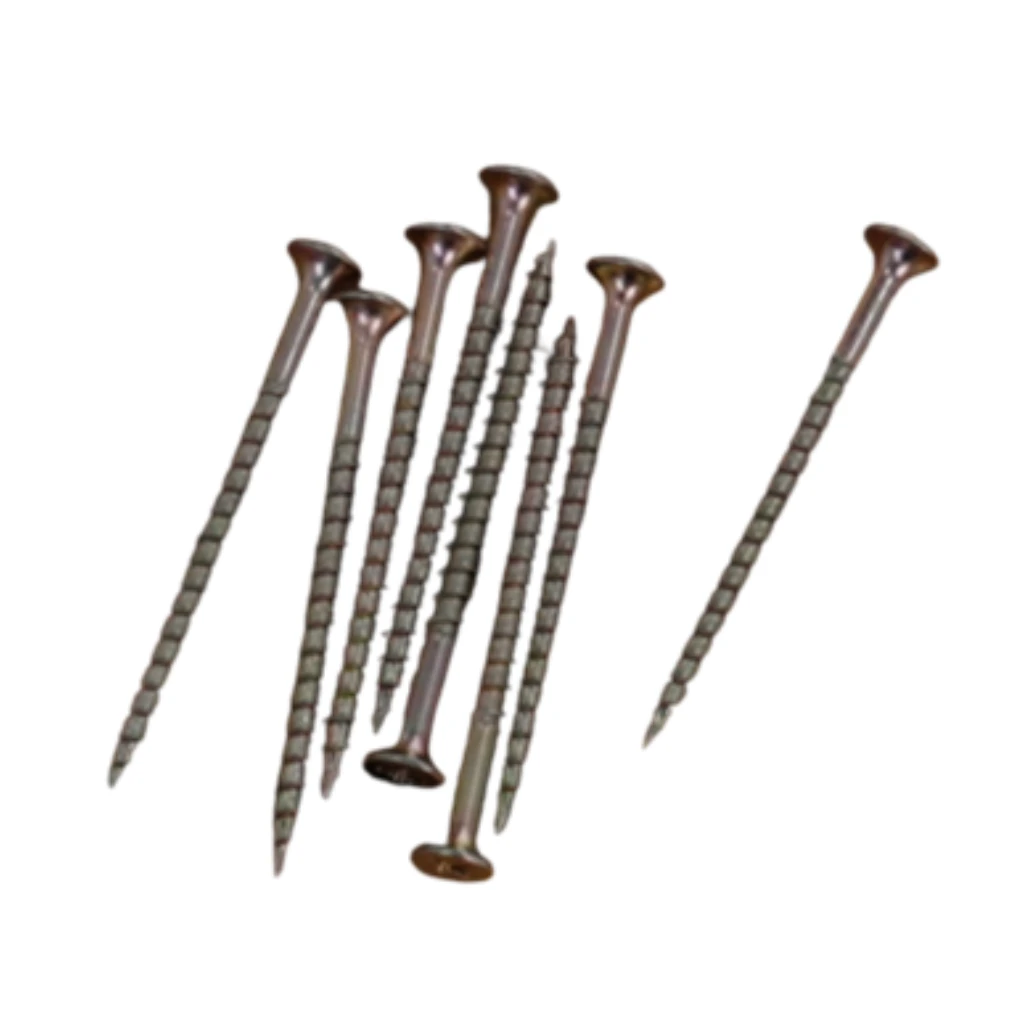
T-post screws

Hinge packers
What you will need to install your plantation shutters
Let’s make sure you’re all set:
1-2 people, 10–30 minutes
U Shaped Window Packers
Caulking gun & Gap filler (for inside mount L Frame only)
5mm drill bit 150mm long
PH 2 Bit – Screwdriver bit
Cordless drill
Spirit level or laser level
Blue painter tape or masking tape
A step ladder if necessary
Clean cloth
Installation screws for installing different types of frames
- •
Zenith Chipboard Countersunk Rib Head Screw 8G x 20mm (U channel & Direct Mount)
- •
Zenith Chipboard Countersunk Rib Head Screw 8G x 40mm (Inside mount L frame)
- •
Zenith Chipboard Countersunk Rib Head Screw 8G x 60mm (Inside mount Z frame)
- •
Zenith Chipboard Countersunk Rib Head Screw 10G x 75mm (Outside mount L frame)
*Depending on the window frame material you will be installing your shutters into, make sure you purchase appropriate installation screws - timber, masonry or aluminium.
Assembling the frame
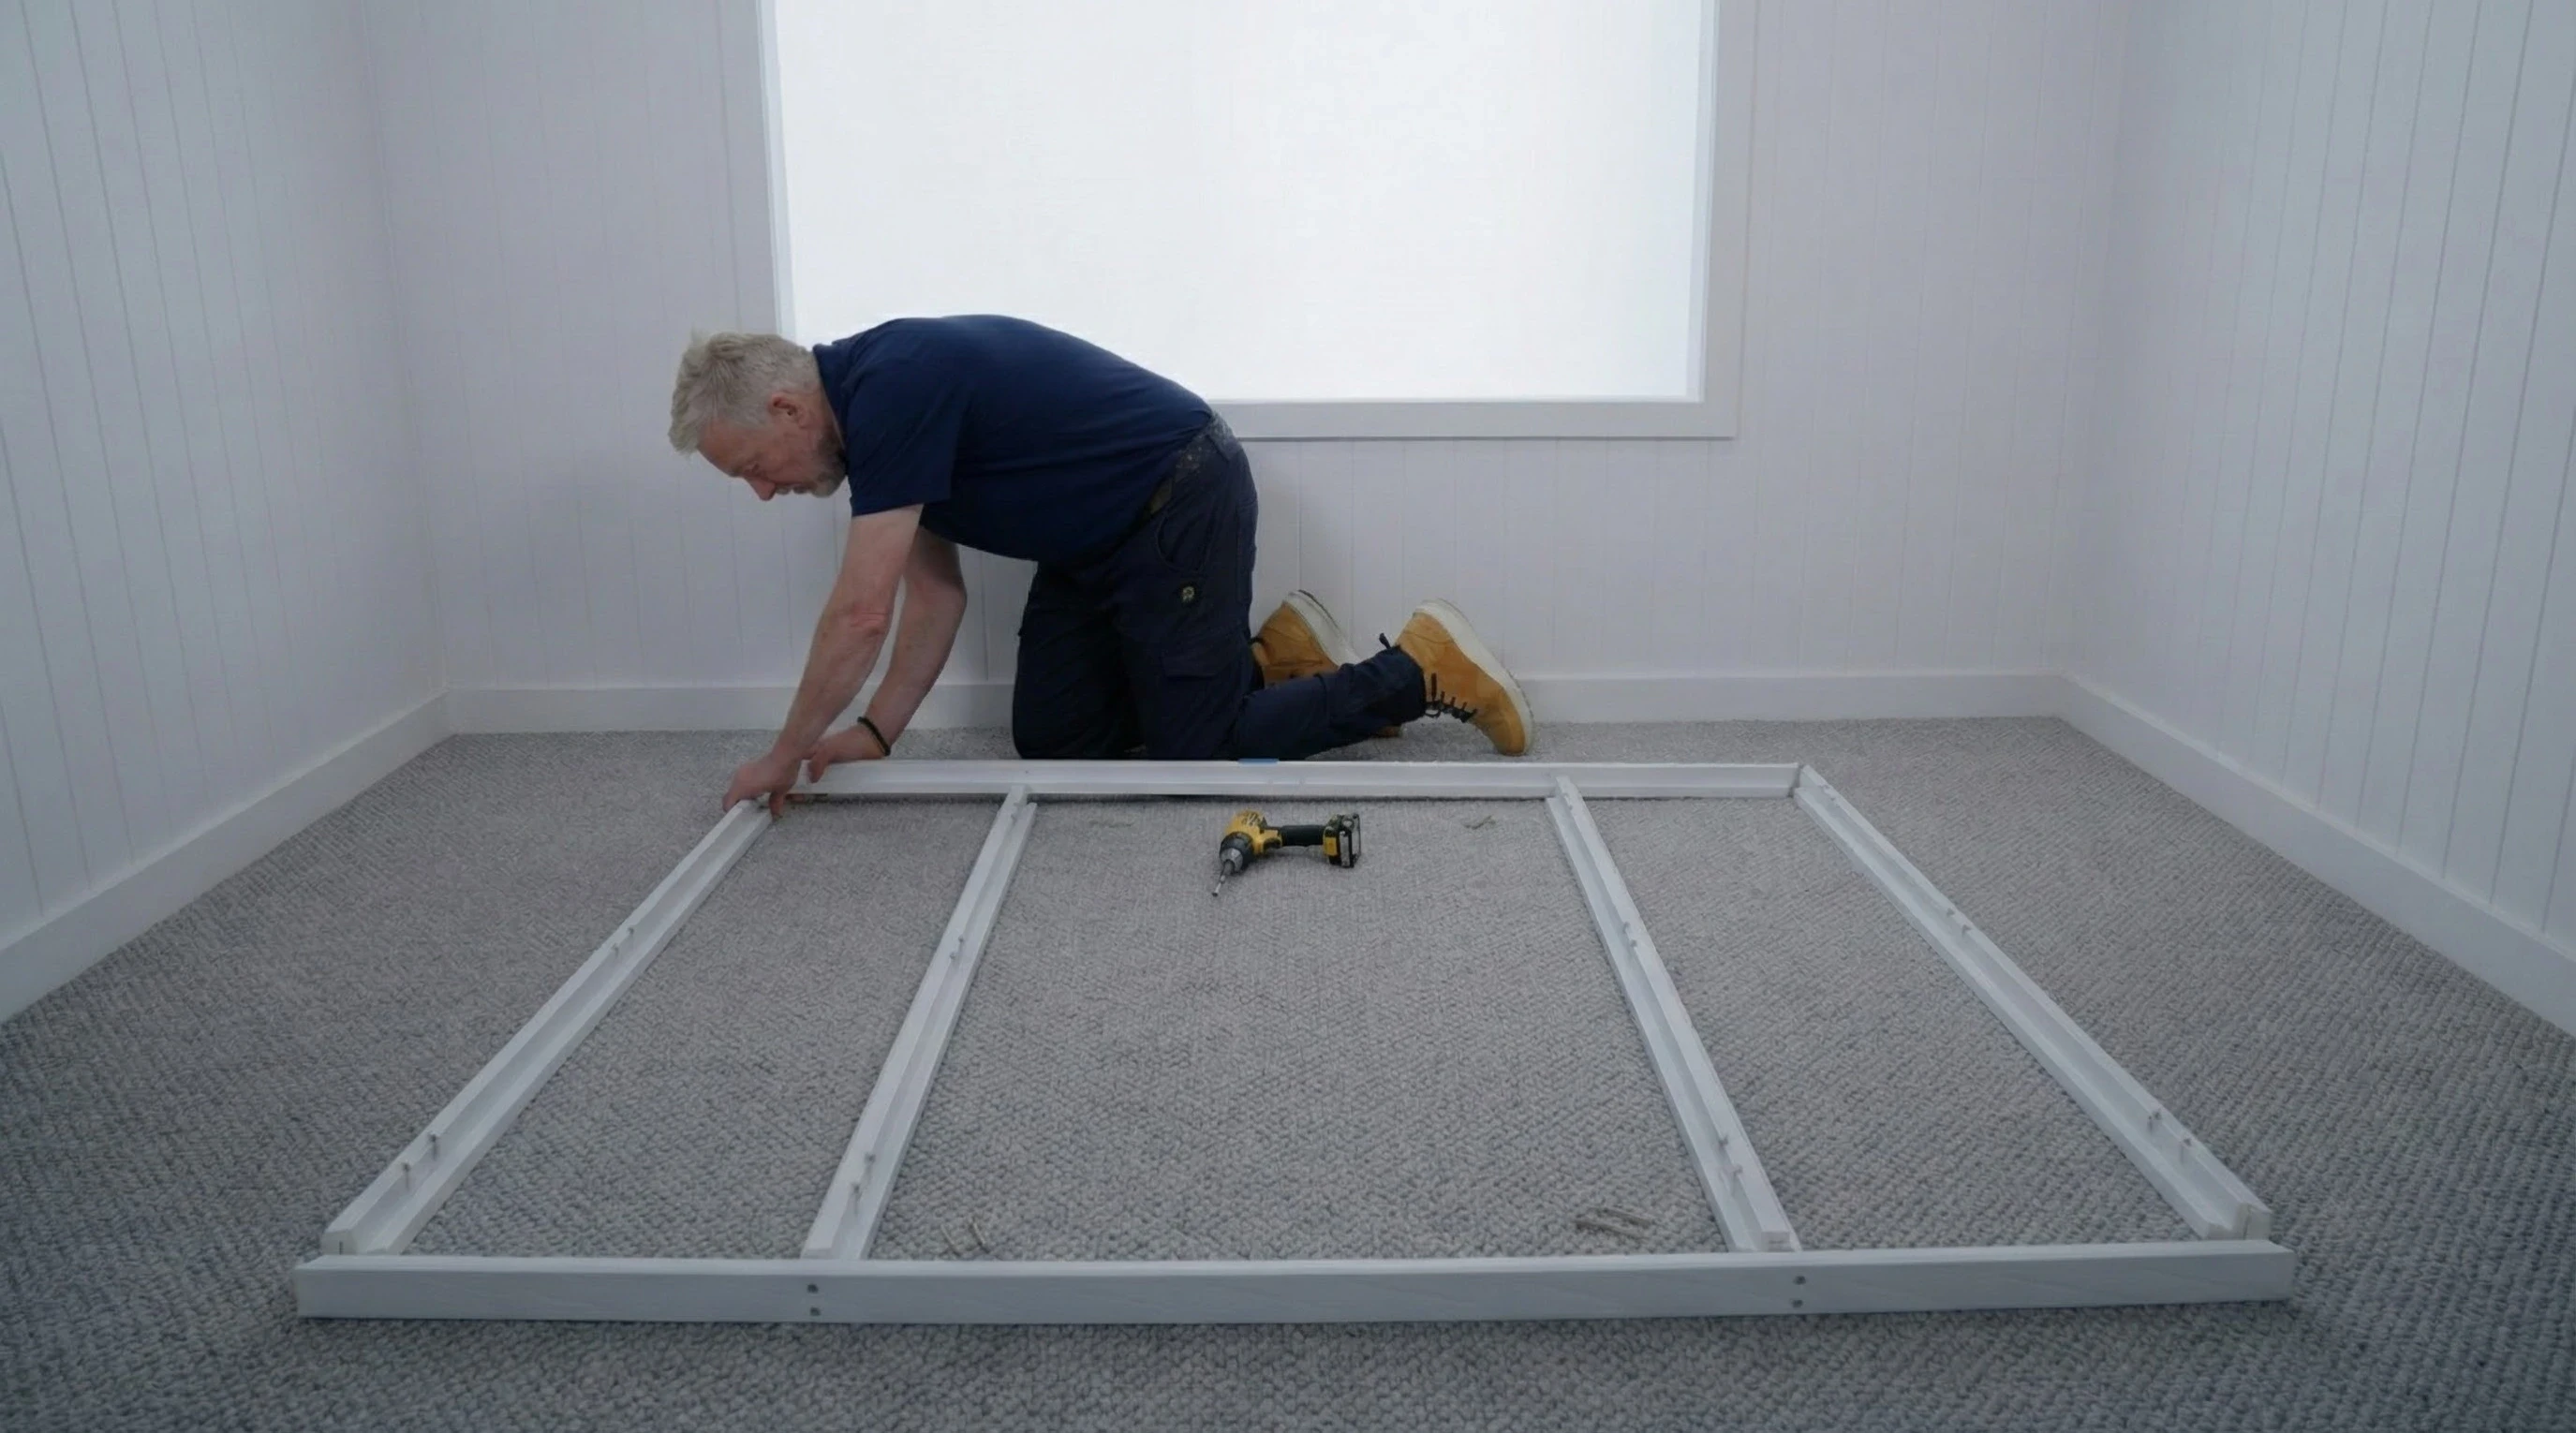
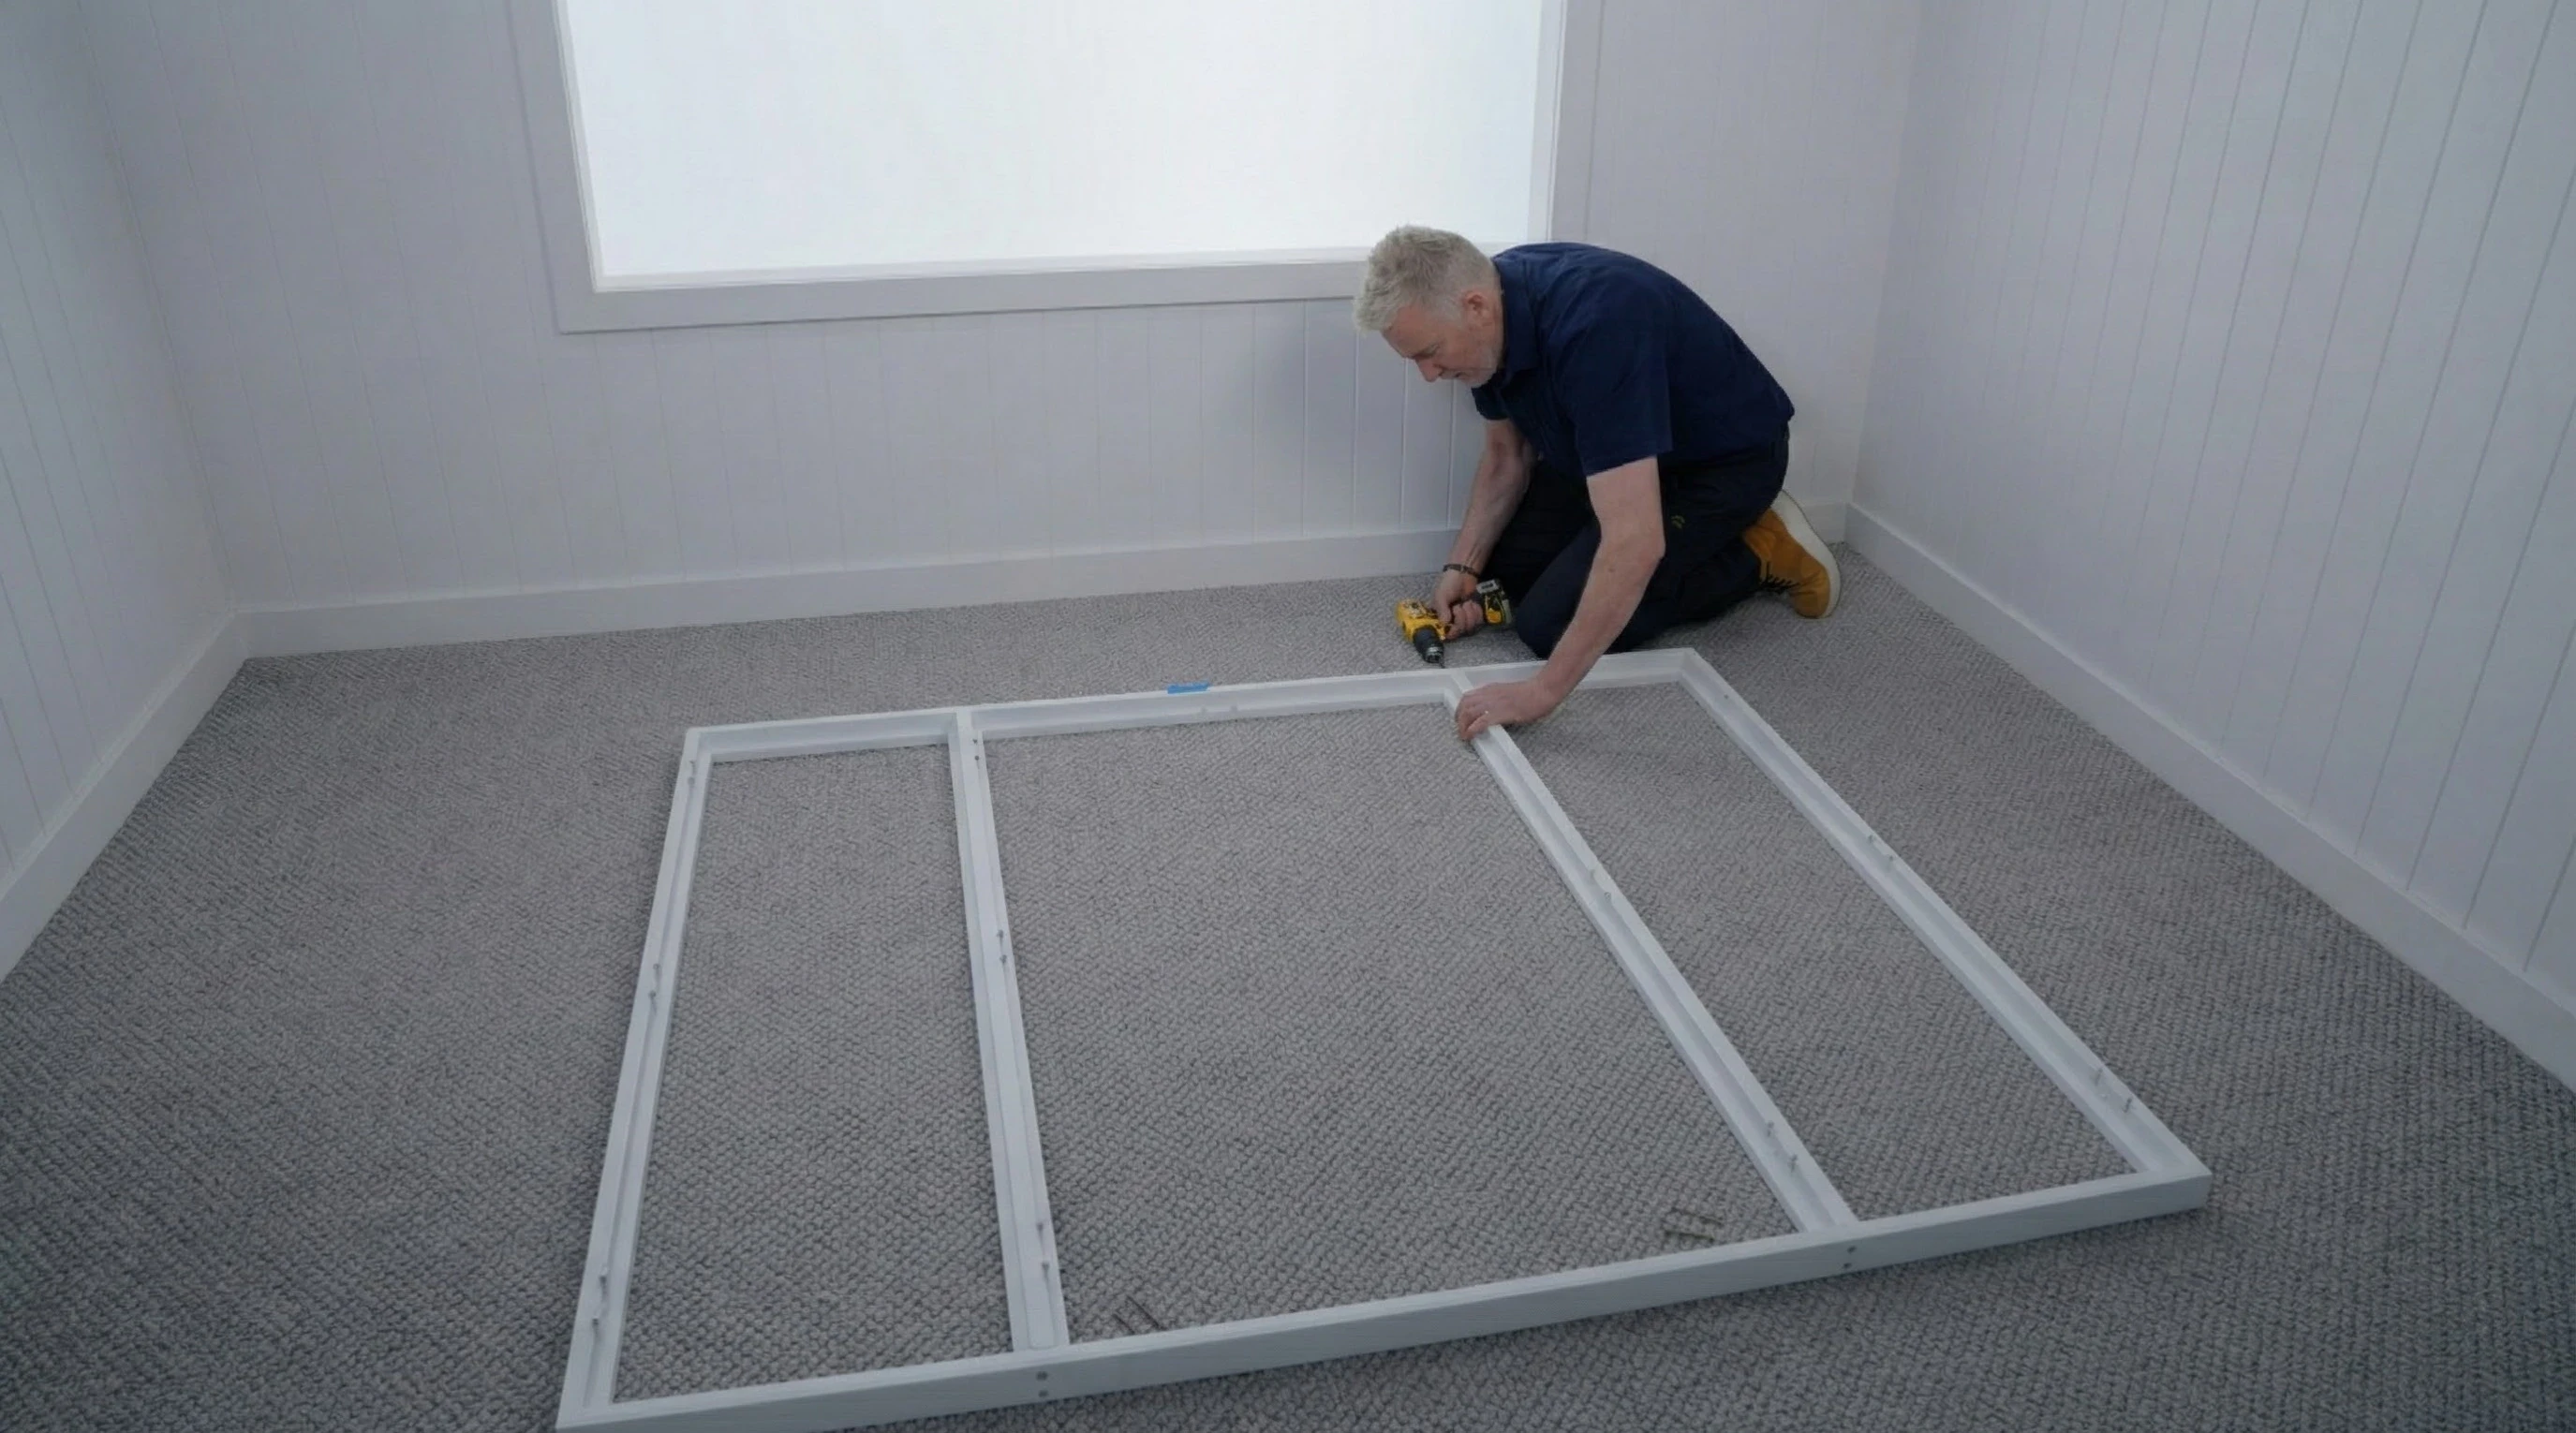
The process for assembling your frame is the same for an inside mount L and Z Frame, as well as an outside mount L Frame.
Each part of the frame will be marked T (top), L (Left), R (right) and B (bottom- if you have a 4 sided frame).
Working on a flat surface, lay the frame out in the correct position, mark the top frame with blue painters tape “So you always know where the top is”
Attach the corners and gently push the sides of the frame together. Be very careful to protect your mitre corners!
If you have a T-Post, it will sit inside the frame, screw them onto your shutter frame using your cordless drill and the T-post screws in your box. There are pre-drilled holes on your shutter frame to show where you'll attach the T posts.
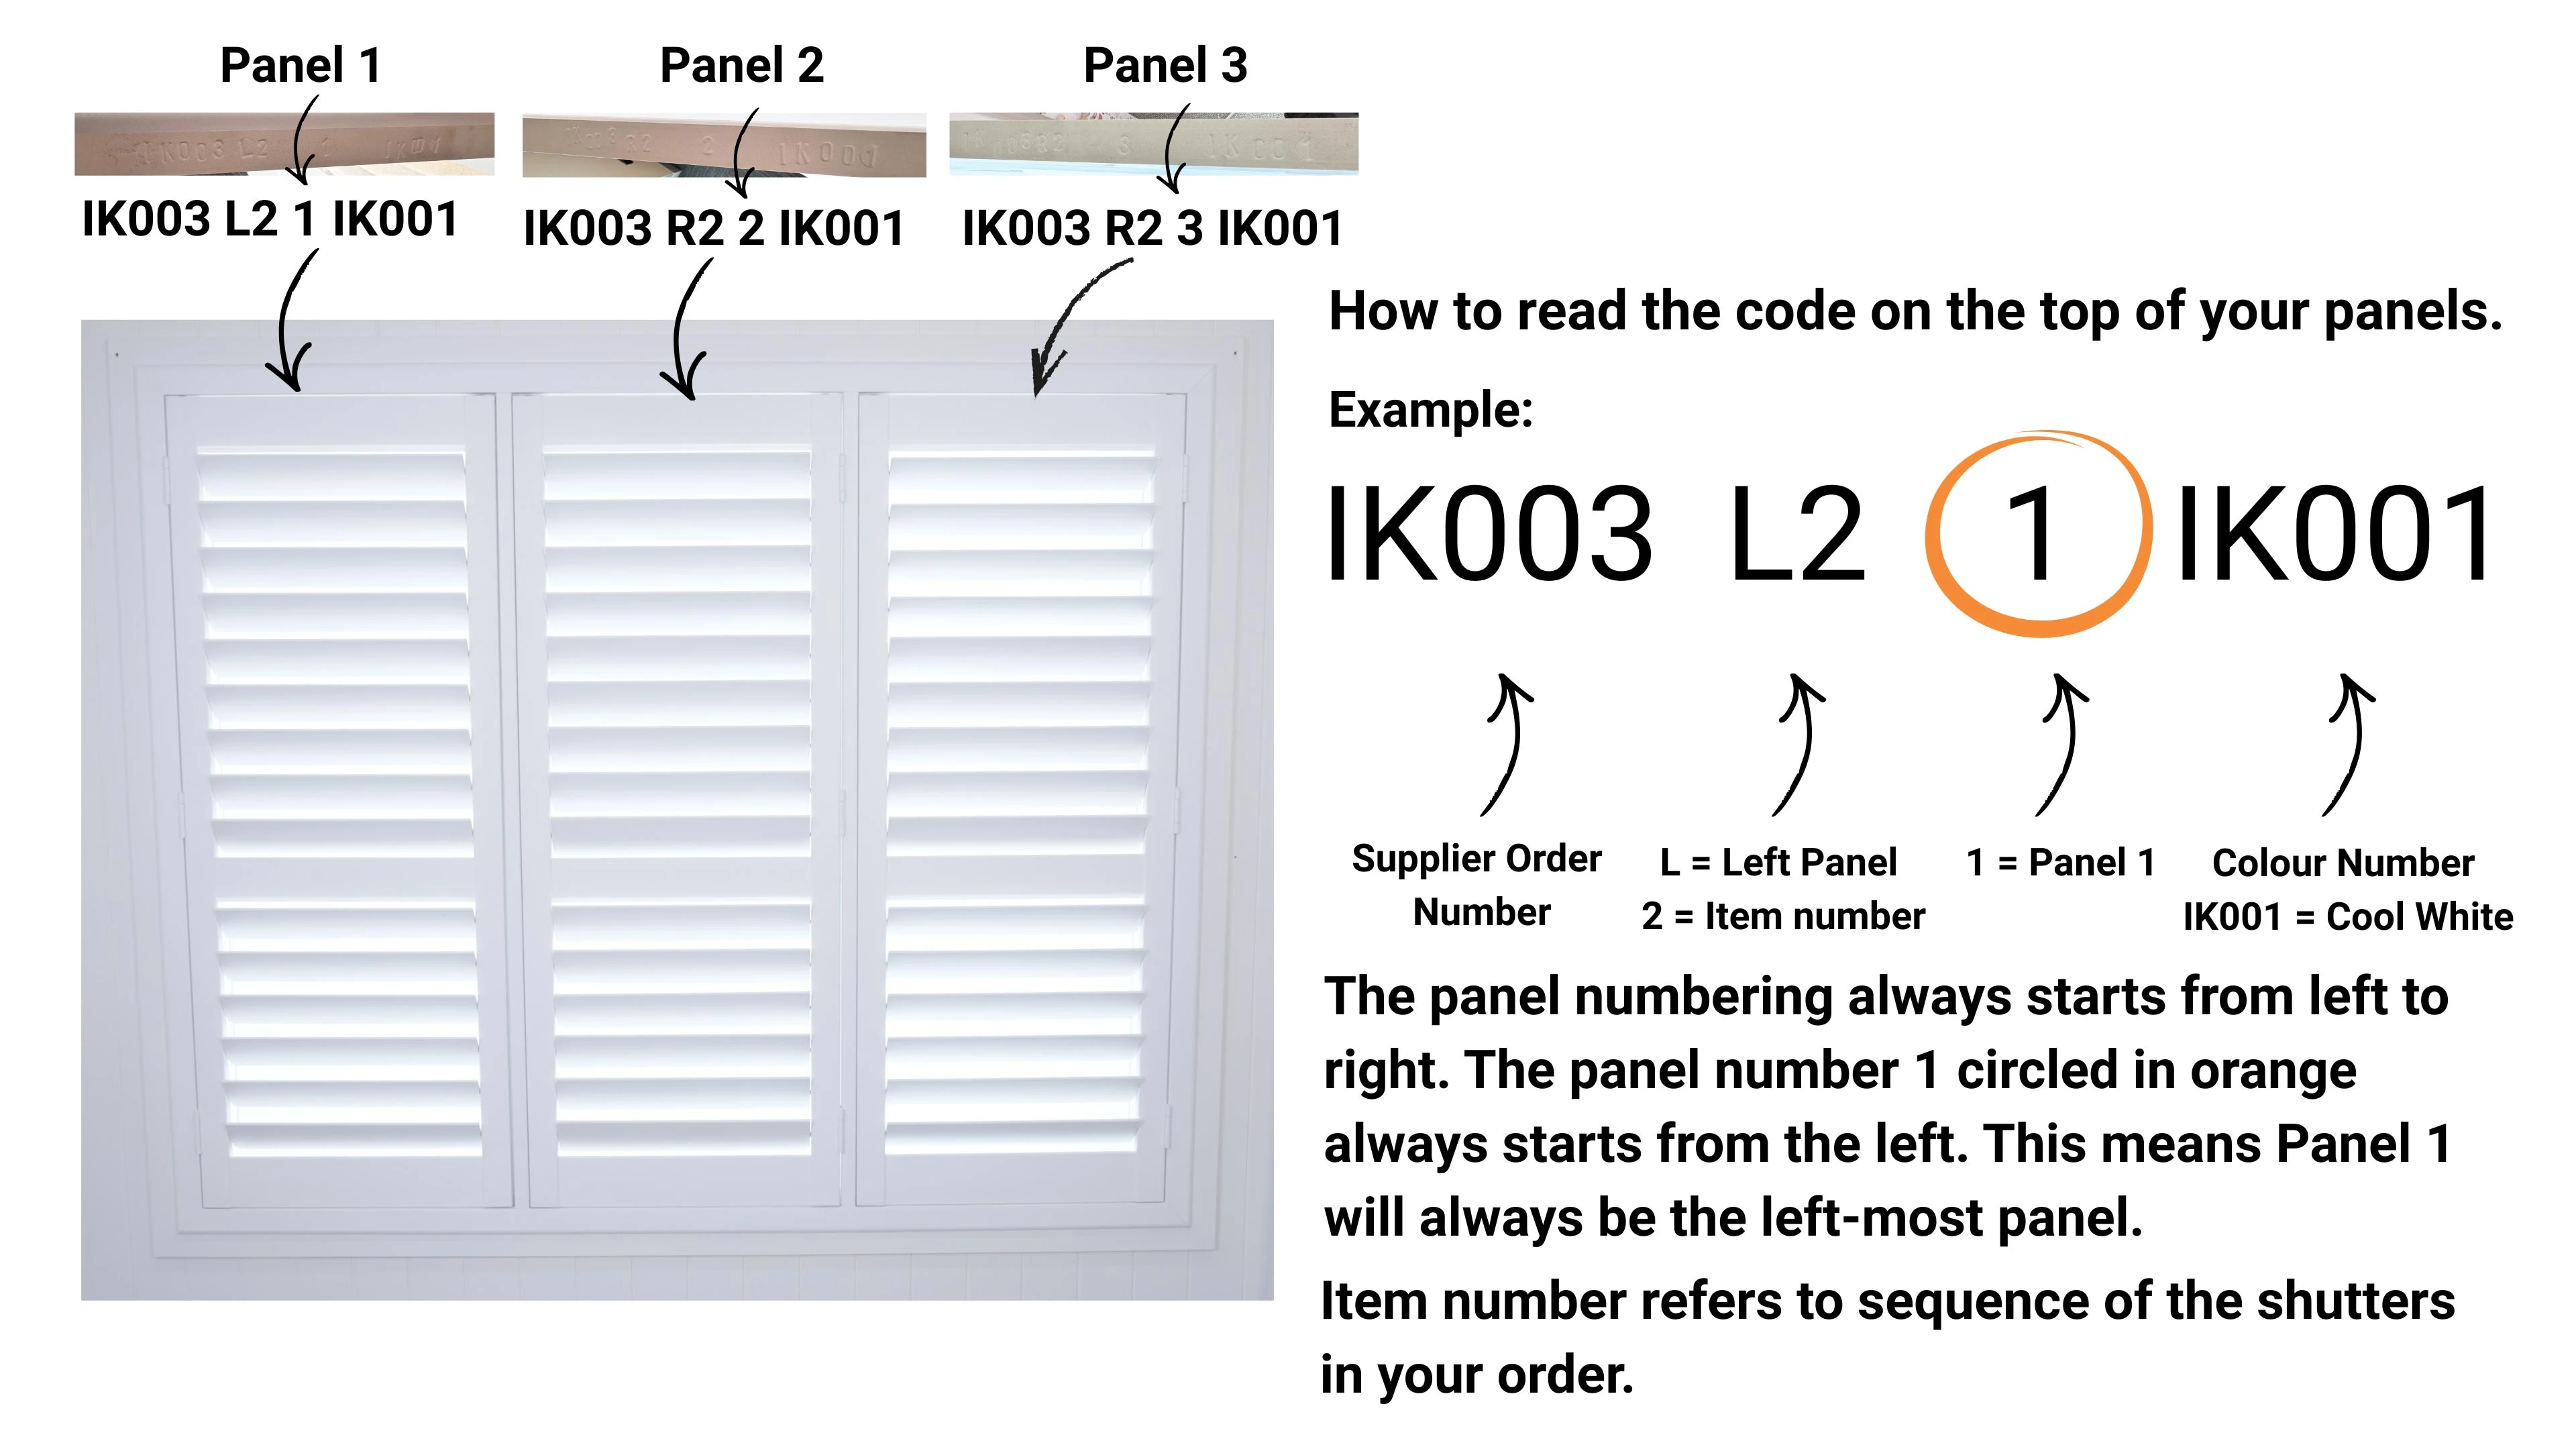
Work with your Panel Layout Chart to ensure your T-Post hinges are facing the correct way and make sure the T-Post is not inserted upside down.
Watch the installation video for guidance.
Inside mount L-Frame & Z-frame Shutters
1
Getting started
Take your time.
This installation requires Zenith Chipboard Countersunk Rib Head Screw 8G x 40mm (Inside mount L frame) or Zenith Chipboard Countersunk Rib Head Screw 8G x 60mm (Inside mount Z frame)
Preparation is key.
Stay level. Ensuring your bottom frame is straight & true, is a key step in the installation of your Plantation Shutters.
Follow the steps in order.
If you have more than one panel in your layout, make sure you lay out your panels in order from left to right in the order of panel 1 to panel 3 (if you have 3 panels)
Shutters 'dress up' - make sure you attach your plantation shutter panels the right way up (a shutter pushes up to close its blades from the front – we call this dressing up).
It's a good idea to have someone to assist you - one to hold the panel and one to then insert the screws
2
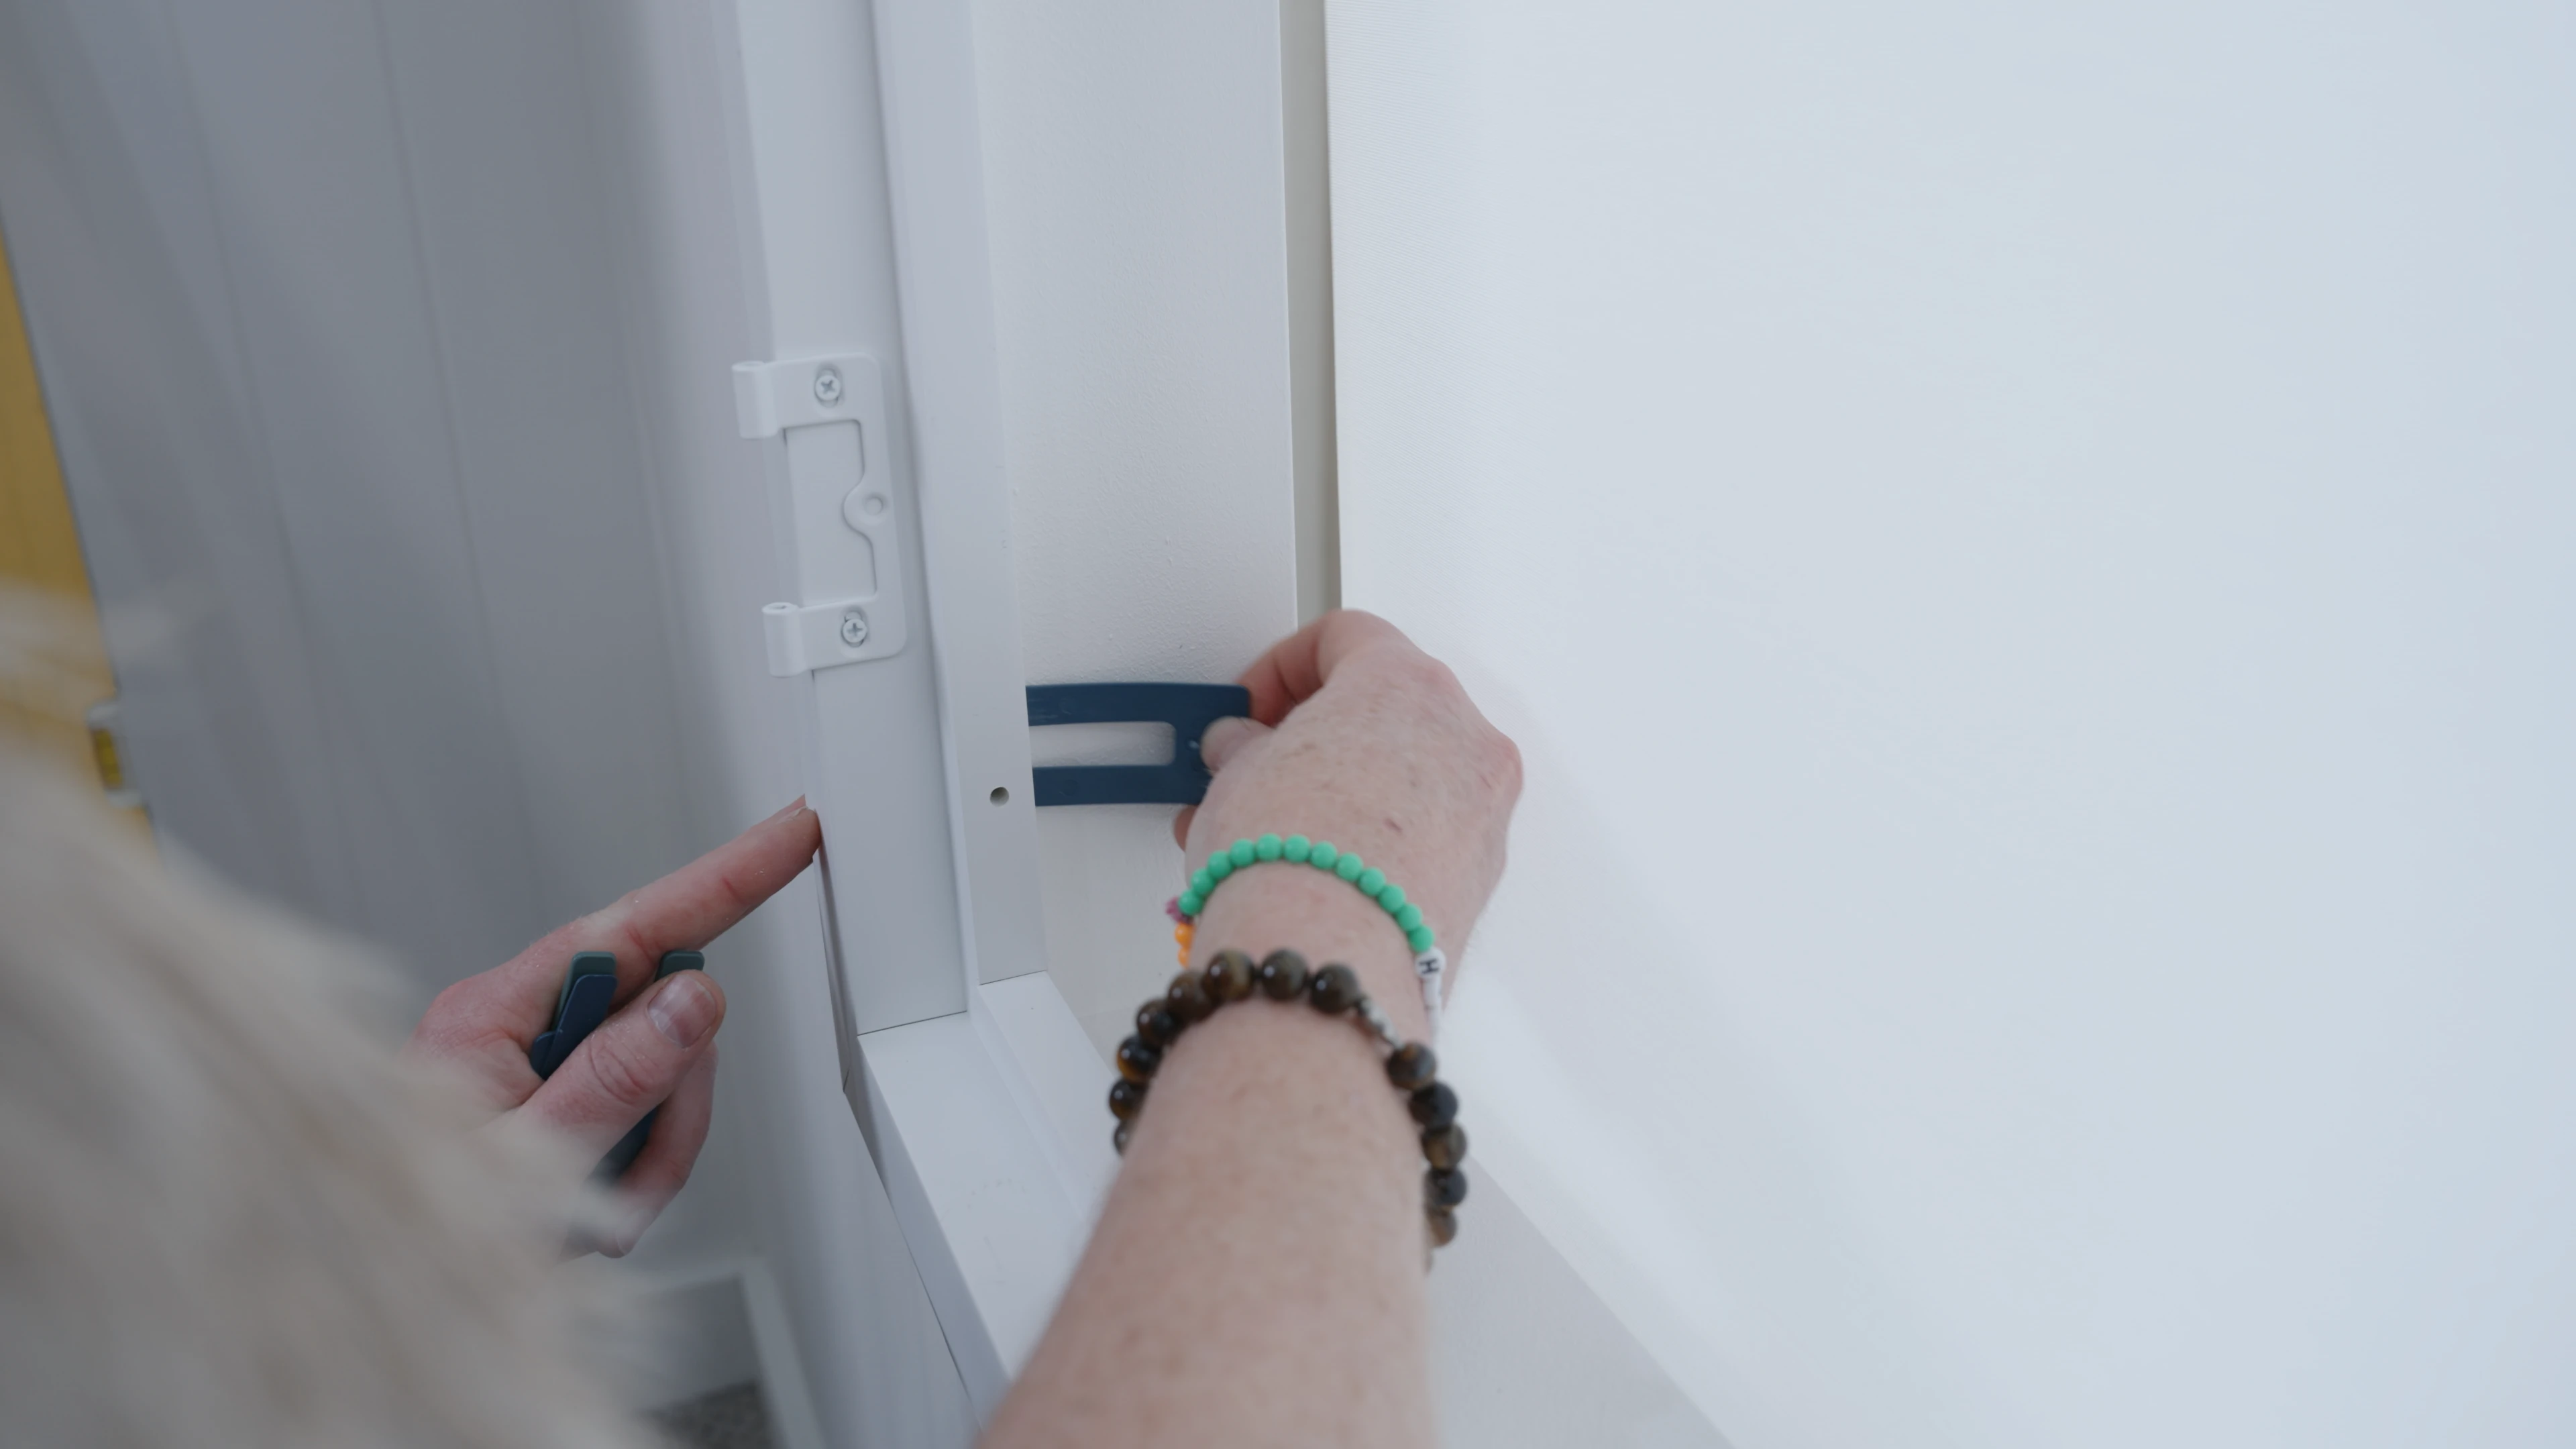
Packing your frame
You have already assembled your frame and lifted it into position.
Place the frame inside your recess and jiggle it about to see what sort of gaps you have.
Then using your packers, insert them in around the frame. Make sure you use your spirit level to ensure everything is and remains square.
Z Frame
When packing a Z-Frame you will need to insert your packers in behind the lip of the Z-Frame. The lip will hide the packers from view.
Watch the video to see exactly how to insert the packers.
3
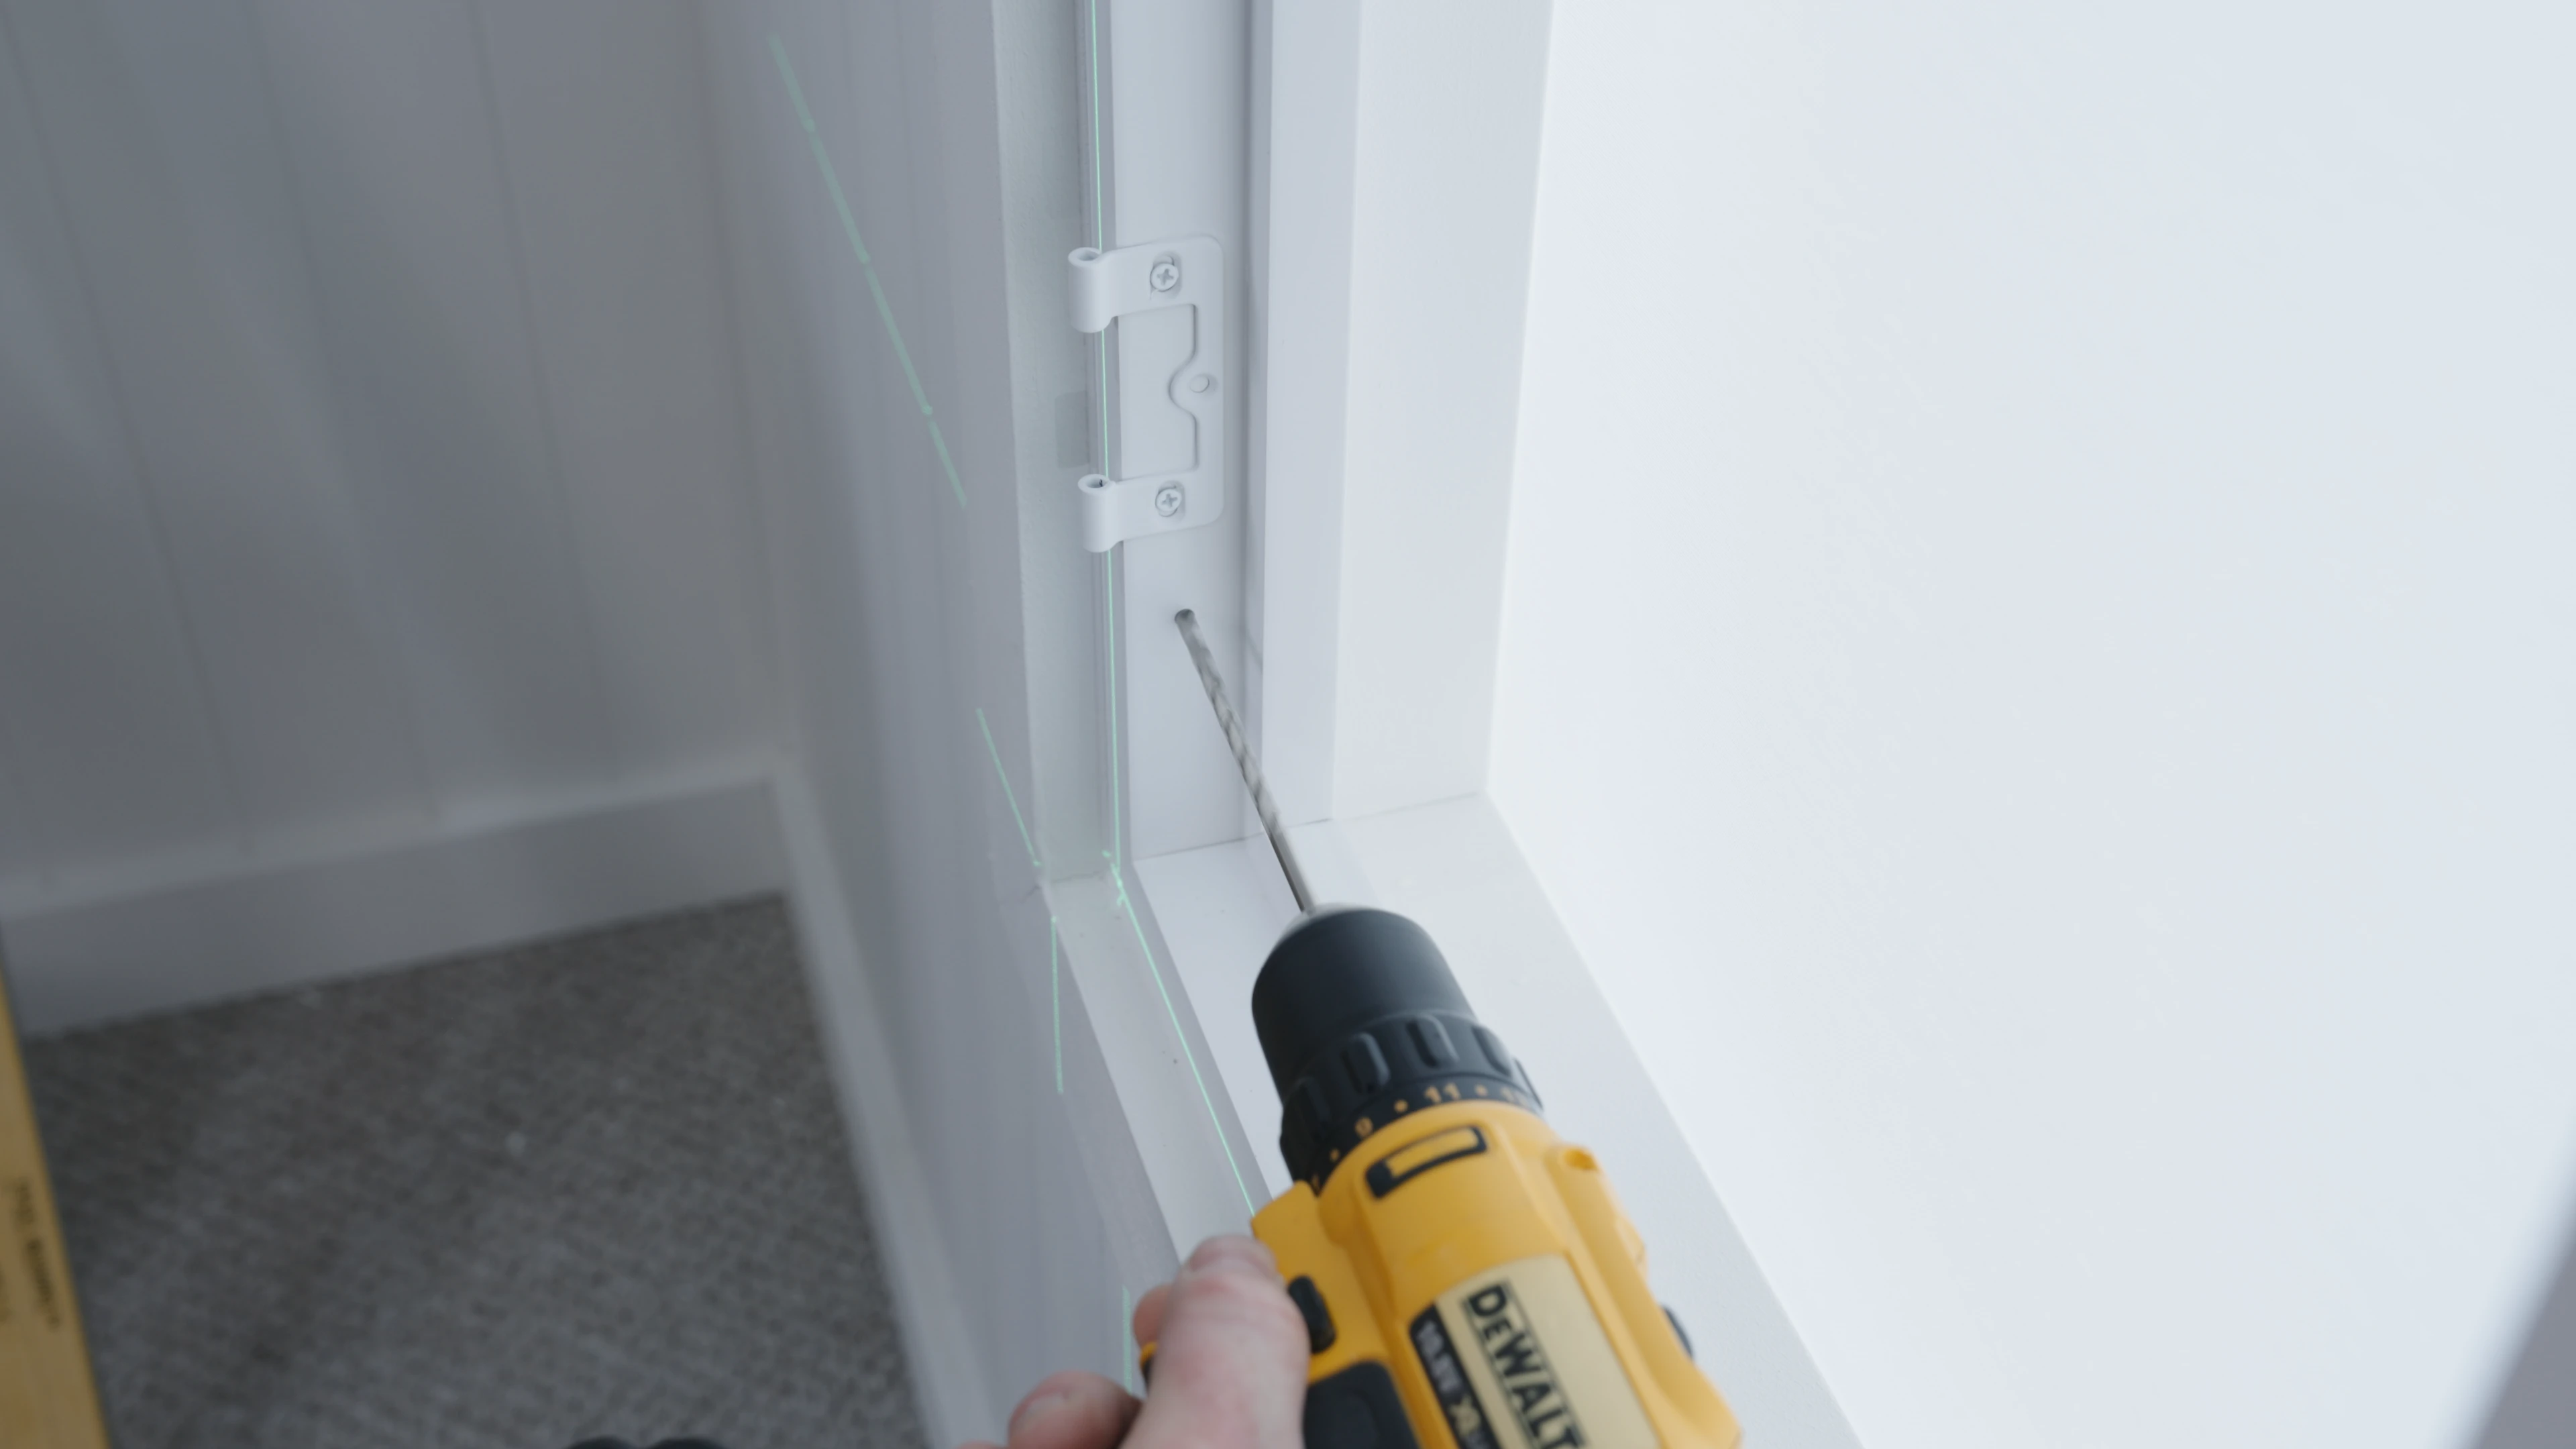
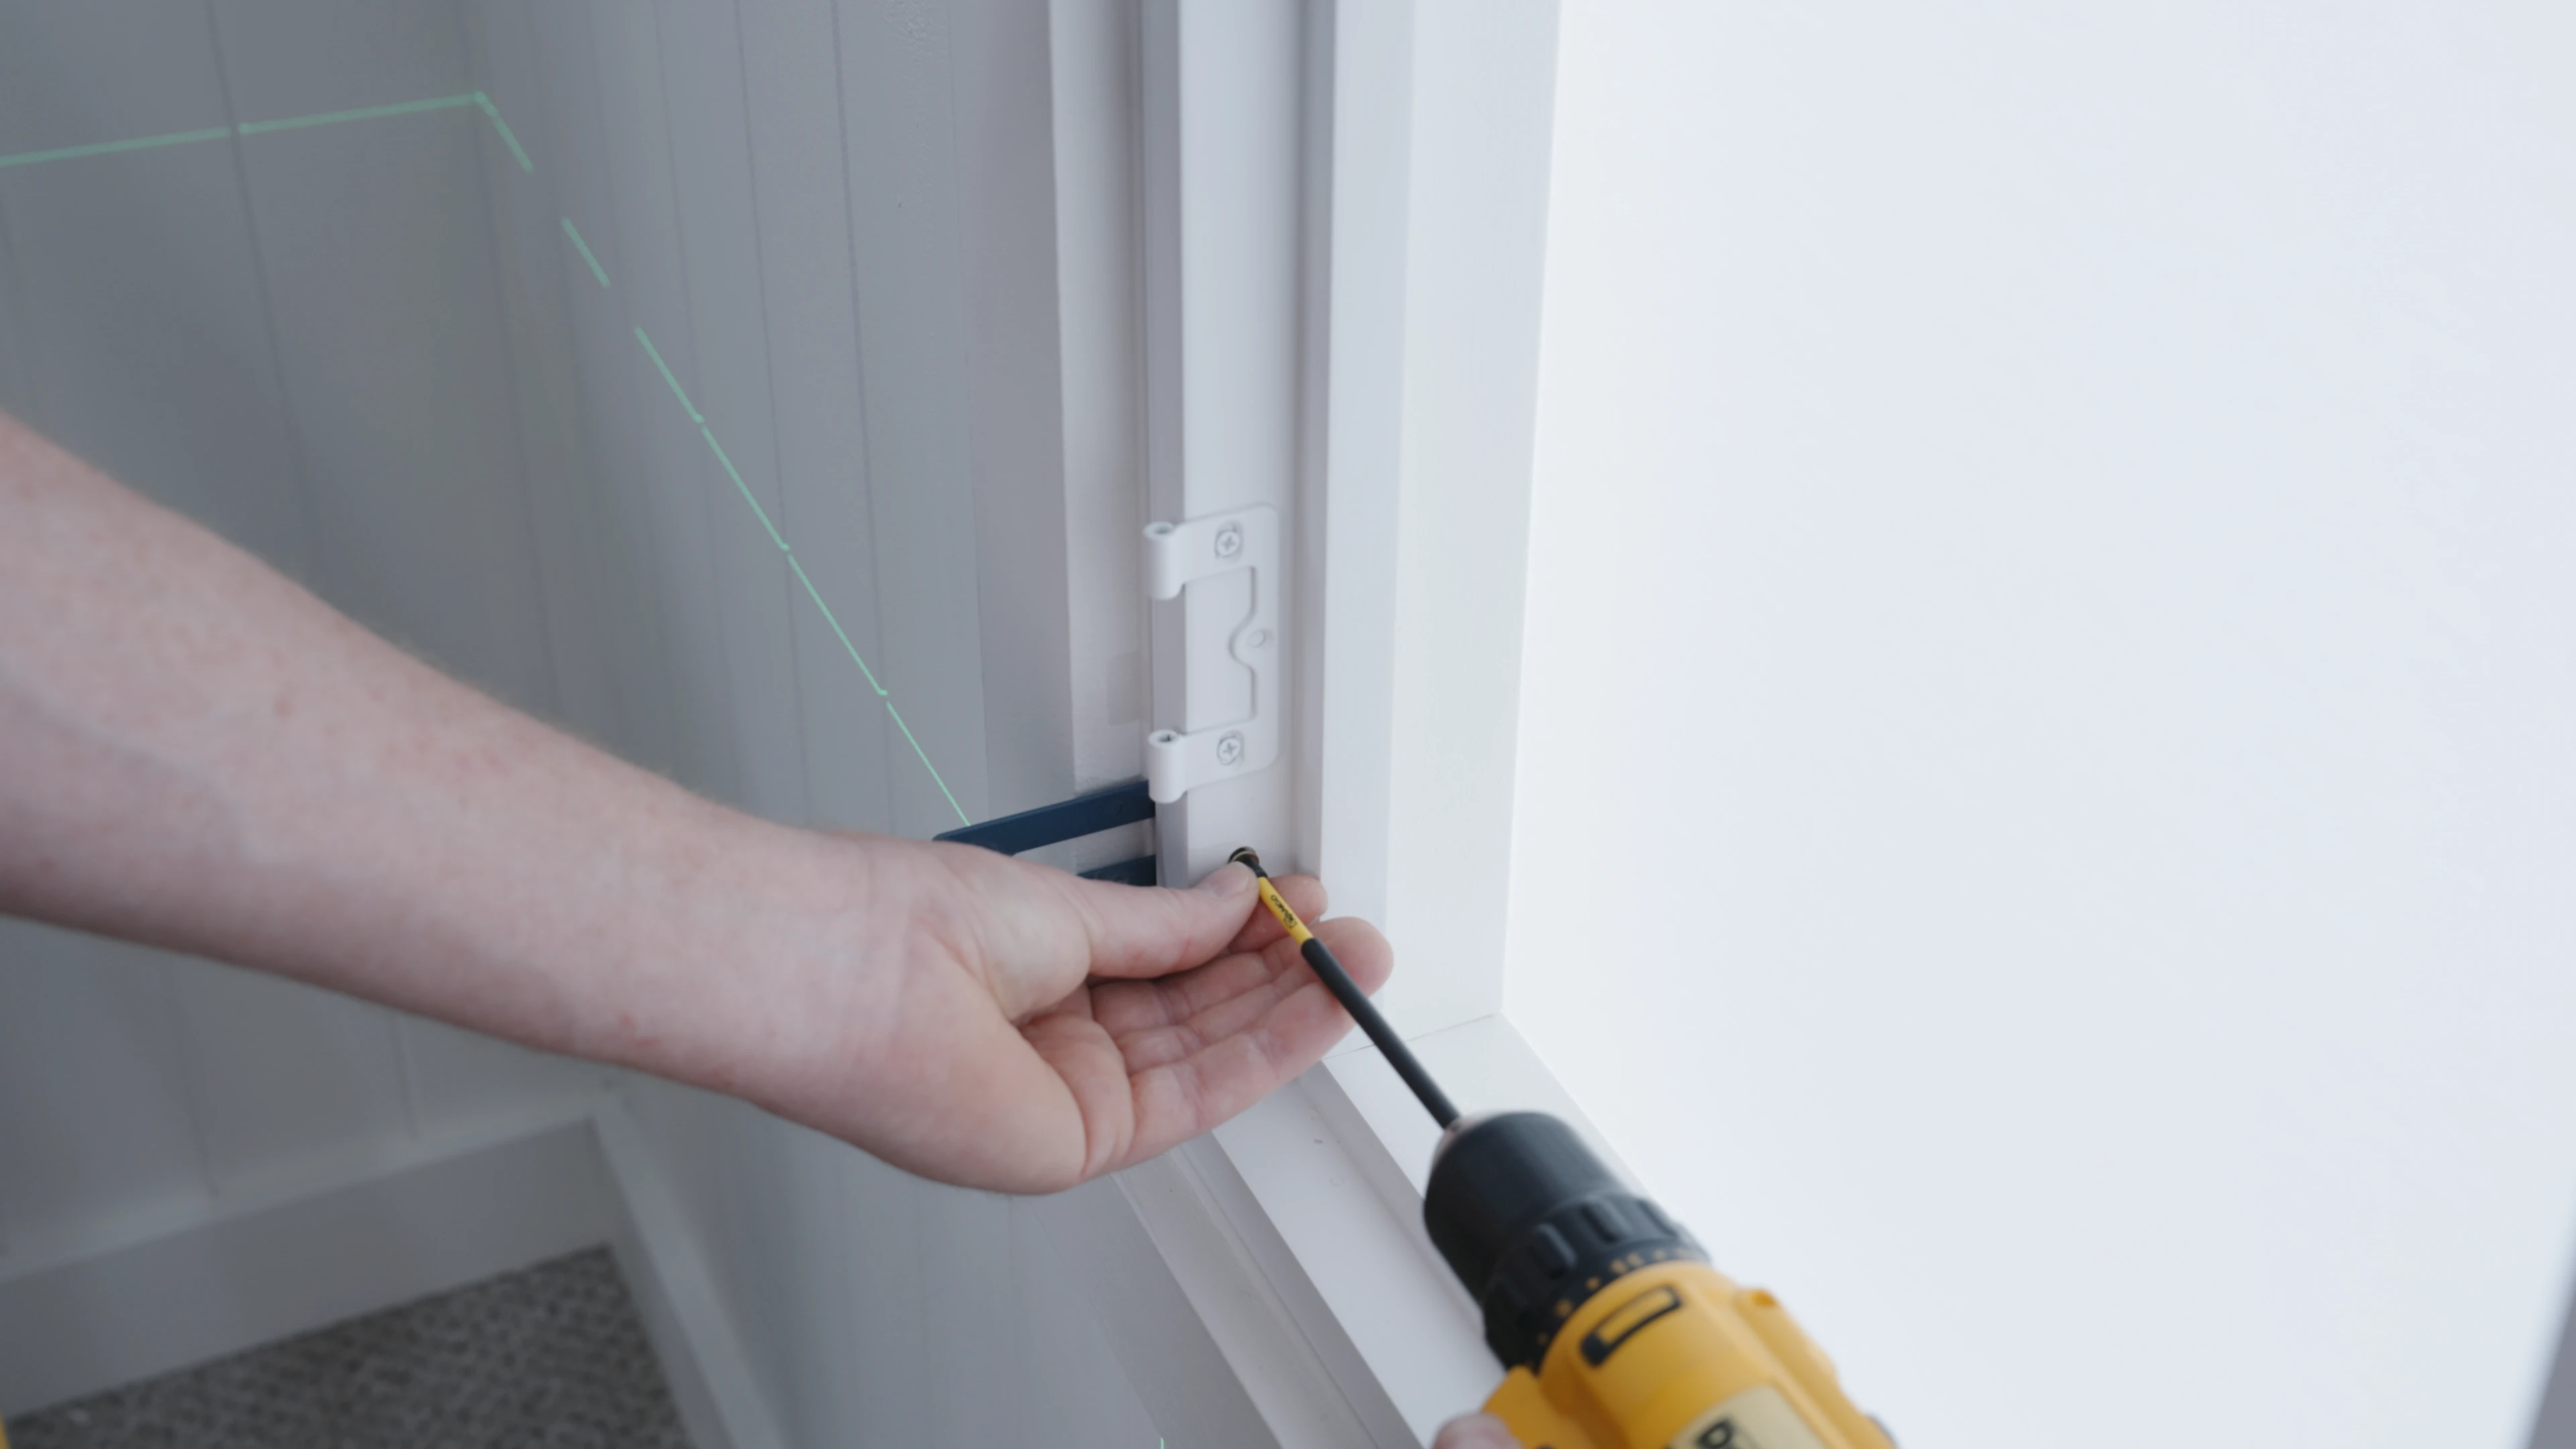
Pre-drill holes and secure frame to window recess
Where the packers are positioned, use your 5mm drill bit to pre-drill the holes through the frame only - don't drill through into the window recess.
You don't need to use a lot of them - just space them evenly through each of the frame sides, top and bottom.
Then get your screws and using your drill bit, screw them into the frame so that they just 'bite' into the sides of the window recess.
Repeat this process around the frame until the frame is secure.
4
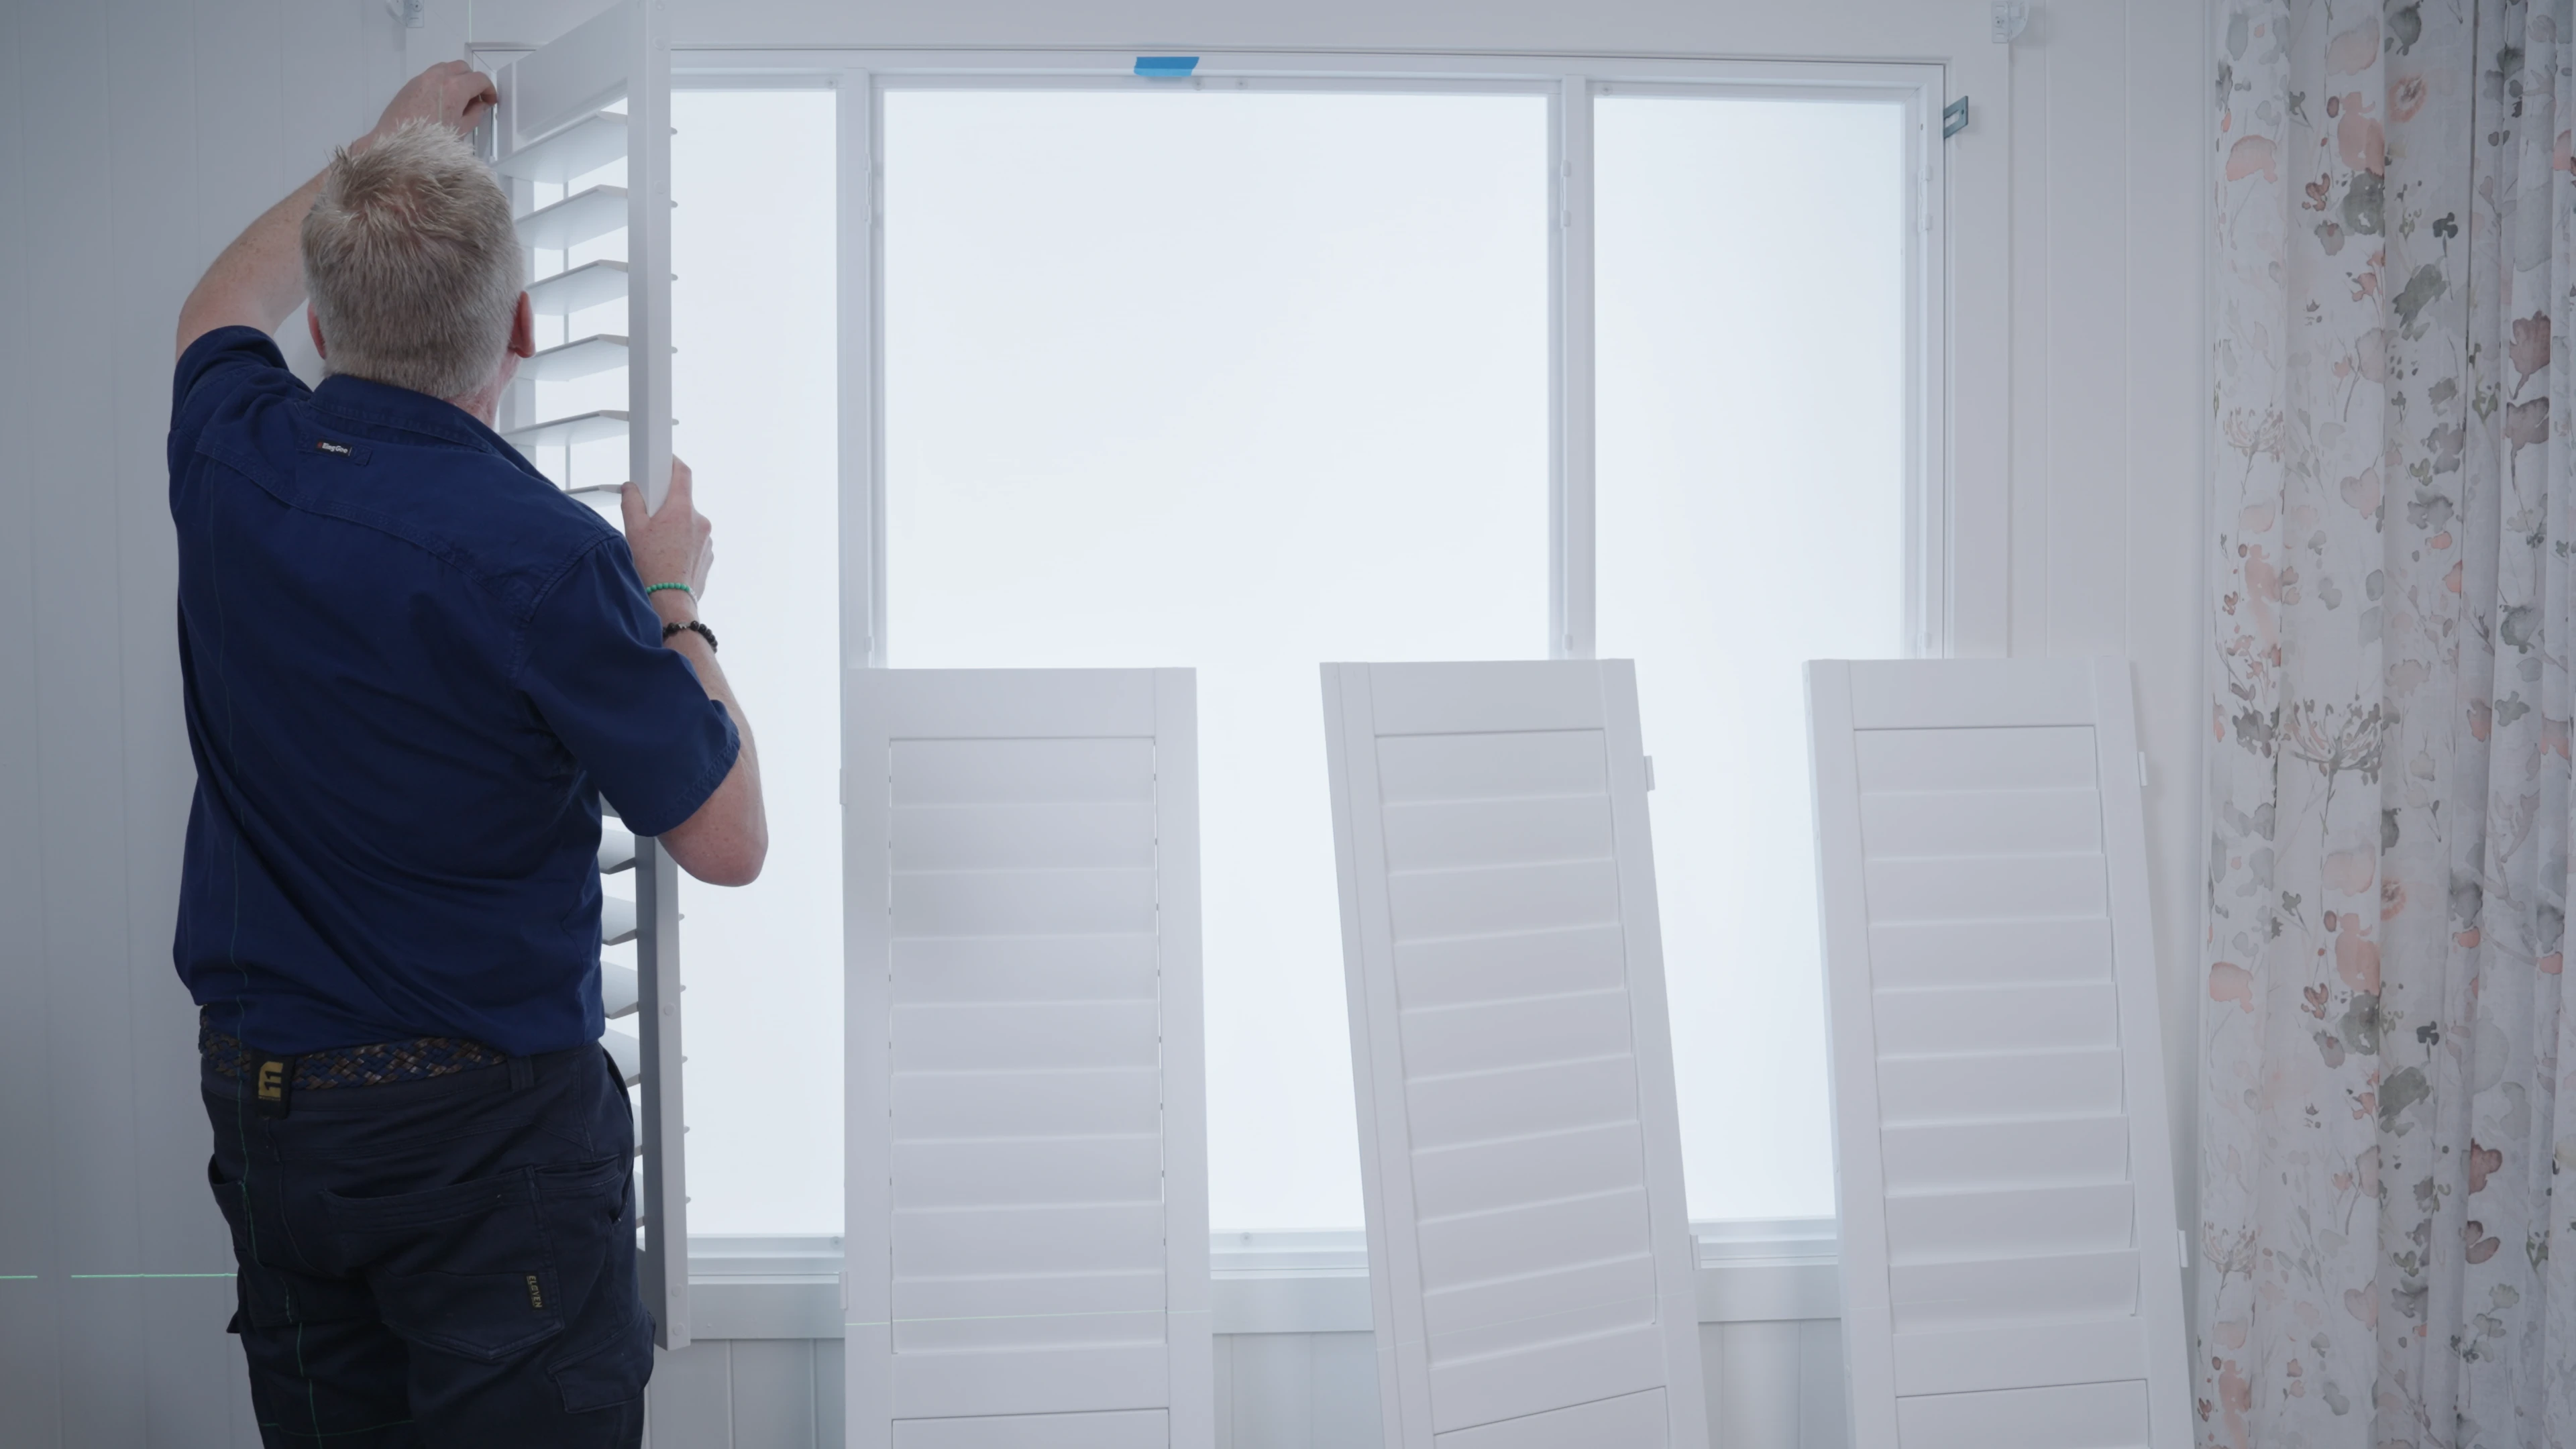
Hang the panels
When we present the panels, we can see that the shutter panel has one half of the hinge, and the frame has the other.
Using the hinge pins included, simply present the panel to the frame, line up the hinges and drop the pin down so it connects the panel to the frame.
5
Predrill the four corners and secure the frame
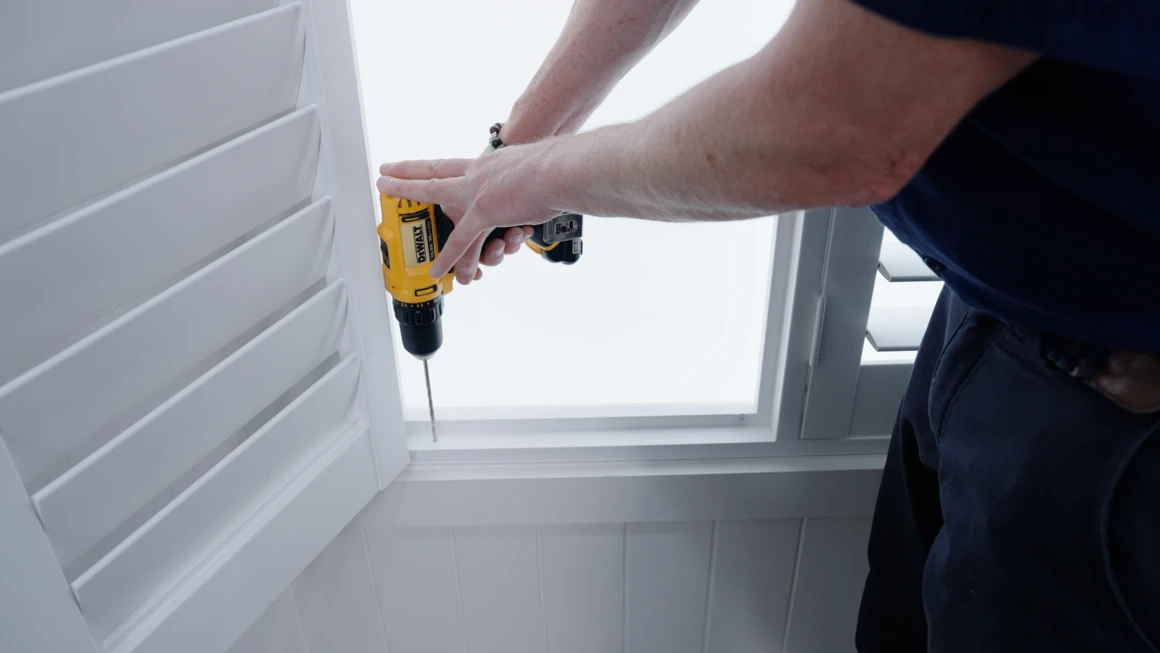
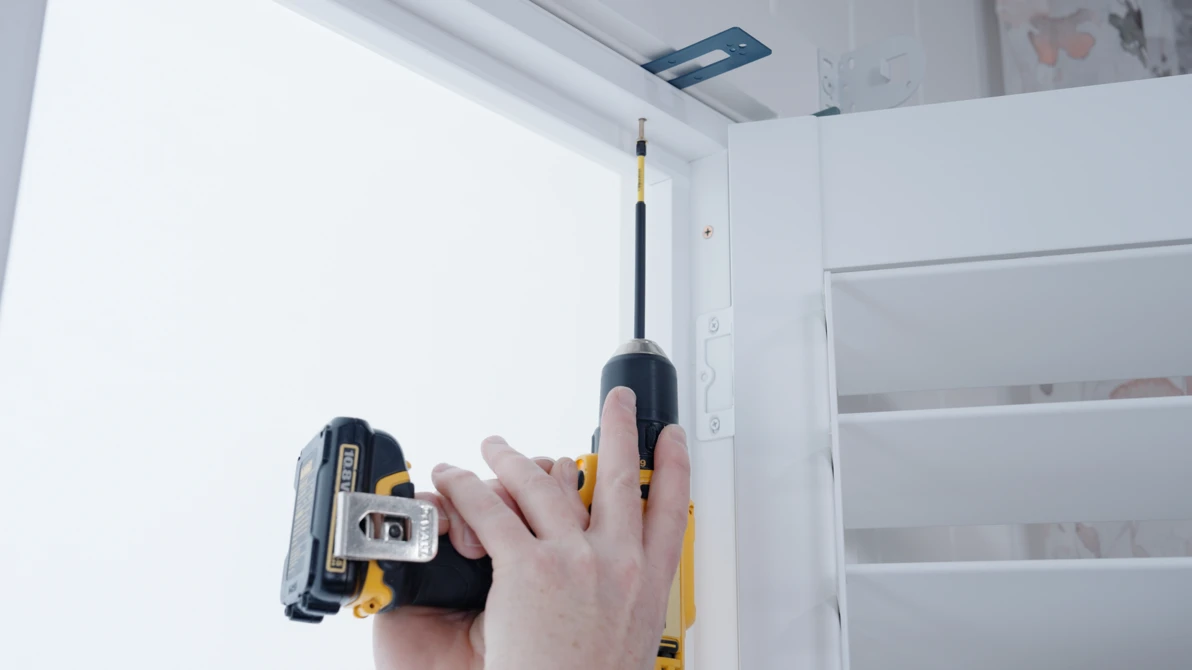
6
Adjust and lock panel height
The hinge on the frame is only attached by the 2 oval shaped holes.
This means you have the flexibility to move your panel up or down as required to achieve the right fit.
If you loosen the screws, this will allow for approx 3mm - 4 mm of movement.
Once you have adjusted your panel height, make sure you then re-tighten the screws through the oval holes.
Then lock your hinge into position by inserting a 3rd screw into the round hole in the middle of the hinge.
An important step to ensure your panels won't drop.
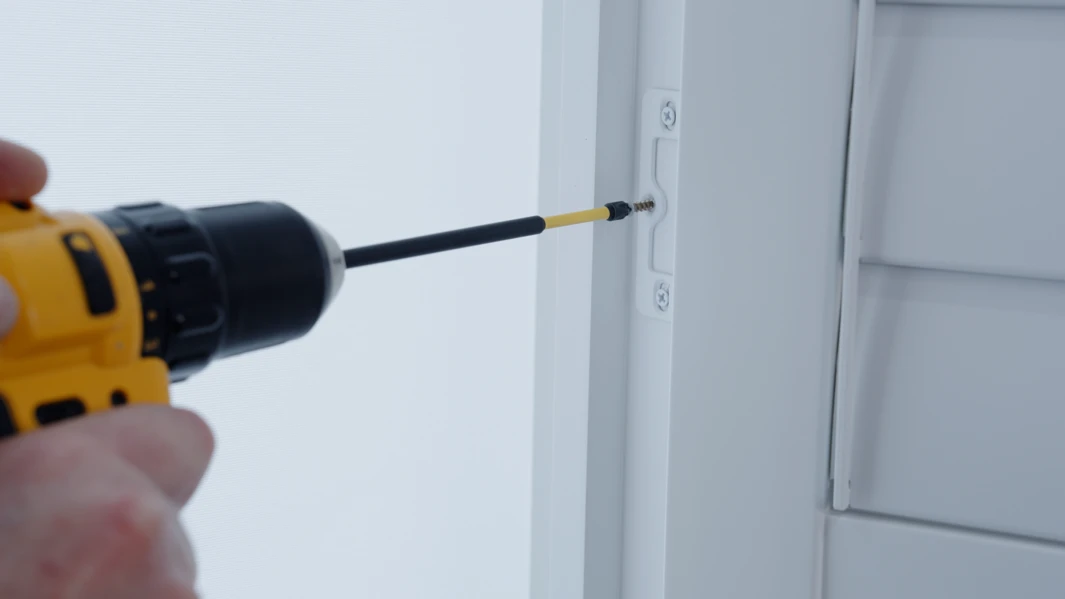
7
Attach the Striker Plates (only for 3 sided frame)
A 3-sided frame has no bottom.
These striker plates need to be attached 25mm back from the front edge of the window reveal, in line with where the panel meets the window frame in the closed position.
Make sure they are aligned with the magnet on the panel for a secure closed position.
Everything should open and close nicely. If not, make any minor adjustments as necessary.
Your Plantation Shutter is installed!
8
Caulk the gaps around your shutter (if an inside mount L Frame)
As shutter frames are not a tolerance fit, it is inevitable that you will end up with some gaps between the window frame and the frame of the plantation shutter.
These gaps can easily and quickly be filled using 'No More Gaps'.
This process will eliminate light from coming in between the 2 frames and your shutters will 'pop'.
Caulking with No More Gaps is the finishing touch required to give you a professional end result.
Direct mount Shutters
1
Getting started
Direct Mount installations are one of the easiest to complete.
A direct mount plantation shutter doesn't have a frame and it consists of just 1 or 2 panels only.
Take your time.
Preparation is key.
Stay level - use your spirit level. If you start level and true, then the shutters are going to be installed perfectly, panels will open and close.
Follow the steps in order
If you have more than one panel in your layout, make sure you lay out your panels in order.
Shutters 'dress up' - make sure you attach your plantation shutter panels the right way up (a shutter pushes up to close its blades from the front – we call this dressing up).
It's a good idea to have someone to assist you - one to hold the panel and one to then insert the screws.
2
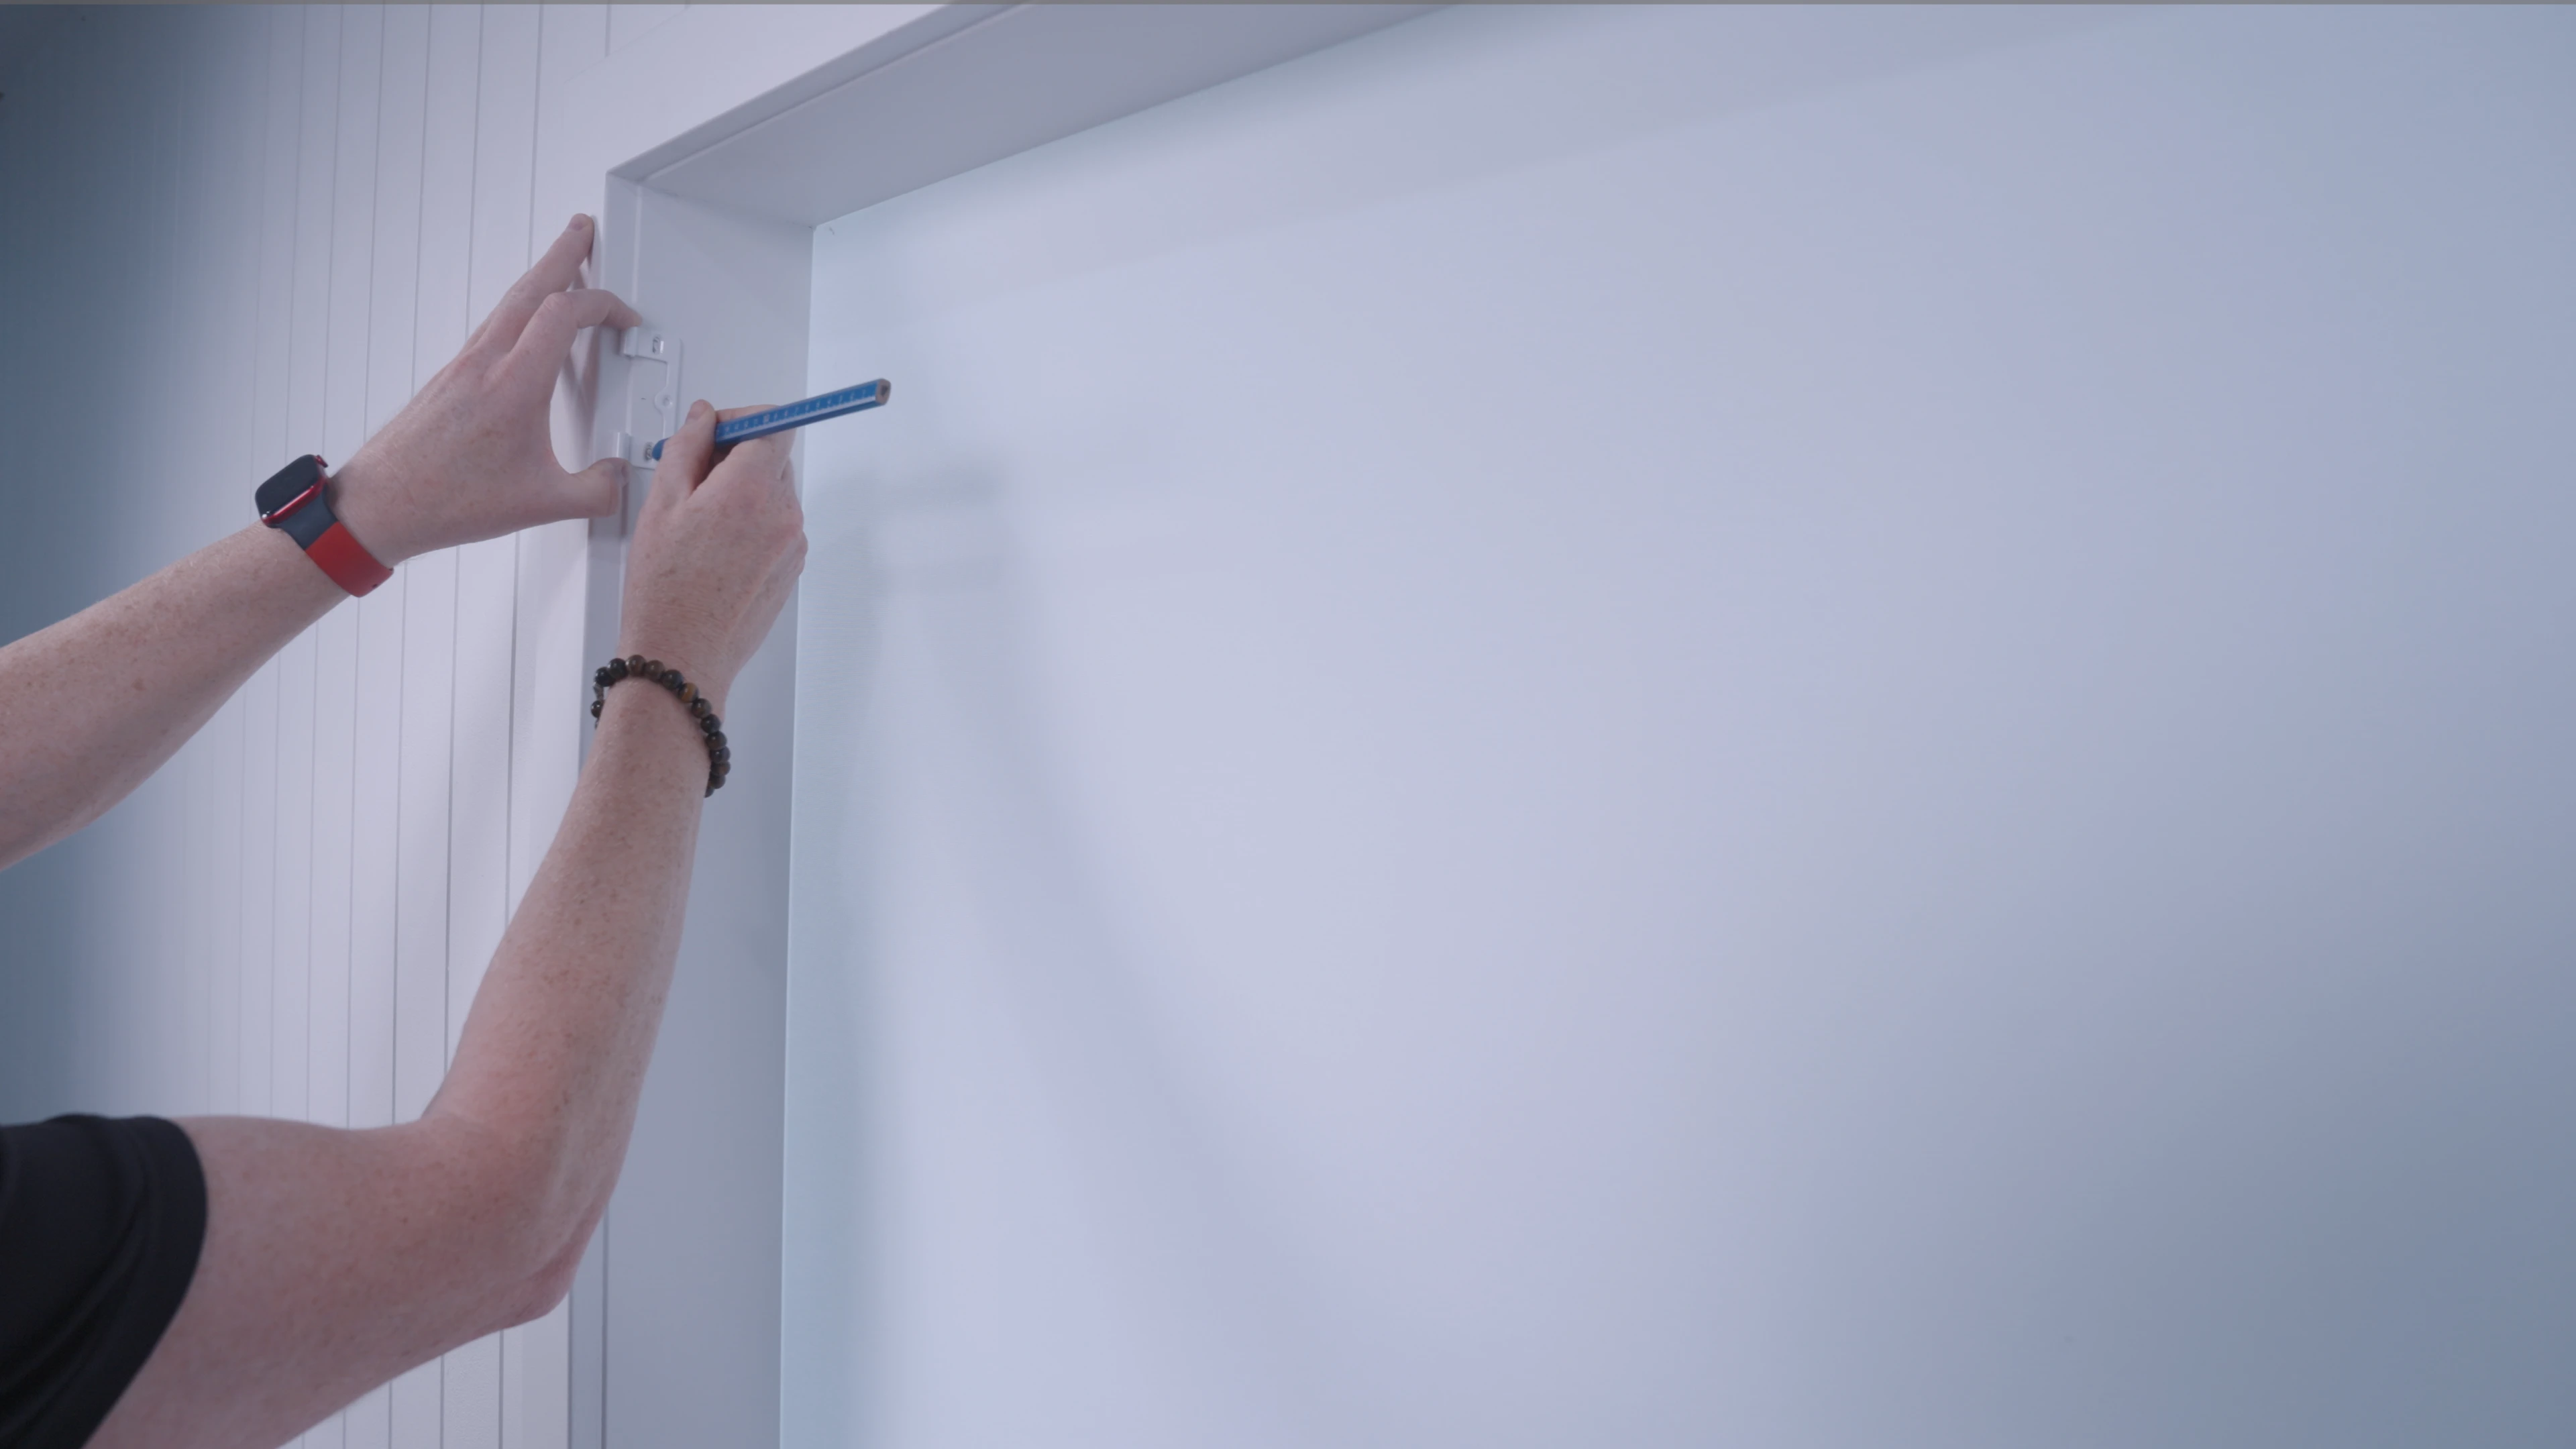
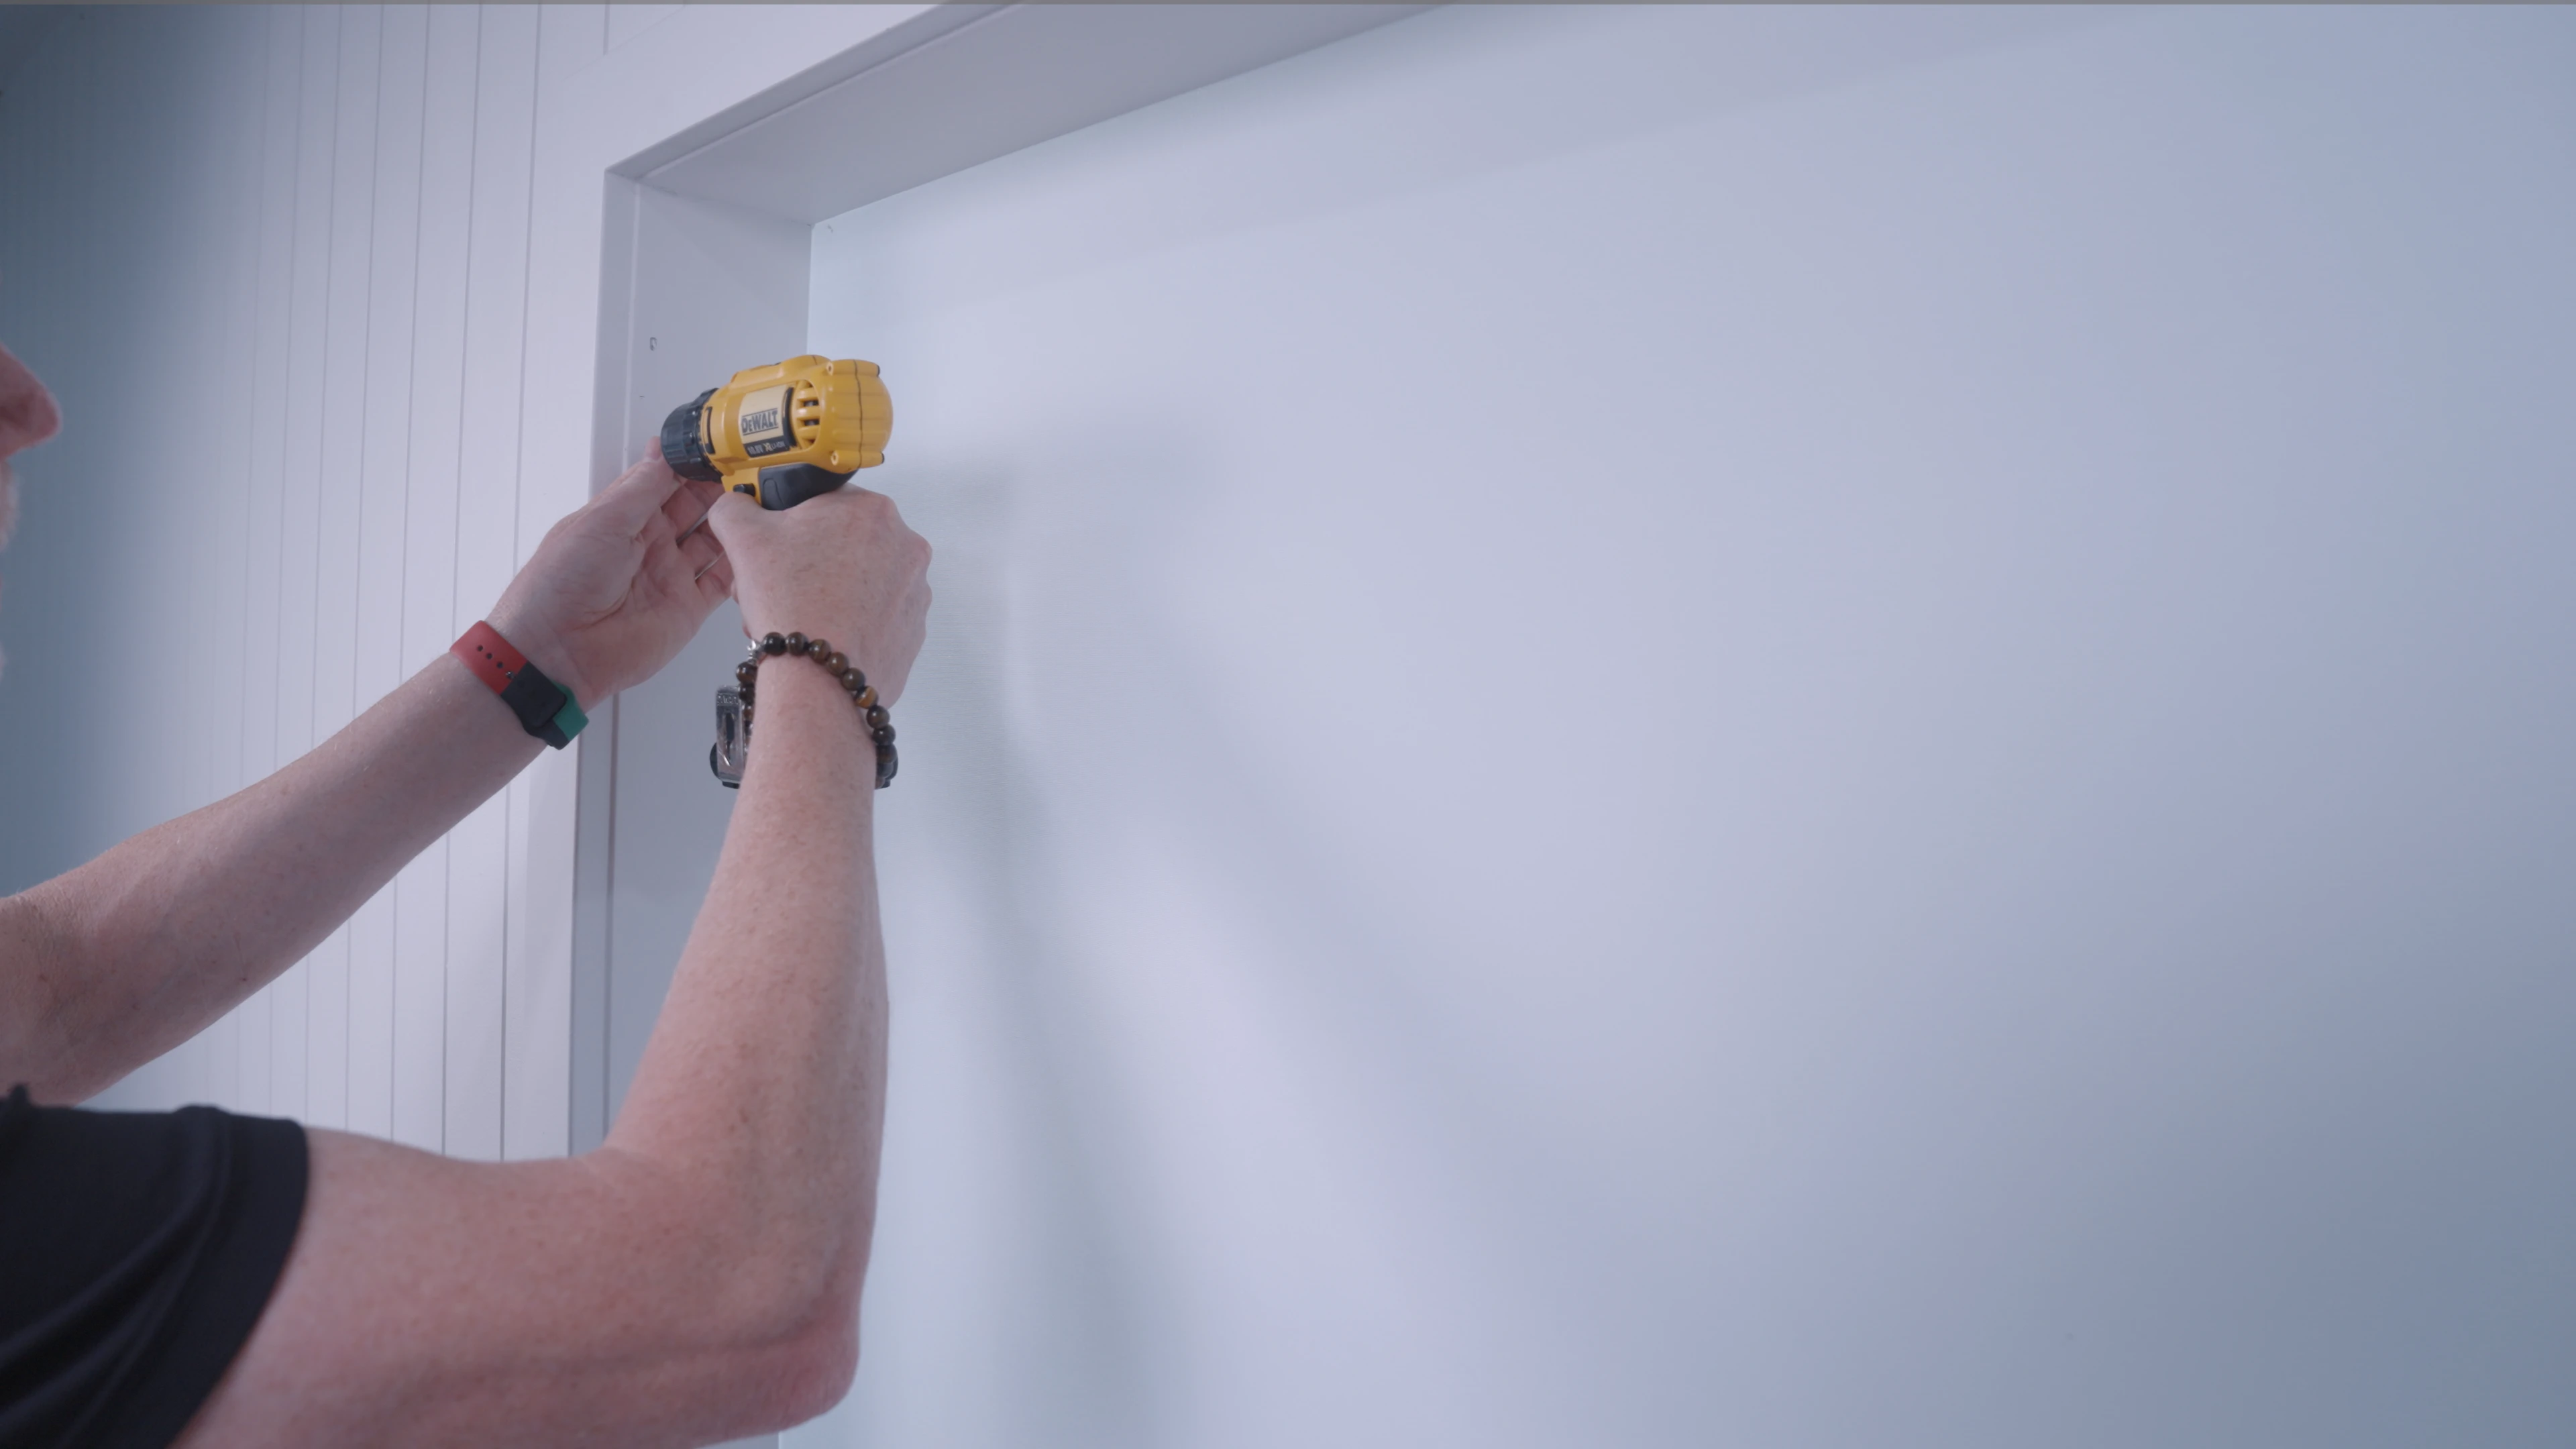
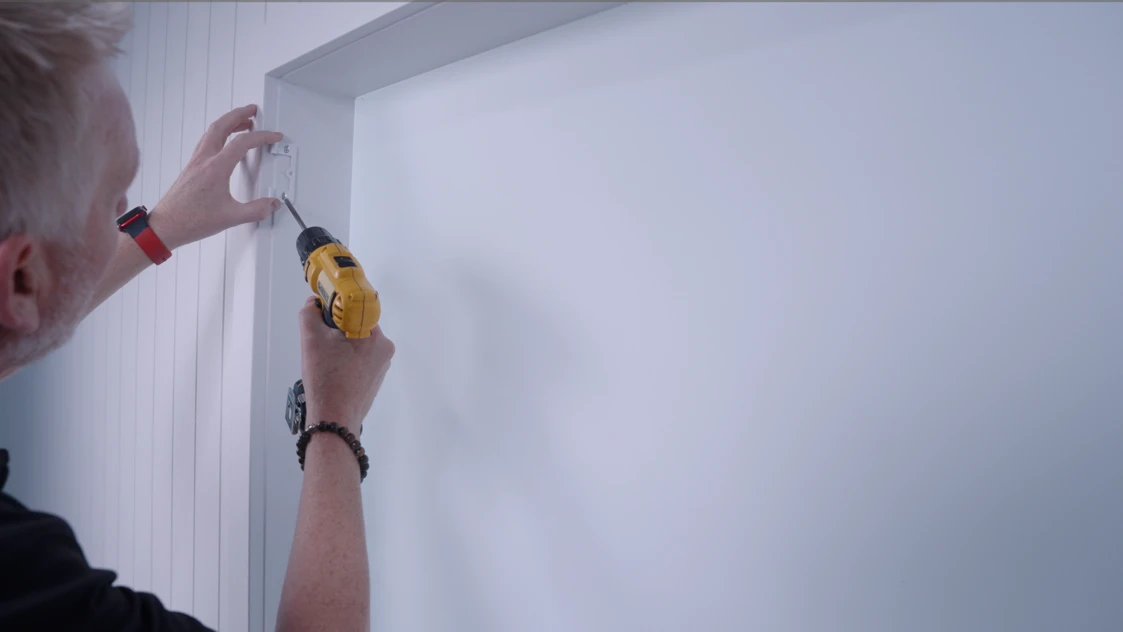
Measure and mark the hinge position
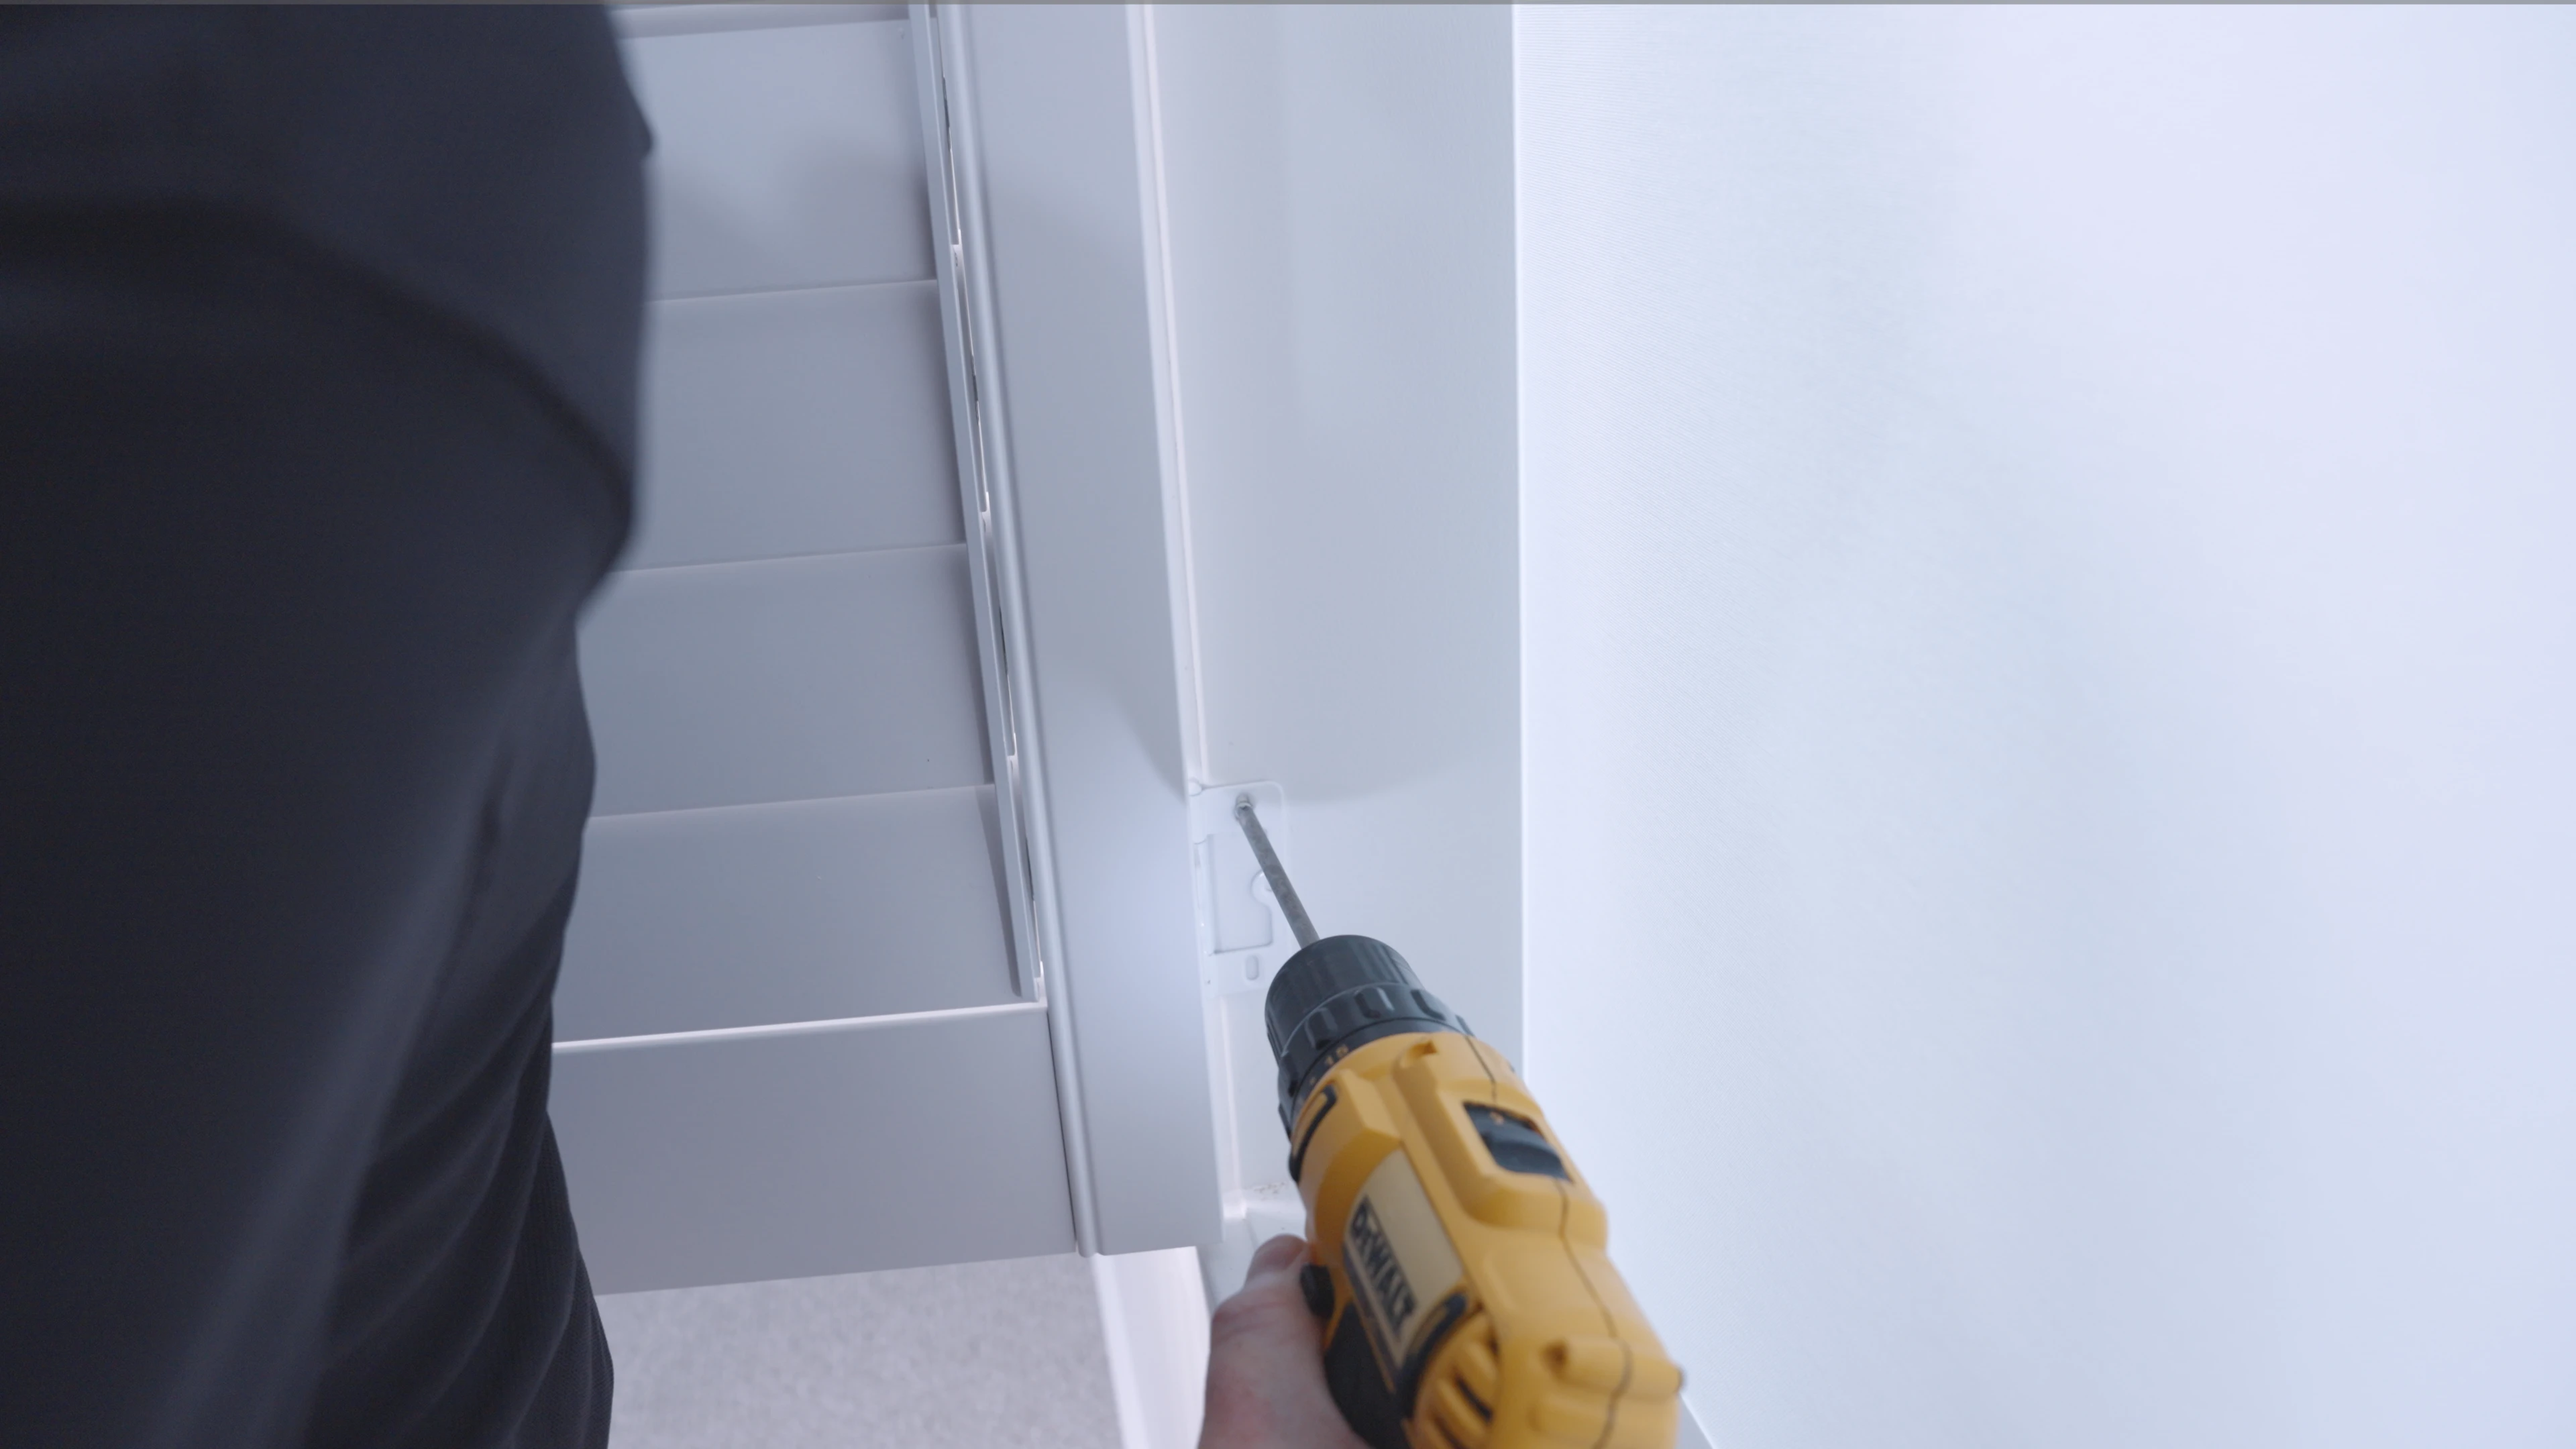
Measure from the top to the centre of the hinge ( 117mm in this example ), then mark the hinge hole positions. Predrill pilot holes, then fix the hinge using the oval slots first , leaving the screws slightly loose to allow vertical adjustment.
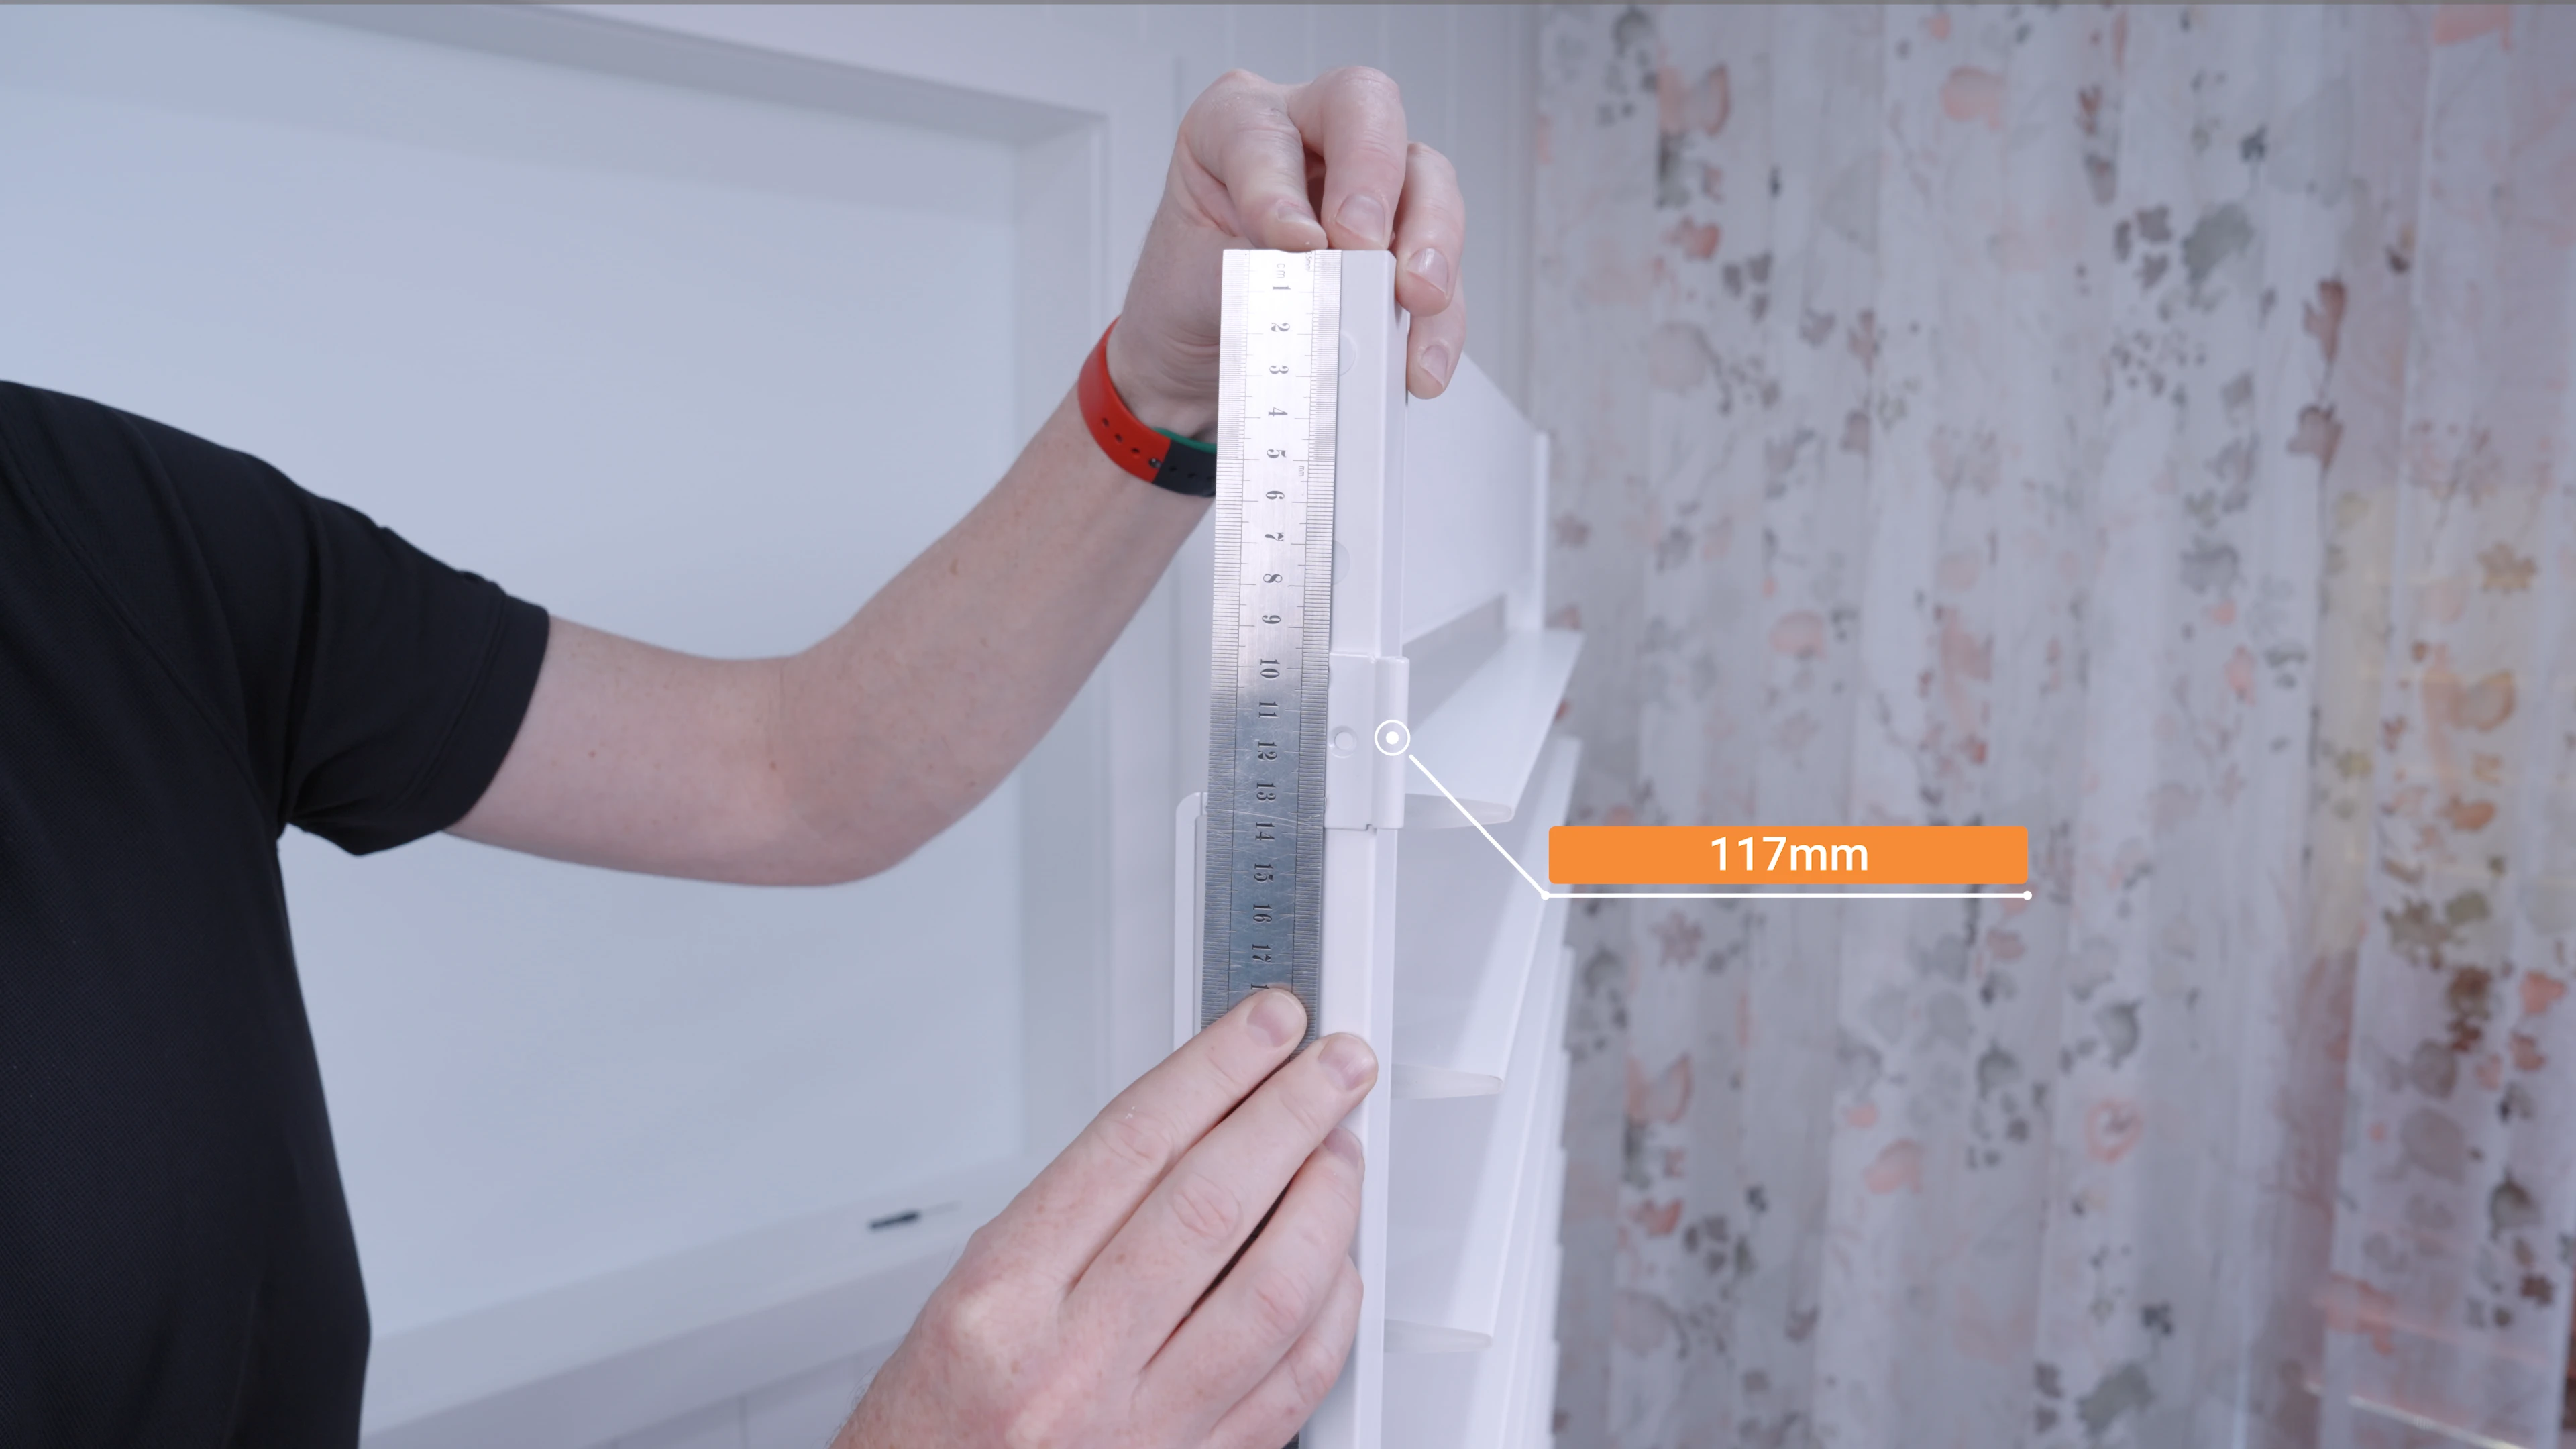
3
Mounting the panel into the recess
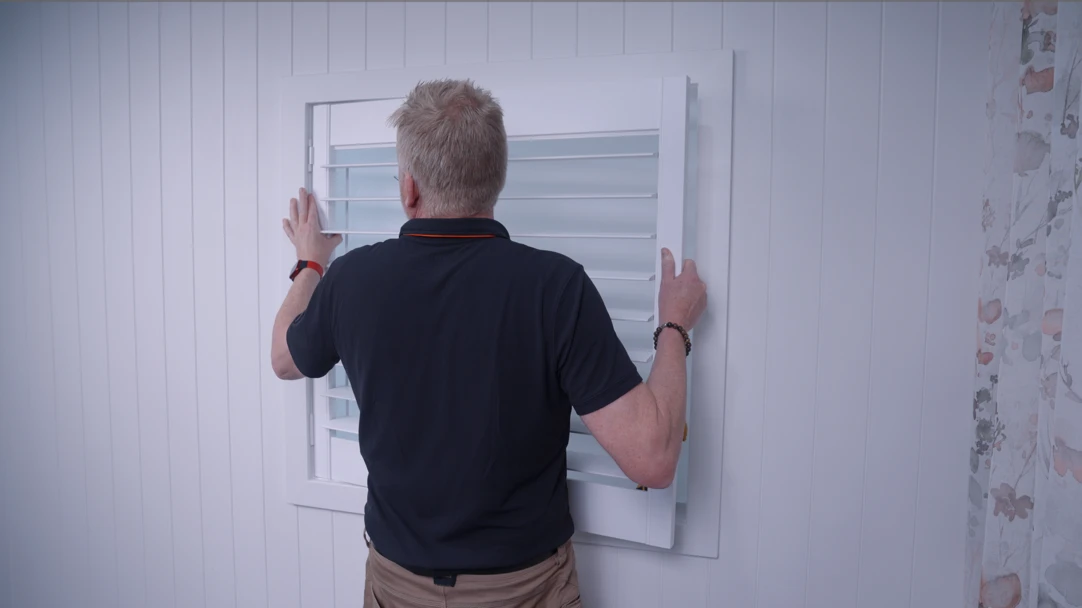
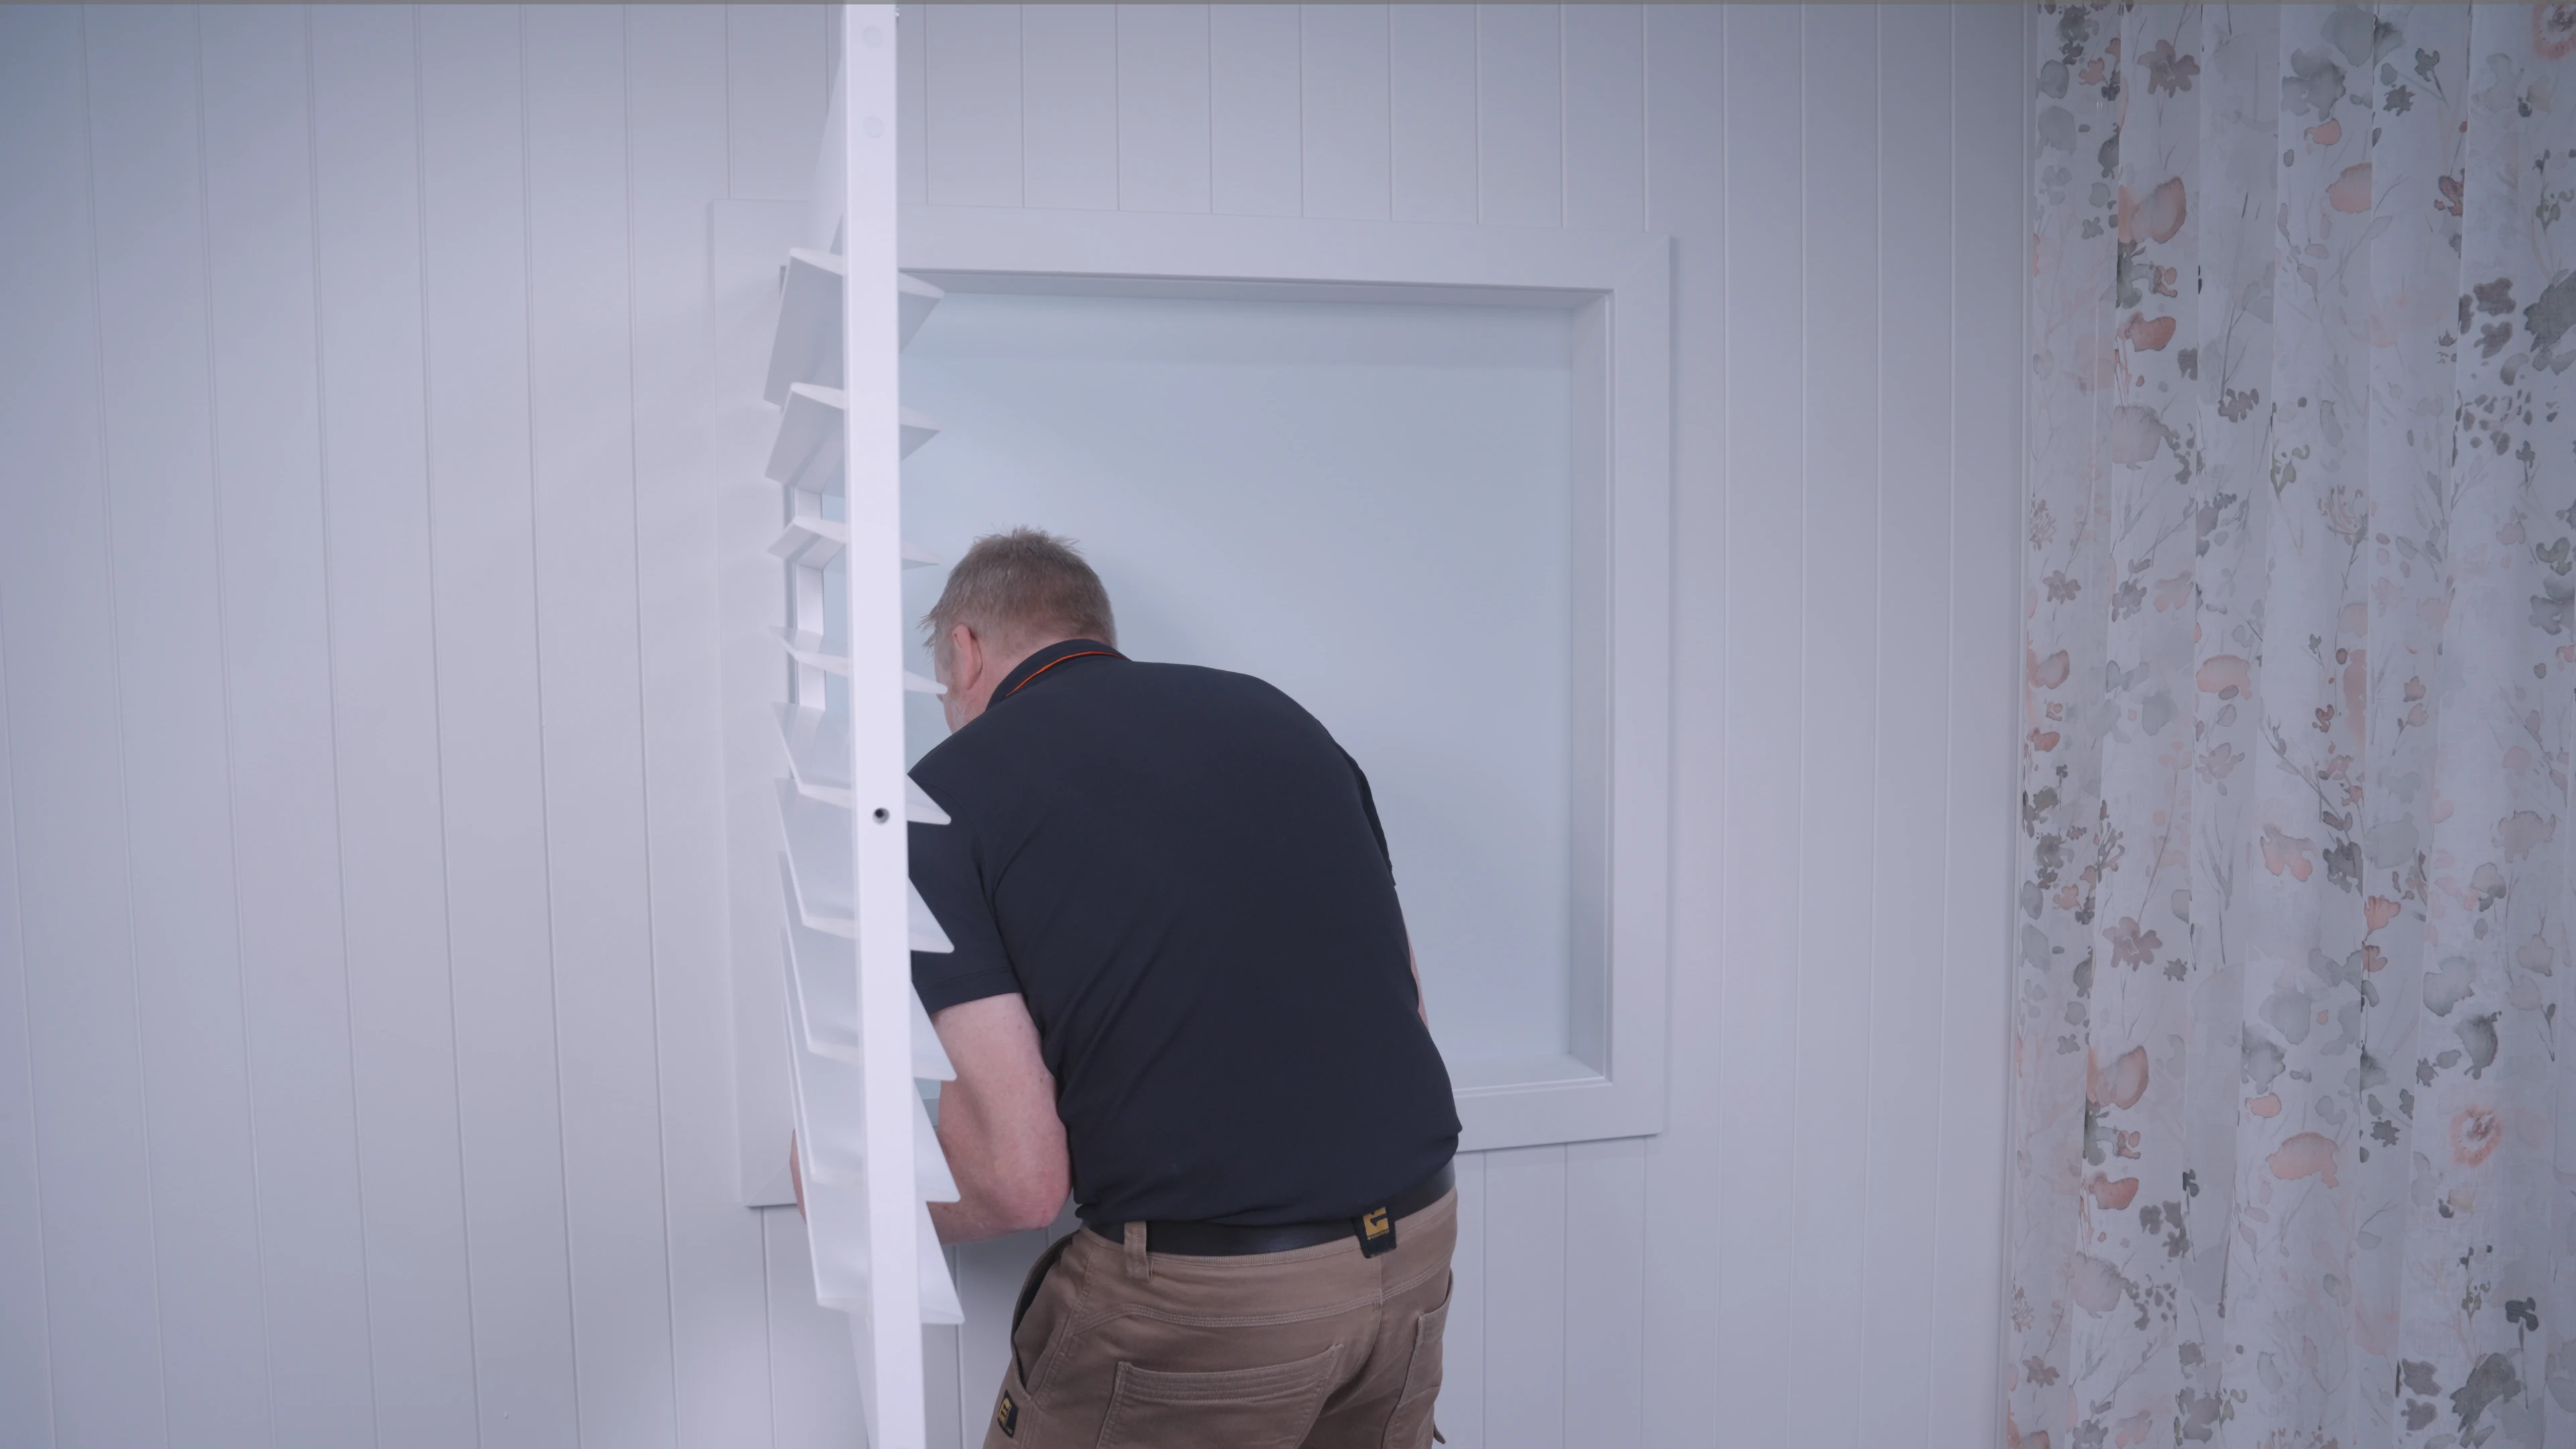
Install the top hinge pins and hang the panel in place. Have a second person hold the panel steady in the correct position. With the panel supported, position and fix the bottom hinge into the recess using the oval slots first (do not fully tighten yet).
Adjust the panel height until it sits level and the gaps look even. Test by opening and closing the panel. If needed, loosen the screws slightly and move the panel up or down within the oval slots to fine-tune the fit.
Once you are happy with the alignment, tighten the screws in the oval slots, then insert a screw into the centre round hole to lock the hinge and prevent the panel from dropping.
4
Attach the Striker plates
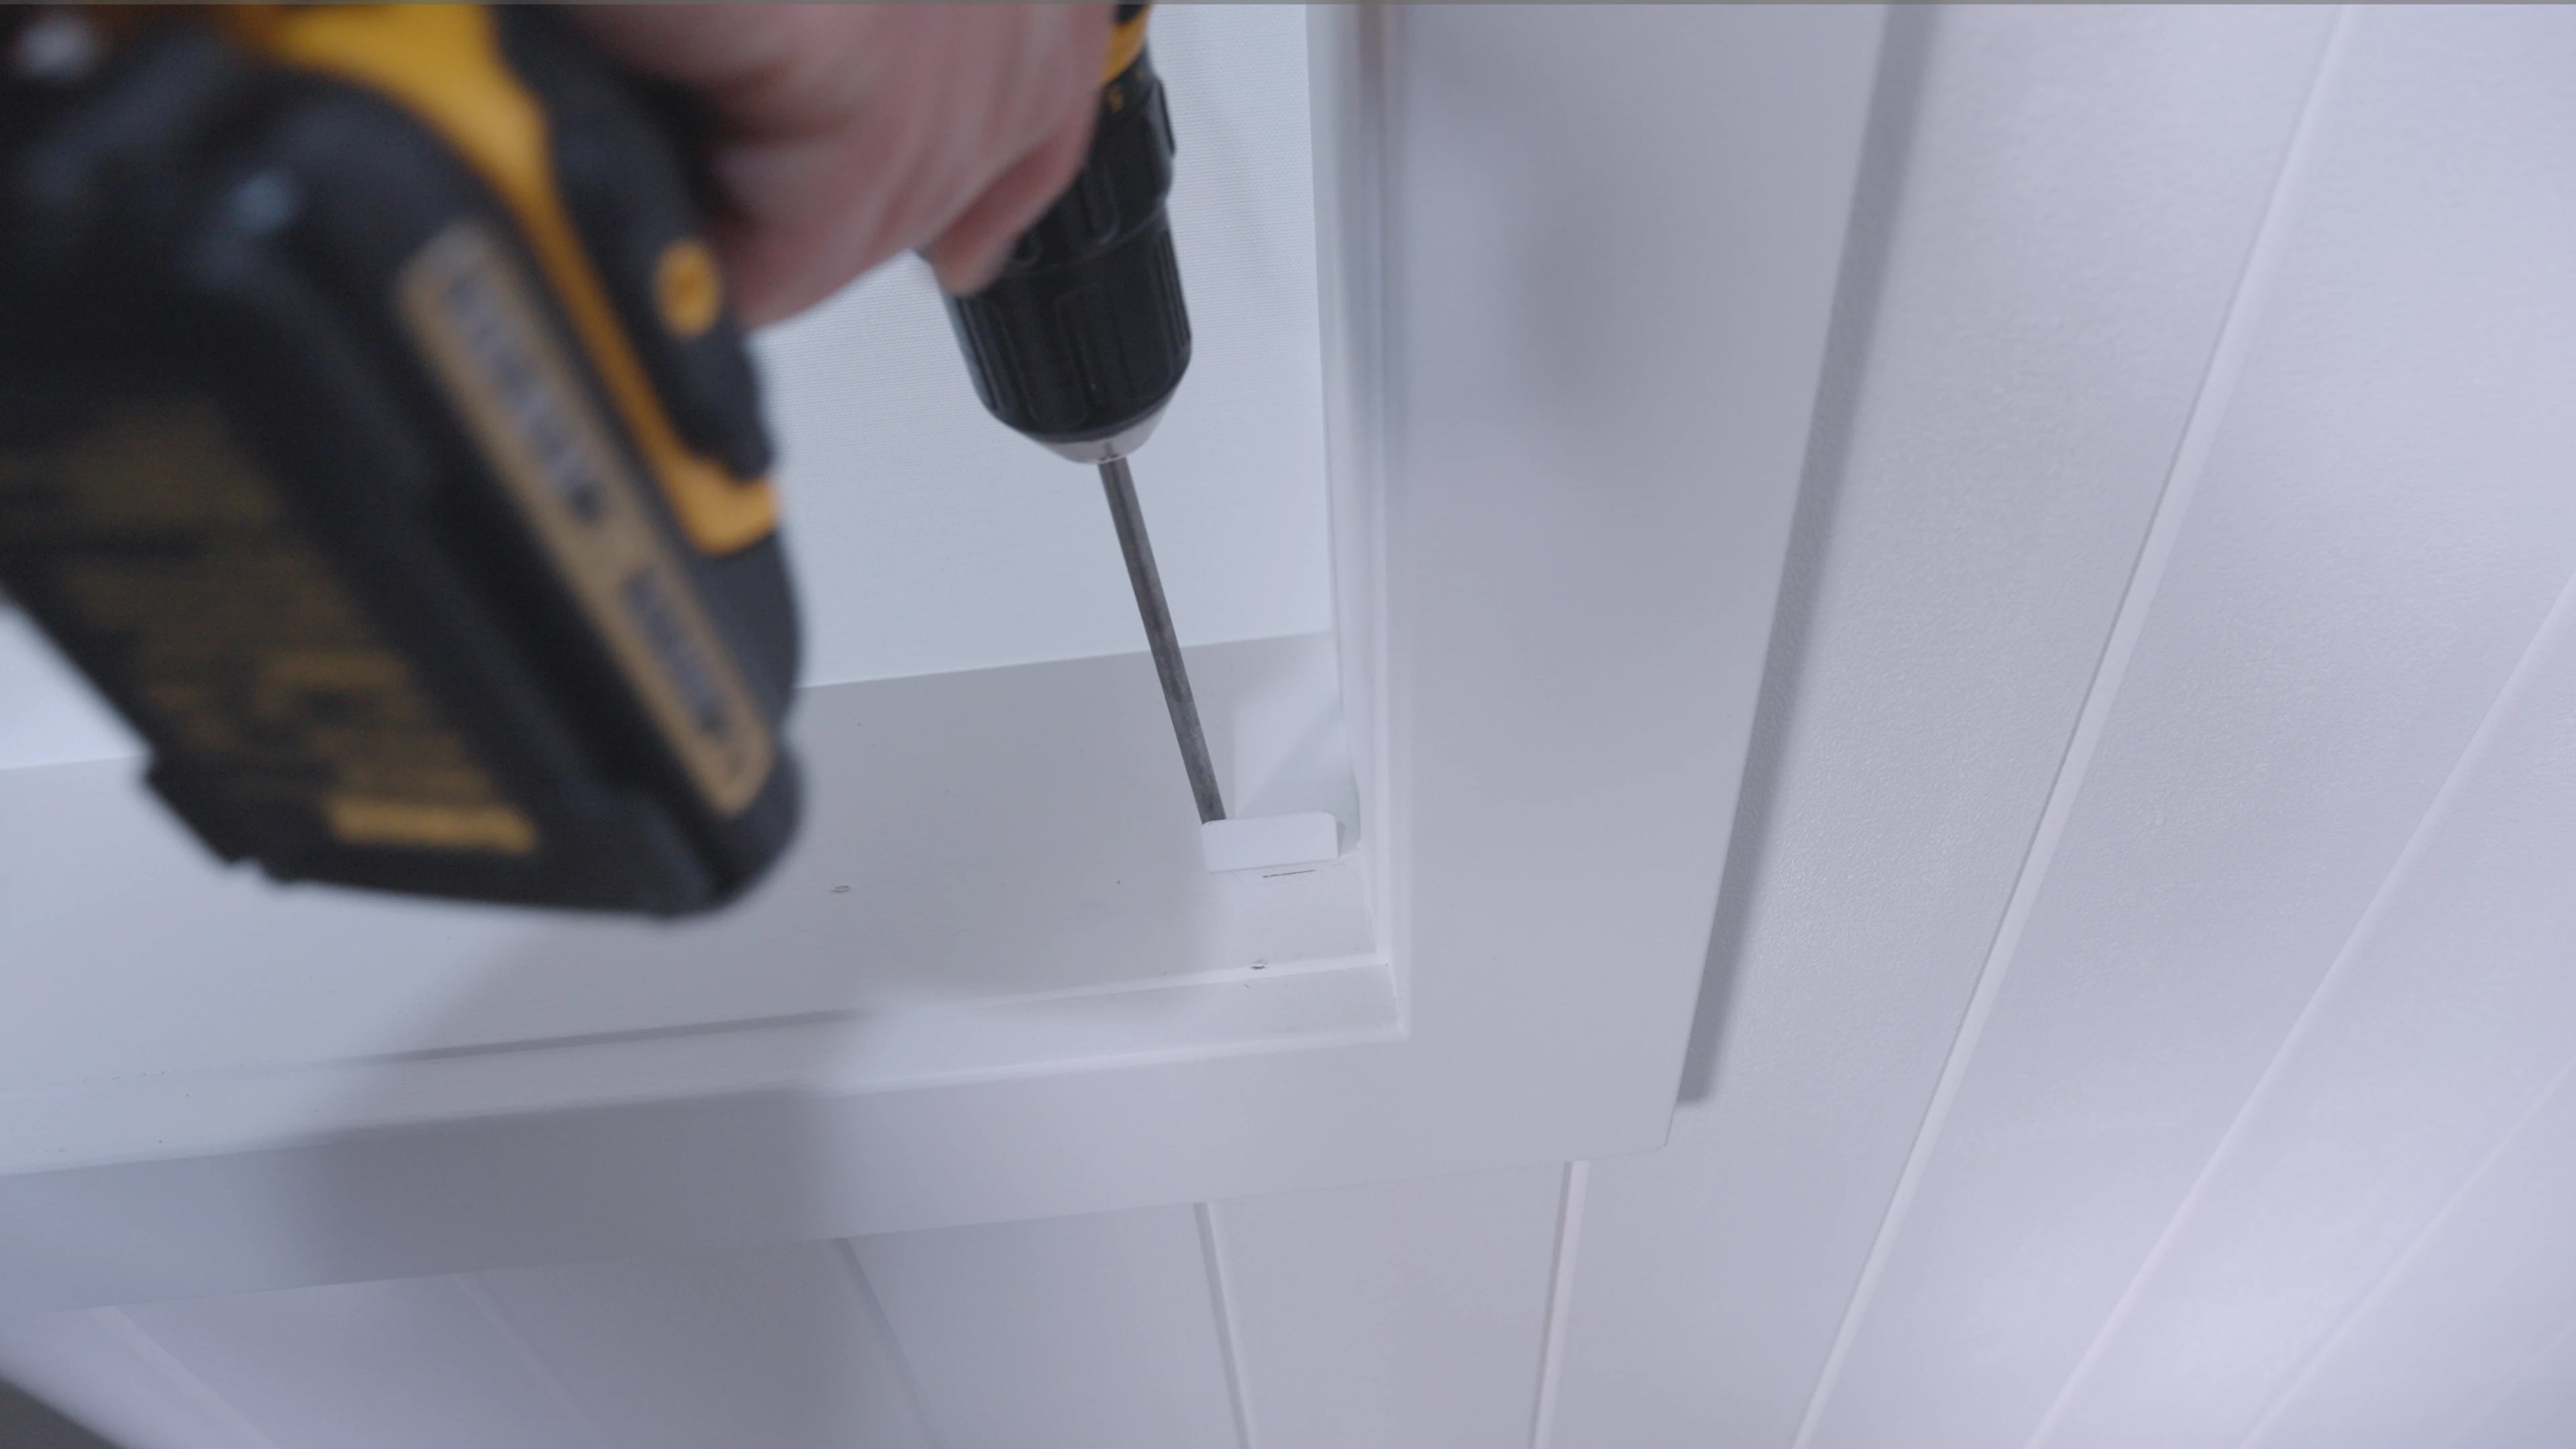
These striker plates need to be attached 25mm back from the front edge of the window reveal, in line with where the panel meets the window frame in the closed position.
Make sure they are aligned with the magnet on the panel for a secure closed position.
Everything should open and close nicely. If not, make any minor adjustments as necessary.
U Channel Shutters
1
Getting started
A quick and easy installation. This installation requires Zenith Chipboard Countersunk Rib Head Screw 8G x 20mm or double sided tape.
Preparation is key.
Follow the steps in order.
Shutters 'dress up' - Make sure you install your plantation shutter panels the right way up (a shutter pushes up to close its blades from the front – we call this dressing up).
2
Installing the U-Channels
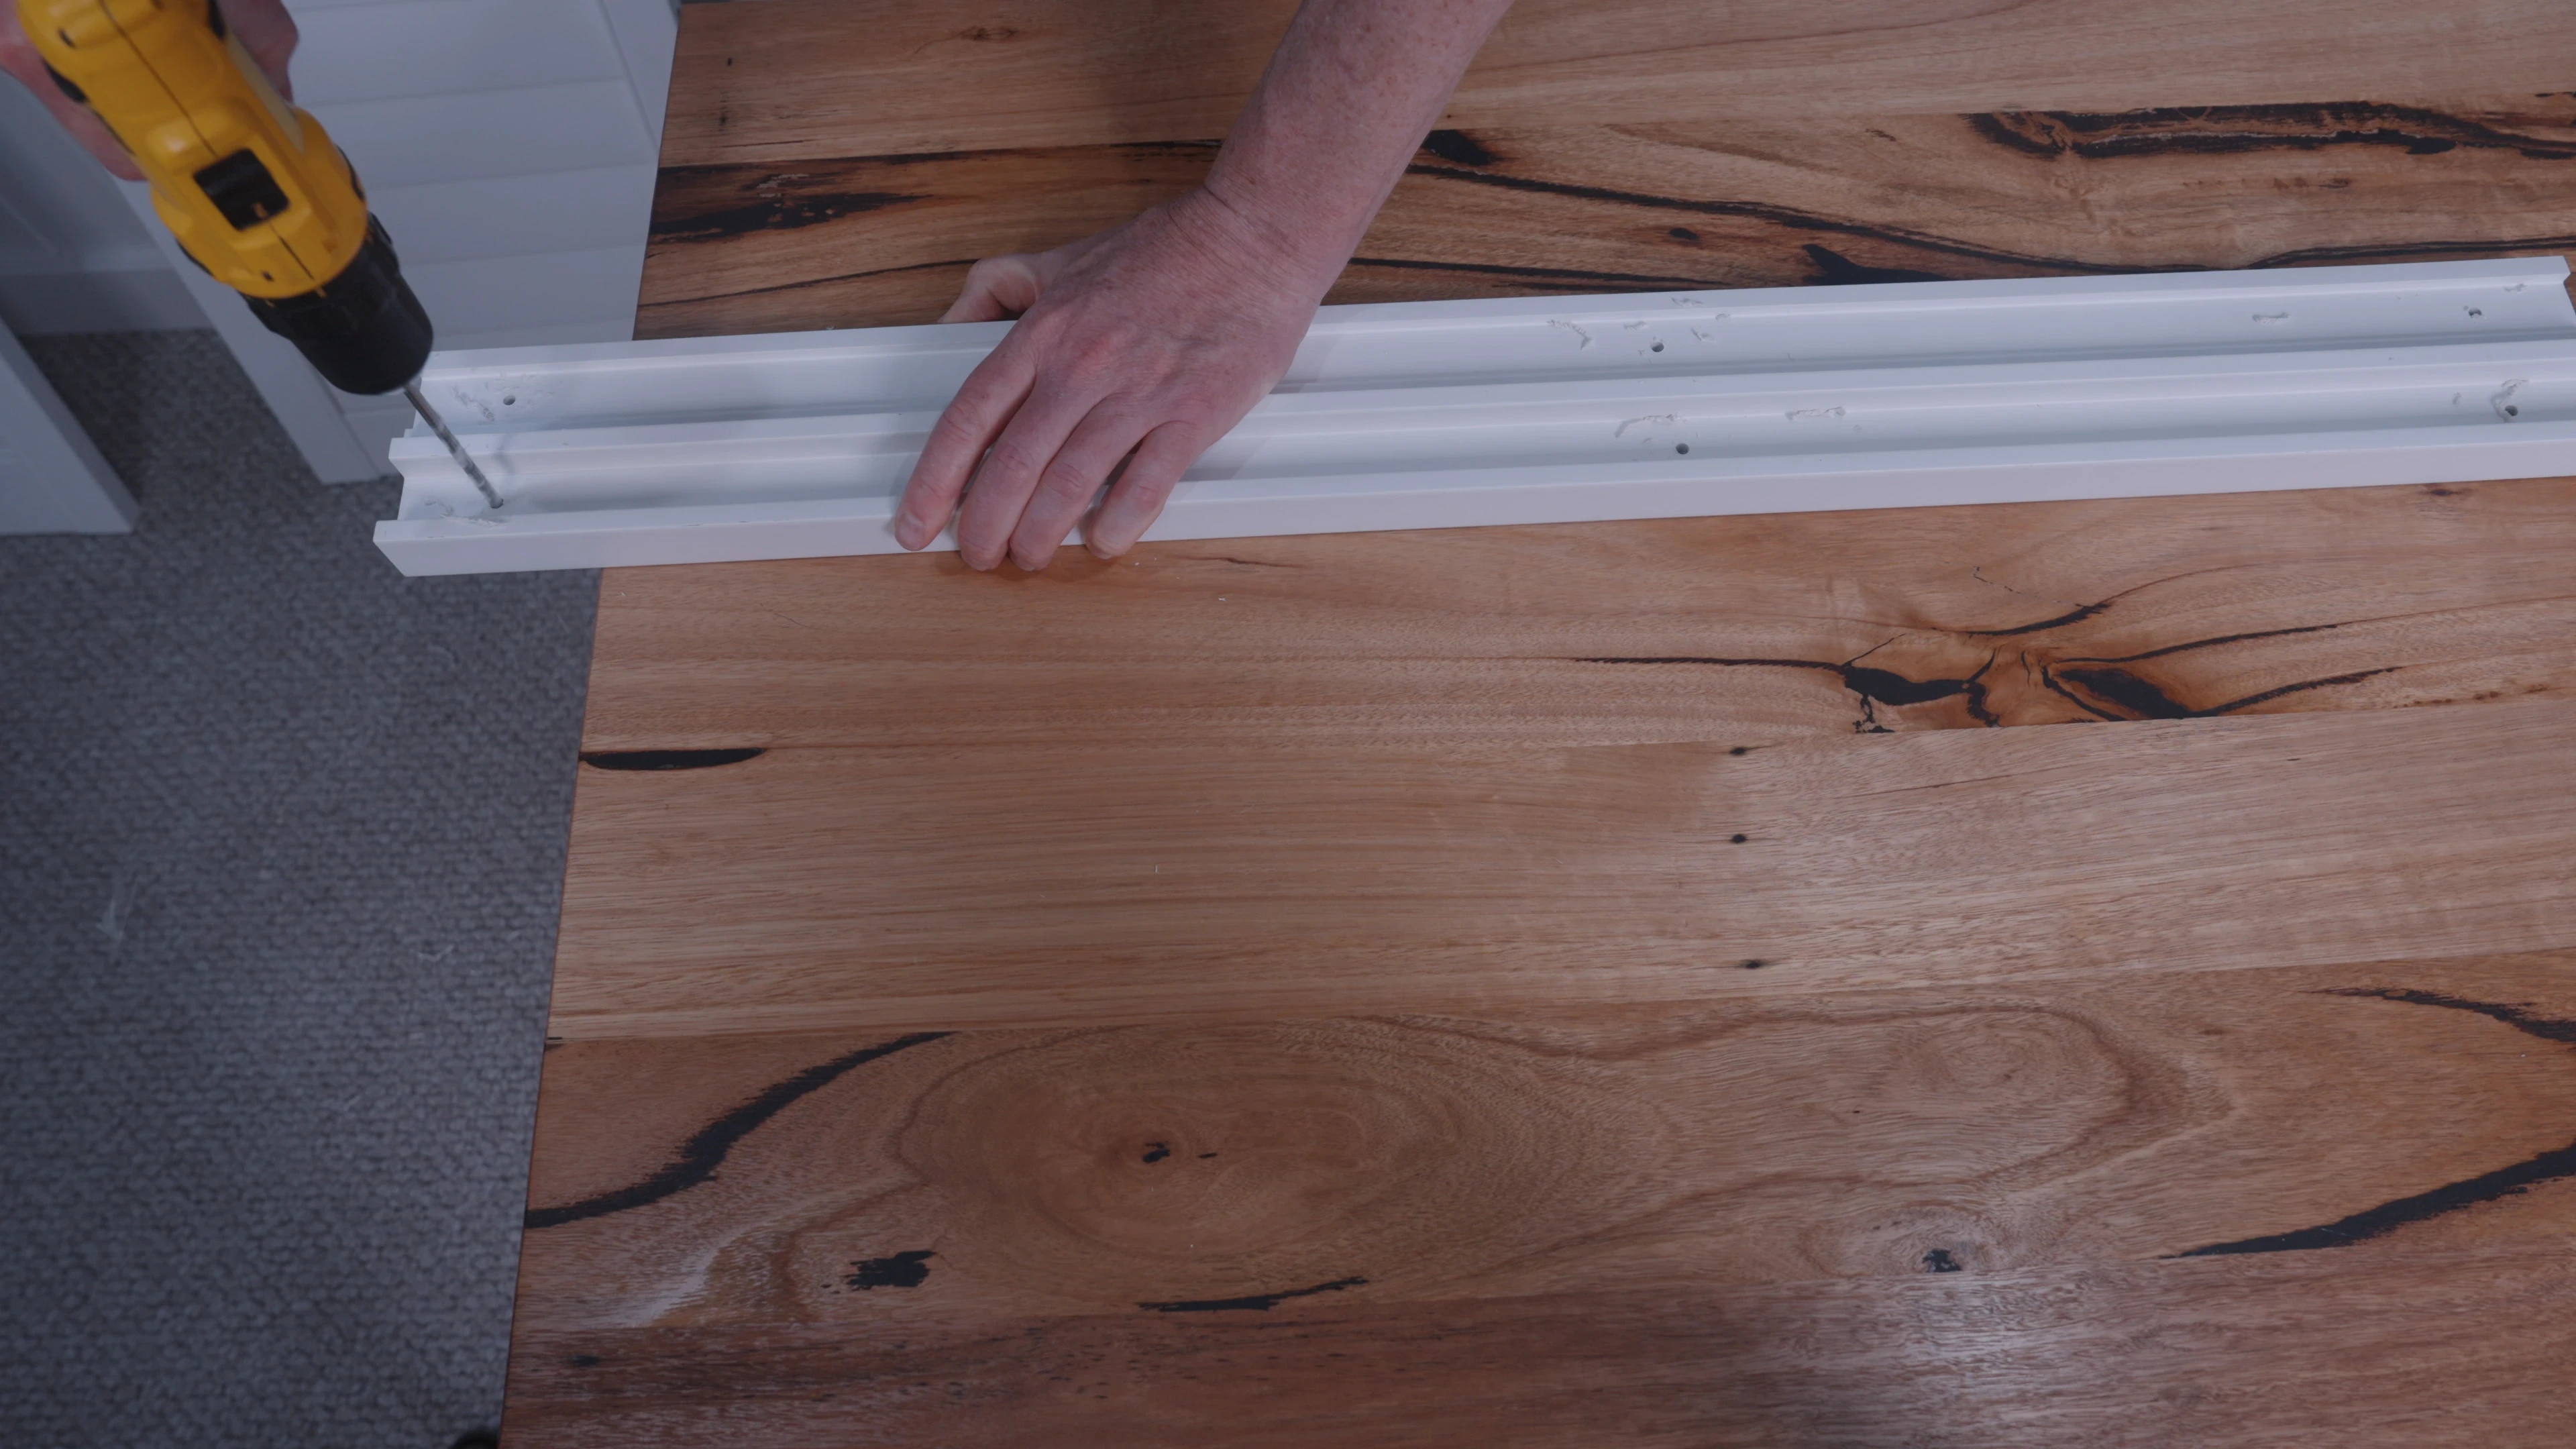
You will have 2 U-channels - 1 big and 1 small.
The big U-channel goes at the top. The small U-channel goes at the bottom.
Screw the big U-channel into the top of the recess or you can use double-sided tape.
Make sure the U-channel is centred in the middle of the recess.
Line up the small U-channel on the bottom of the recess to match the top U-channel.
Screw the small U-channel down or again you can use double-sided tape.
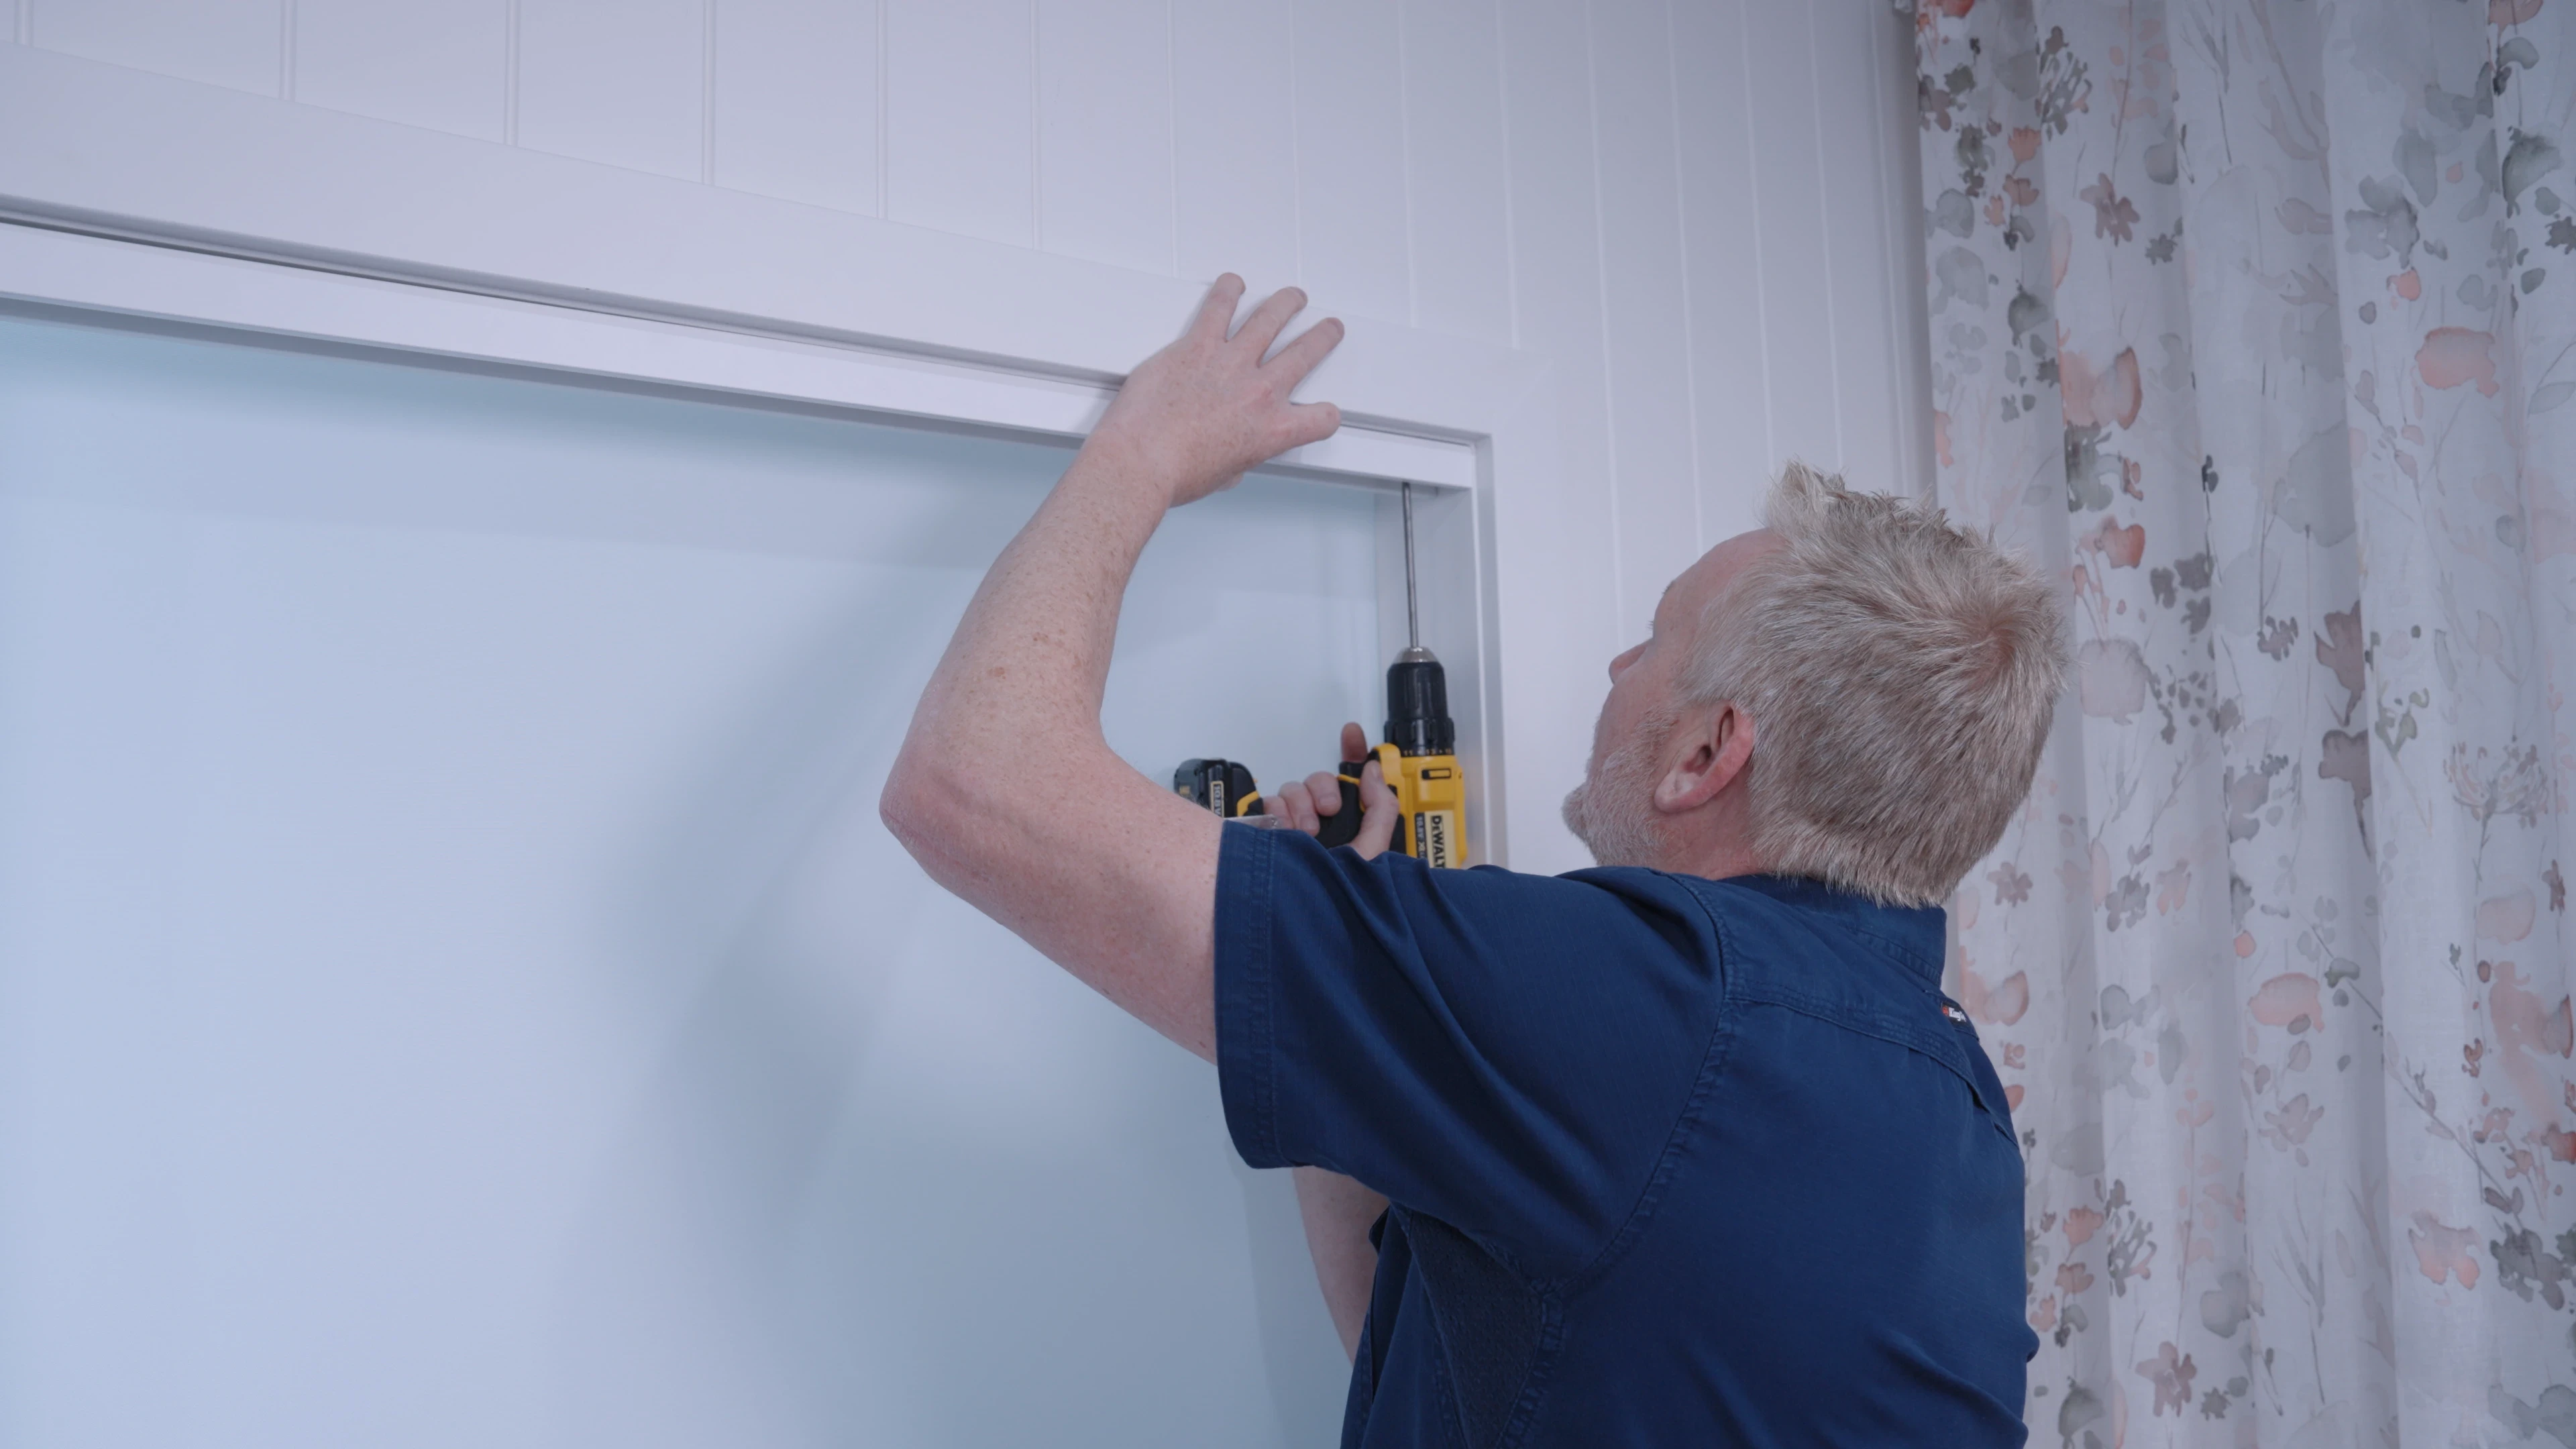
3
Inserting the panels
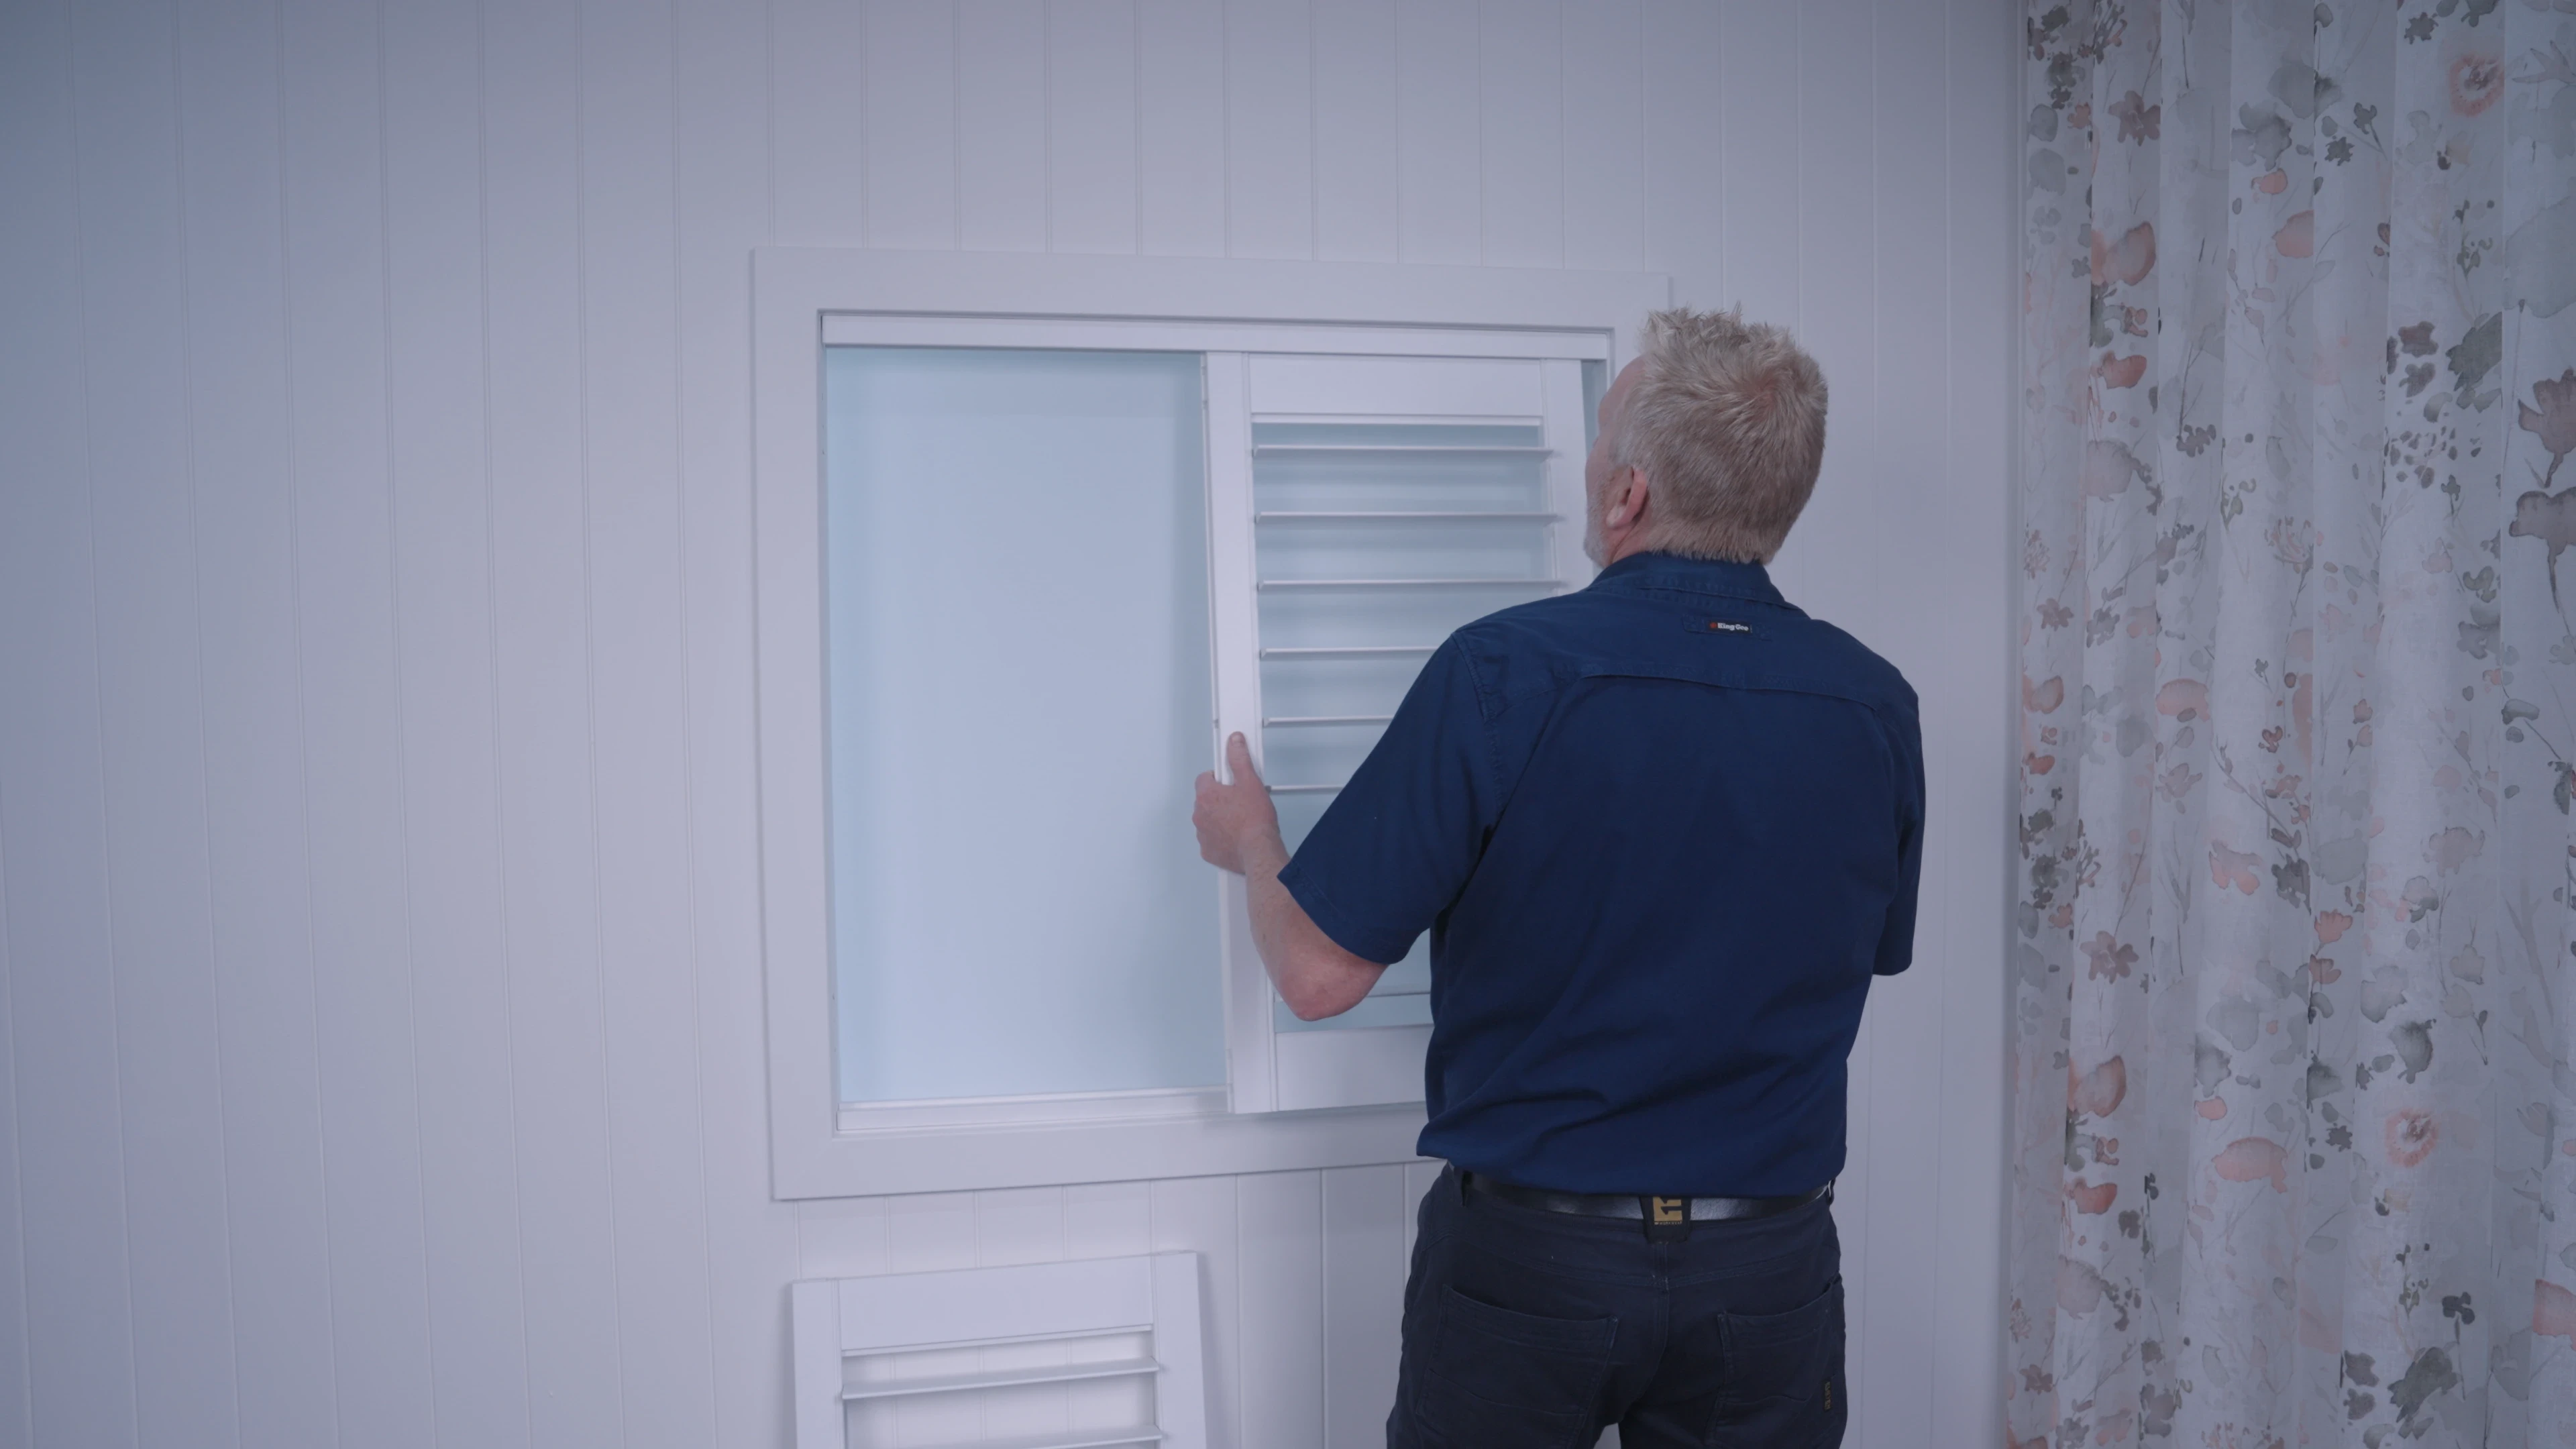
Take your panel and lift it into the lip of the big U channel at the top of the recess.
Present the panel over the bottom U-channel
And simply drop the panel down into position.
Your U-channel installation is complete!
Outside mount L frame
1
Getting started
This installation requires Zenith Chipboard Countersunk Rib Head Screw 10G x 75mm
Take your time.
Preparation is key.
Stay level - use your spirit level. If you start level and true, then the shutters are going to be installed perfectly, panels will open and close.
Follow the steps in order.
If you have more than one panel in your layout, make sure you lay out your panels in order from left to right in the order of panel 1 to panel 3 (if you have 3 panels)
Shutters 'dress up' - make sure you attach your plantation shutter panels the right way up (a shutter pushes up to close its blades from the front – we call this dressing up).
2
Pre-drill your frame
Firstly remove the cover strip from frame pieces – Mark this accordingly, Left/Right/Top/Bottom. Once you have assembled the frame, pre-drill your holes evenly around the L-frame.
3
Secure the frame to the window recess
Hold the frame up to the architraves and attach it along the top of the architrave . Install a screw also at the top corner of the left + right hand frame pieces.
This means you can adjust the frame to ensure you mount it level.
Now present and attach the panels.
It's a good idea to have someone help you here.
4
Hang the panels
When we present the panels we can see the shutter panel has one half of the hinge and the frame has the other.
Using the hinge pins included, simply present the panel to the frame, line up the hinges and drop the pin down so it connects the panel to the frame.
Now move the bottom frame from left to right until your panels are hanging evenly. Once this is done, hold this position & install remaining installation screws.
The hinge on the frame is only attached by the 2 oval shaped holes.
This means you have the flexibility to move your panel up or down as required to achieve the right fit
If you loosen the screws, this will allow for approx 3mm - 4 mm of movement.
Once you have adjusted your panel height, make sure you then re-tighten the screws through the oval holes.
Then lock your hinge into position by inserting a 3rd screw into the round hole in the middle of the hinge. An important step to ensure your panels won't drop.
5
Attach the Striker Plates (only for 3 sided frame)
A 3-sided frame has no bottom.
These striker plates need to be attached 25mm back from the front edge of the window reveal, in line with where the panel meets the window frame in the closed position.
Make sure they are aligned with the magnet on the panel for a secure closed position.
Everything should open and close nicely. If not, make any minor adjustments as necessary.
Troubleshooting
How many screws should I be using to install my shutter?
To ensure your shutter is installed securely, we suggest installing screws at least every 600mm.
My panel doors are not closing properly
Check that your shutter frame is square and level, as well as not twisted. A twisted frame is the main cause of shutter panels not holding on the magnets.
A frame that is out of square will result in panels that are out of square.
Adjust the squareness and level of your shutter frame to fix this issue.
Remember - You are not alone. We are here to help.
If you have any challenges during installation, please give us a call on 1300 664 257 or email us at sales@iseekblinds.com.au. One of our expert team members will work with you to achieve the stunning results you deserve.
How to Install U channel Plantation Shutters
How to Install Direct Mount Plantation Shutters
What’s Included in Your Plantation Shutter Package?
What Tools Do You Need for Plantation Shutters?
How to Store Your Plantation Shutters
'%3e%3cline%20id='Line_28'%20data-name='Line%2028'%20y2='200'%20transform='translate(1580.5%205493.46)'%20fill='none'%20stroke='%23f7941d'%20stroke-width='5'/%3e%3cg%20id='Ellipse_50'%20data-name='Ellipse%2050'%20transform='translate(1559%205665.46)'%20fill='%23171717'%20stroke='%23f7941d'%20stroke-width='5'%3e%3ccircle%20cx='21.5'%20cy='21.5'%20r='21.5'%20stroke='none'/%3e%3ccircle%20cx='21.5'%20cy='21.5'%20r='19'%20fill='none'/%3e%3c/g%3e%3c/g%3e%3c/svg%3e)