'%3e%3ccircle%20id='Ellipse_59'%20data-name='Ellipse%2059'%20cx='3'%20cy='3'%20r='3'%20transform='translate(11%208.786)'%20fill='none'%20stroke='%23f7941d'%20stroke-linecap='round'%20stroke-linejoin='round'%20stroke-width='2'/%3e%3cpath%20id='Path_82'%20data-name='Path%2082'%20d='M14,2A10,10,0,0,0,4,12a8.048,8.048,0,0,0,1.875,5.625L14,27l8.125-9.375A8.048,8.048,0,0,0,24,12,10,10,0,0,0,14,2'%20transform='translate(0%200)'%20fill='none'%20stroke='%23f7941d'%20stroke-linecap='round'%20stroke-linejoin='round'%20stroke-width='2'/%3e%3c/g%3e%3c/svg%3e)


How to Measure Linked Roller Blinds
Get the right measurement for every window
Getting Started
Accurate measurement is key to a perfect fit. Linked roller blinds follow the same approach as standard roller blinds, with some extra steps for individual blind widths.
Before You Start
Let’s make sure you’re ready to measure:

Chosen your mounting style – Inside or Outside Mount?
Decided between chain or motorised control?
Ordered your free fabric samples?
Downloaded the Check Measure Worksheet?
Read Mike’s measuring tips?
What You’ll Need

A metal tape measure or laser

A pen and paper (or worksheet)

1–2 people and 5–10 minutes
Step-by-Step Measuring Guide
Product Overview
Linked roller blinds are a smart solution for wide windows, sliding doors, and bi-fold openings. Two or more blinds are linked side by side on a shared bracket system, reducing gaps and giving you independent control of each blind.
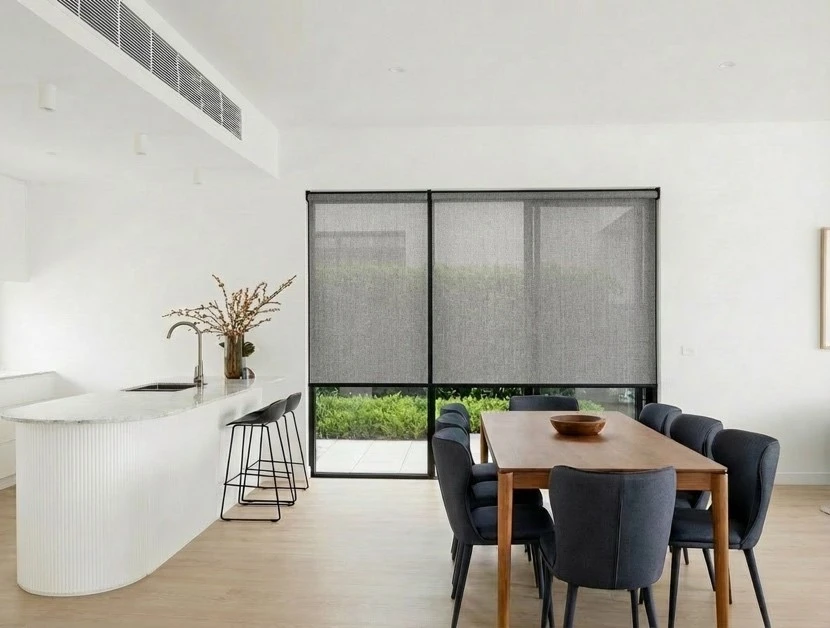
Mounting Options
Inside Mount (Recess Fit):
Neat, built-in look
Min 60mm recess depth
Small light gaps expected
Check space for intermediate brackets
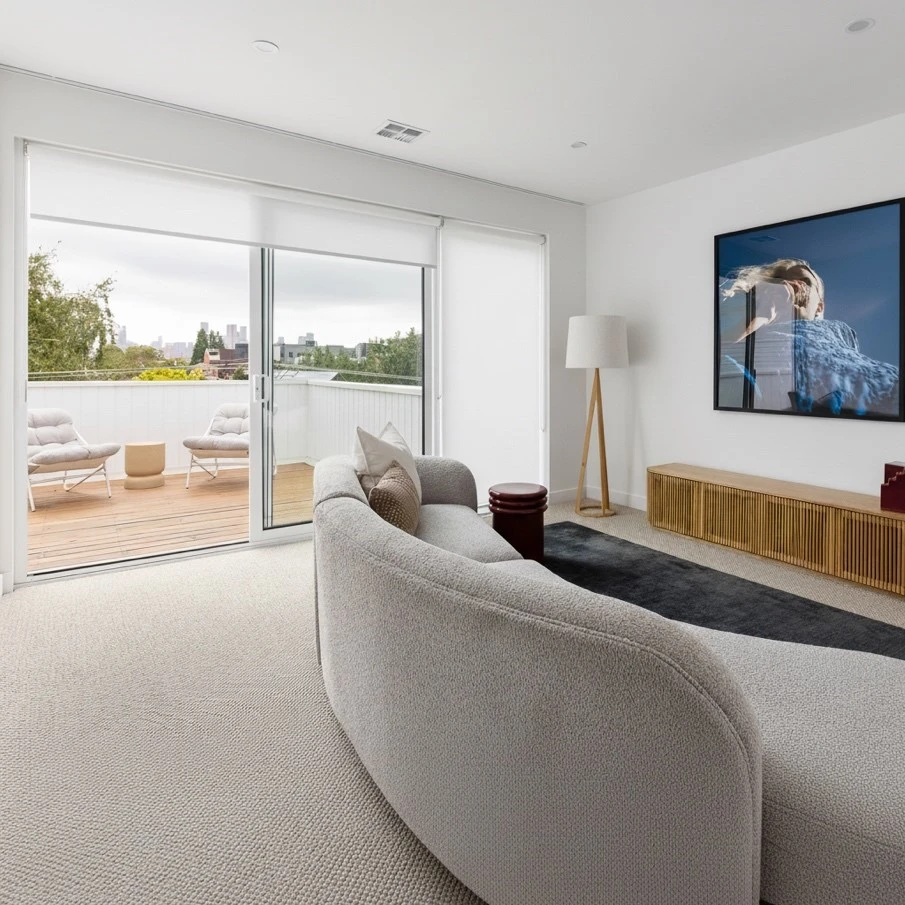
Back Rolled Linked Roller Blinds – Inside Mounted
How to Measure – Inside Mount
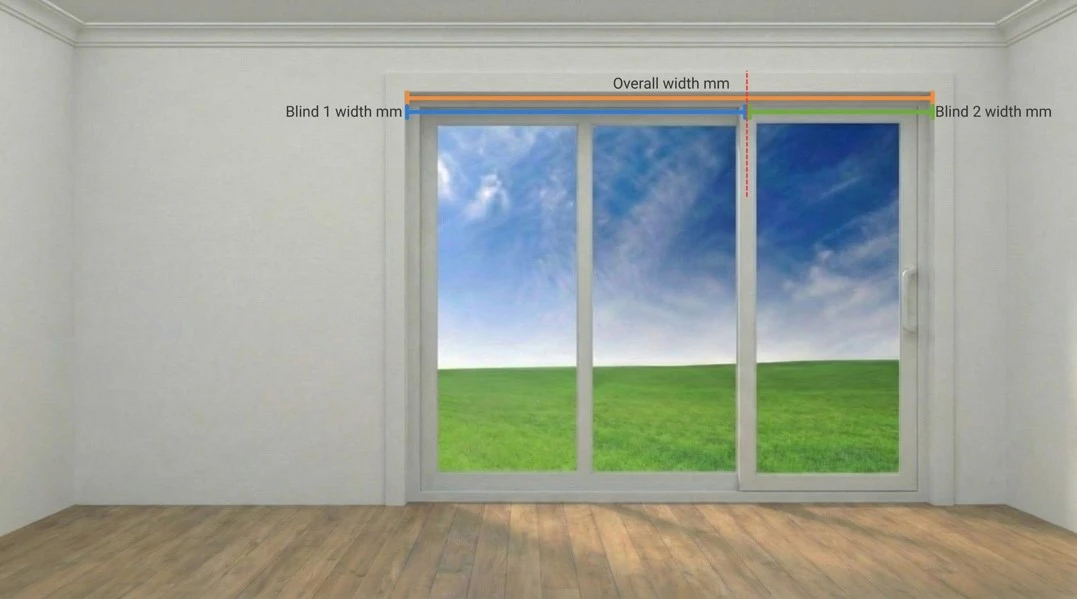
Width
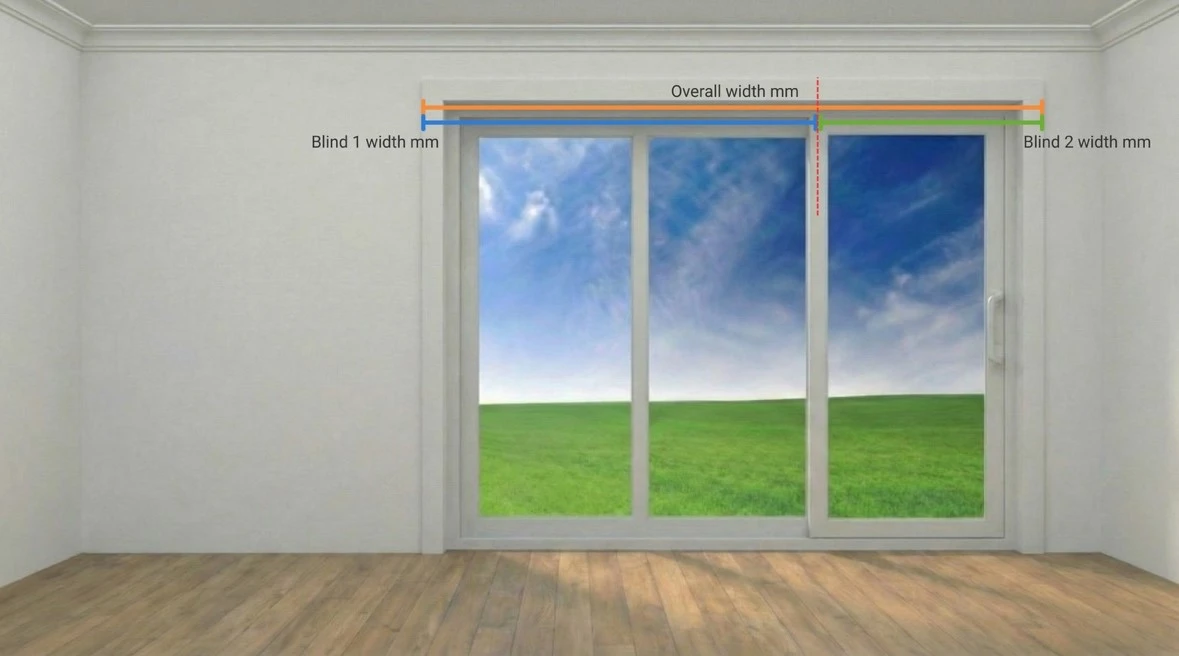
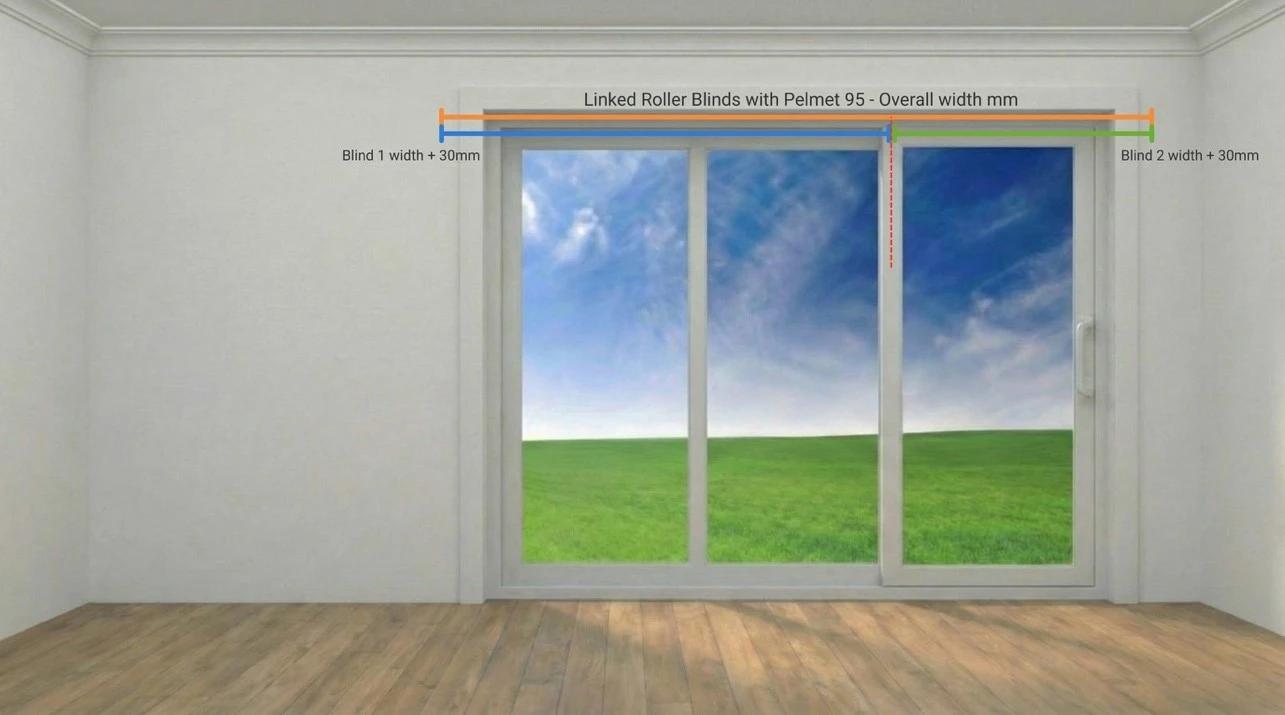
Measure full width of the window recess at the top (orange line)
Mark the centre – this is for the intermediate bracket (red line)
Divide the total width into individual blinds (left – blue line to right – green line)
Total must equal full recess width
Measure to the exact mm
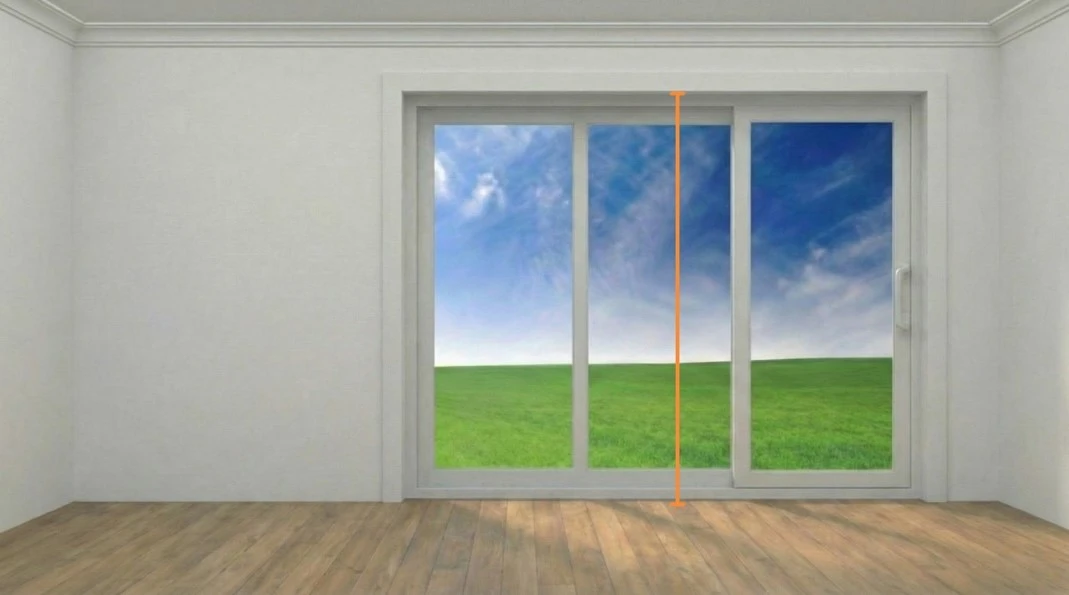
Drop
Measure from top of recess to the bottom
Ensure 60mm depth is available
Watch for handles or overlapping doors
Outside Mount (Face Fit):
Installed on wall or architrave
Great for shallow recesses and full coverage
Ideal for blockout and use with Pelmet 95
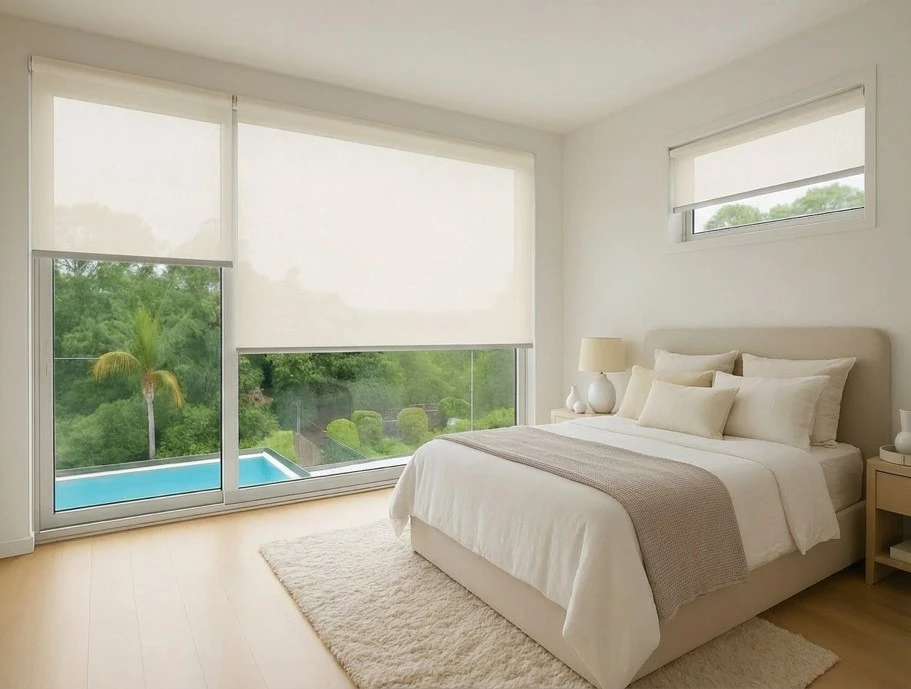
Front Rolled Linked Roller Blinds – Outside Mounted
How to Measure – Outside Mount
Width
Measure from outside edge of architrave to outside edge at the top (orange line)
Mark the centre for intermediate bracket (red line)
Divide width into individual blinds (left – blue line to right – green line)
Total must match overall measurement
Measure to the exact mm
Drop
Measure from top of architrave to where the blind should finish
Specifications
Width (individual blind):

Min: 250mm (chain), 550mm (motorised)
Max: 3000mm
Width (linked total):
Max: 6000mm
Min: 300mm
Drop:
Max: 3000mm
Gap Between Blinds: 19mm with intermediate bracket
Bracket Setup
Kit includes:
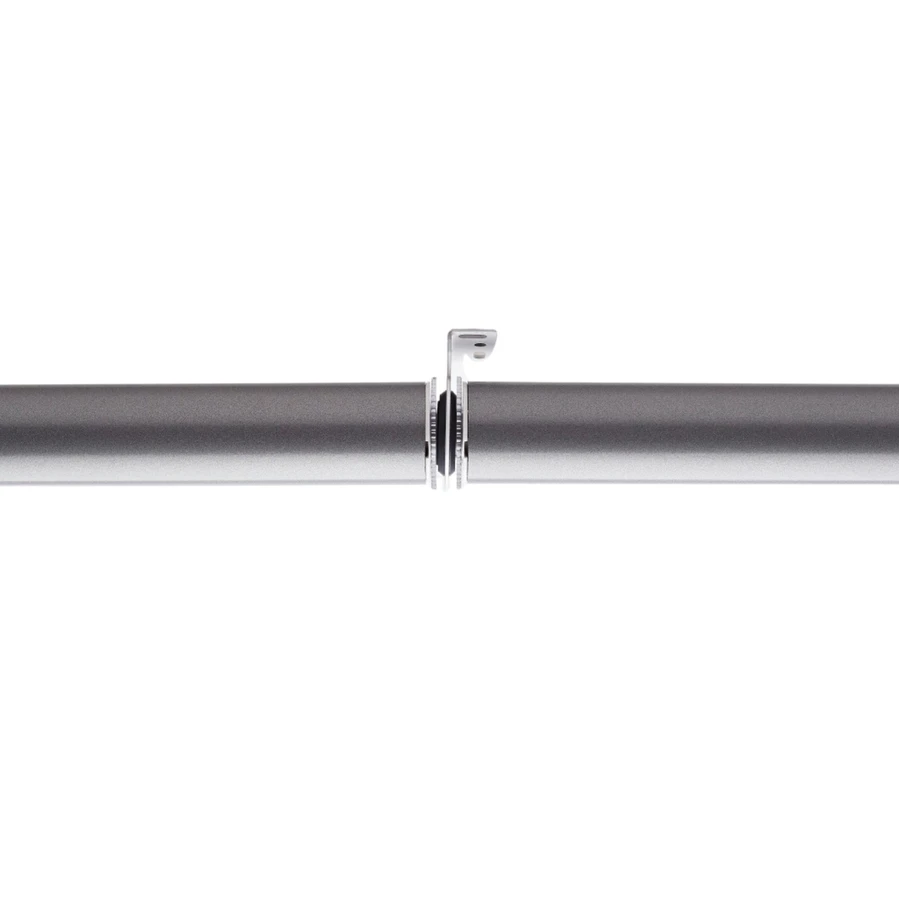
2 x Male brackets (left and right)
1 x Intermediate bracket (centre)
Common Layout:
One blind for the fixed panel, one for the door – each independently controlled
Mike’s Tip:
Mark the centre and work left to right when assigning blind widths
Important Measuring Notes
Always measure in millimetres (mm)
The width you enter is bracket-to-bracket
Fabric will be narrower:
Standard: 15mm less per side (30mm total)
With Pelmet 95: 18mm per side (36mm total)
Don’t make any deductions – we’ll do that
Better to be 1mm short than 1mm long
Use a steel tape or laser
Measure every window—even if they look the same
Roll Direction Tips
Inside Mount: Front roll helps clear handles
Outside Mount: Back roll brings fabric closer for better blockout
Pelmet 95: Available with back roll only
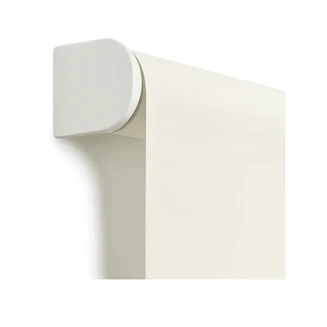
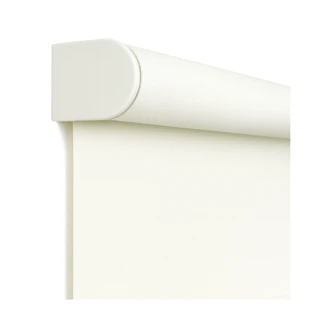
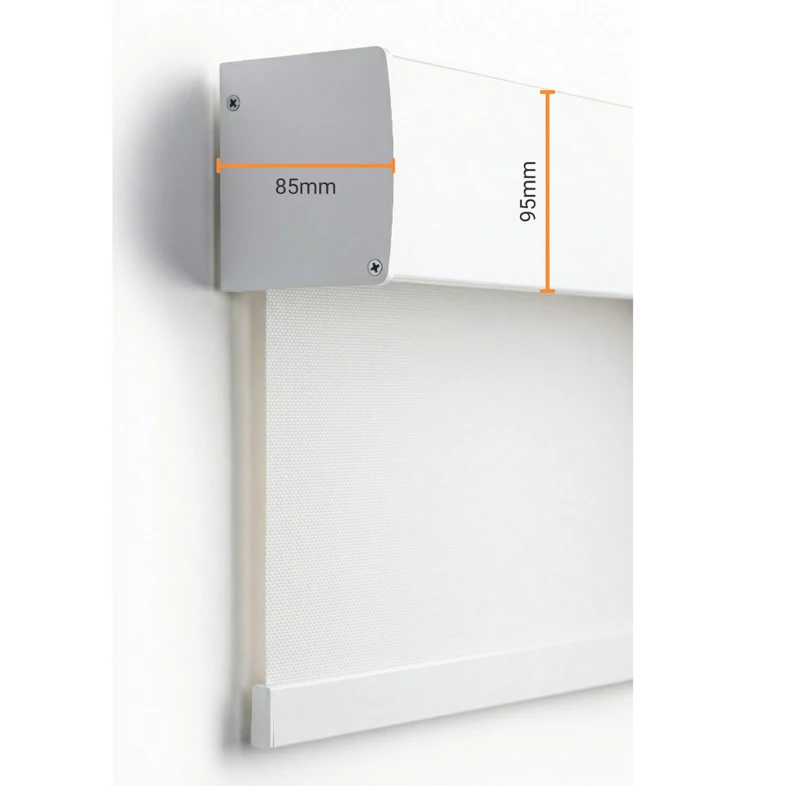
Pelmet 95 – Overview & Measuring
Why Choose Pelmet 95
Conceals roll tubes and brackets
Reduces light gaps
Matches bottom rail
Colours: white, black, anodised
Outside mount + back roll only
Up to 6000mm width (butt-joined above 3600mm)
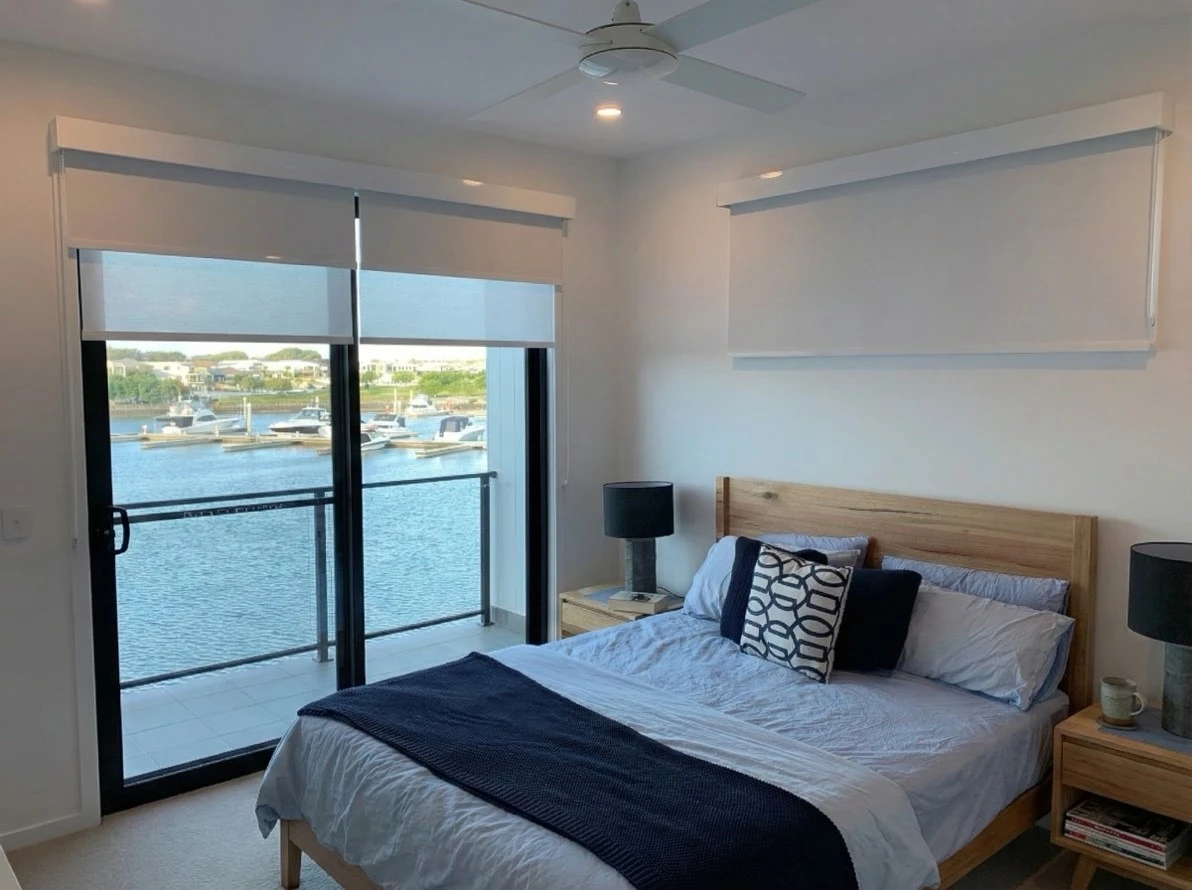
White Pelmet over linked roller blinds
How to Measure
Measure outside edge of architrave to outside edge
Add 30mm each side (60mm total) if space allows
This is your pelmet width
Mike’s Tip: Match pelmet to bottom rail for a streamlined look
Control Options
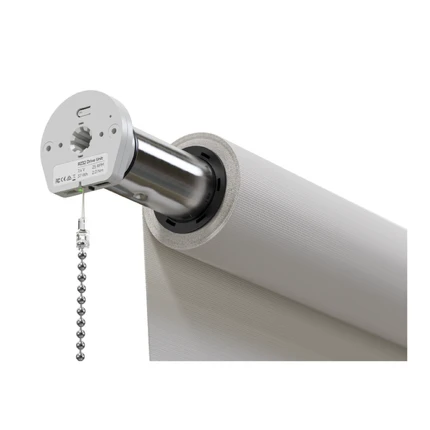
Chain Drive
Manual, reliable
White or black chain
Upgrade to metal or stainless steel
Spring assist for blinds over 1800mm
Motorised Options
RollerIQ – Smart home ready
App or voice control
USB-C charging
550–3000mm widths
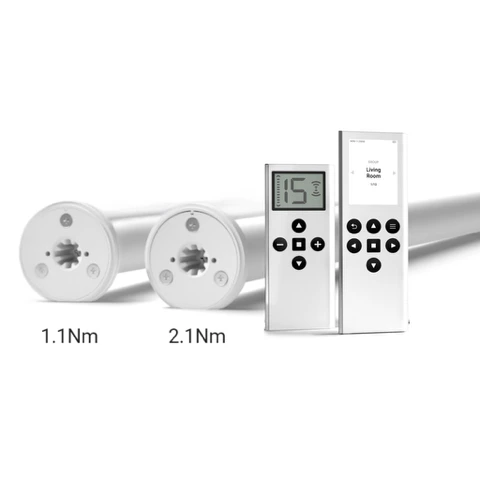
Automate Zero Li-ion – Wireless & quiet
Q1.1: 550–2000mm
Q2.0: 2001–3000mm
Remote required
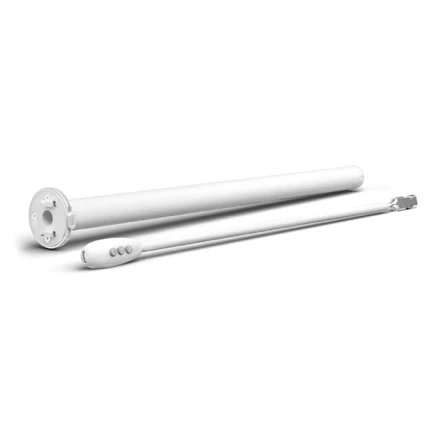
Automate Wand – Simple & safe
550–2000mm
USB-C charging, no remote
Label Each Window
Work clockwise from your front door and label each window with its room name (e.g. Living Room, Bedroom 1). Helps stay organised during ordering.
How to Order
Once you’ve measured:
Use the filter to find your ideal fabric and colour
Enter overall width and individual blind widths (left to right)
Enter drop, mount type, and roll direction
Choose your control type (chain or motor)
Add accessories like pelmets, remotes, or chargers
Add to cart and proceed to checkout
How to measure for Roller Blinds - Linked layout # 1
'%3e%3cline%20id='Line_28'%20data-name='Line%2028'%20y2='200'%20transform='translate(1580.5%205493.46)'%20fill='none'%20stroke='%23f7941d'%20stroke-width='5'/%3e%3cg%20id='Ellipse_50'%20data-name='Ellipse%2050'%20transform='translate(1559%205665.46)'%20fill='%23171717'%20stroke='%23f7941d'%20stroke-width='5'%3e%3ccircle%20cx='21.5'%20cy='21.5'%20r='21.5'%20stroke='none'/%3e%3ccircle%20cx='21.5'%20cy='21.5'%20r='19'%20fill='none'/%3e%3c/g%3e%3c/g%3e%3c/svg%3e)